Hello April
I know that spring officially starts in late March, but for me it is the first of April that marks the true start of spring. When the calendar flips to April 1st, I begin to look forward to a month full of blossoms, green leaves sprouting on the trees, and the annual springtime events that take place here in Lucca.
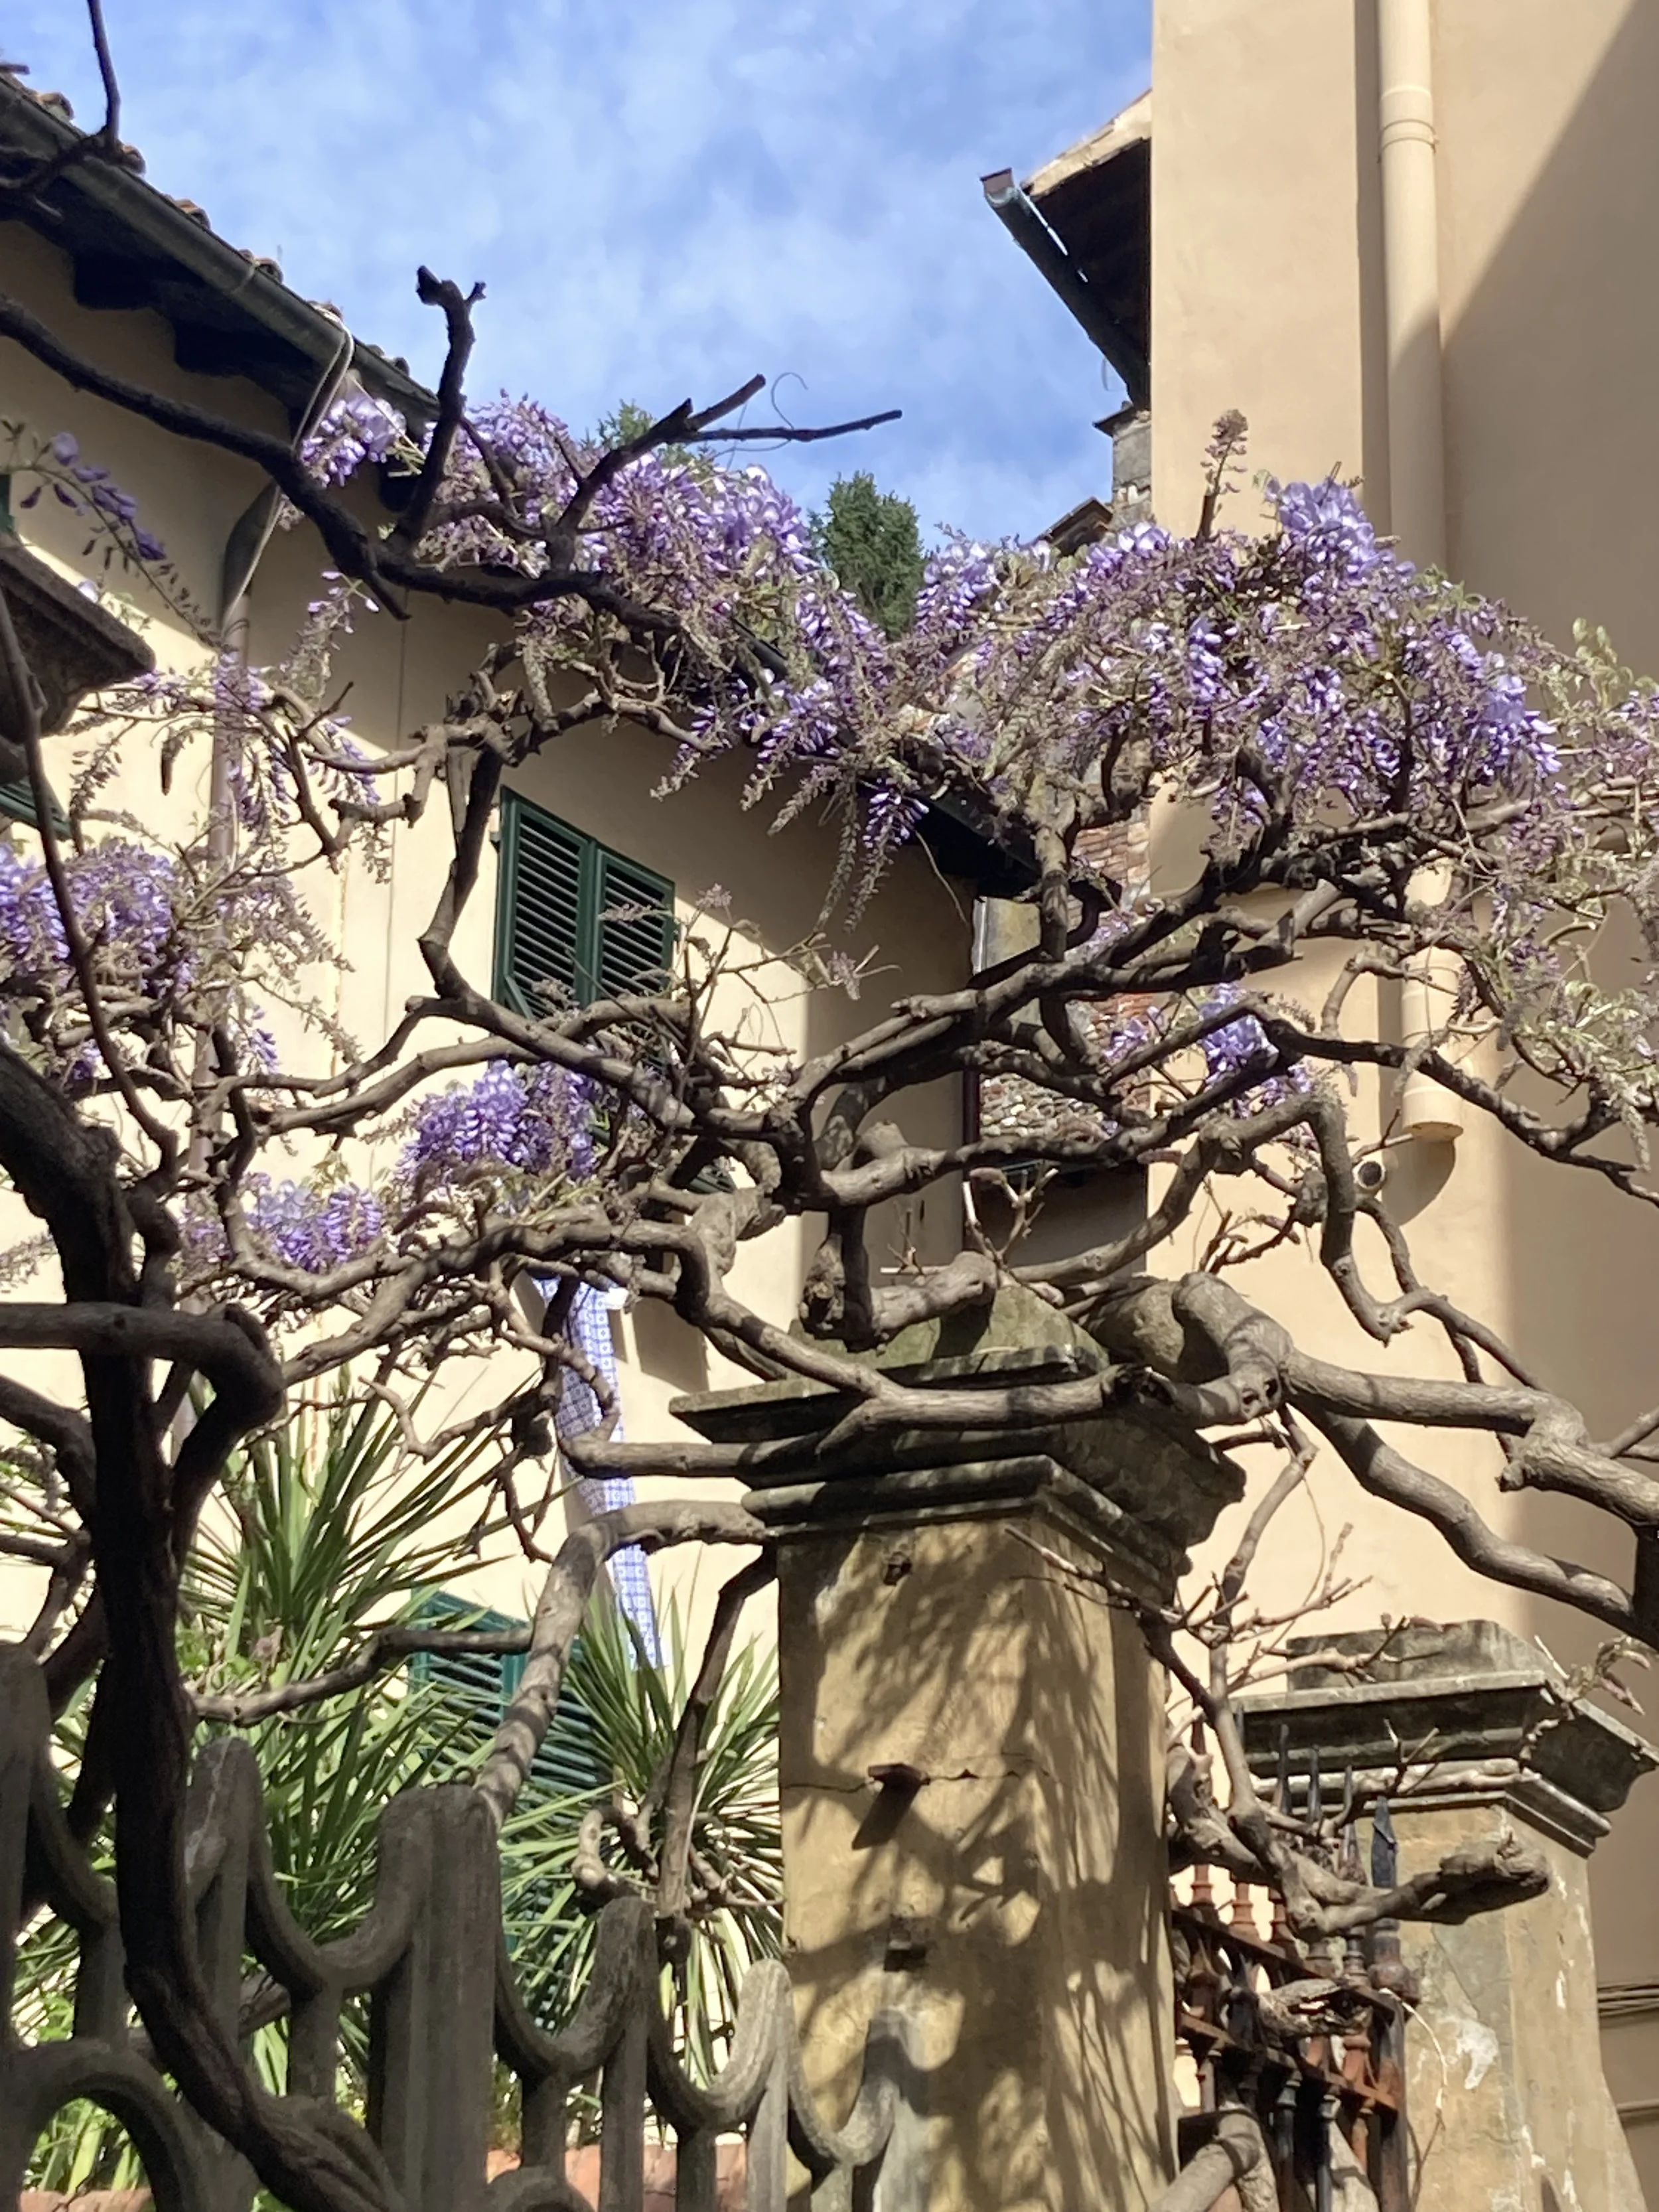
Wisteria in bloom - a sure sign of spring
Usually, the month starts with warming temperatures that hint of beautiful days to come, even if April showers sometimes require umbrellas. But this year gentle April weather has been a little late in arriving. The first week started out downright chilly and windy. I even needed to turn up my heat on few cold mornings, something I rarely need to do in April.
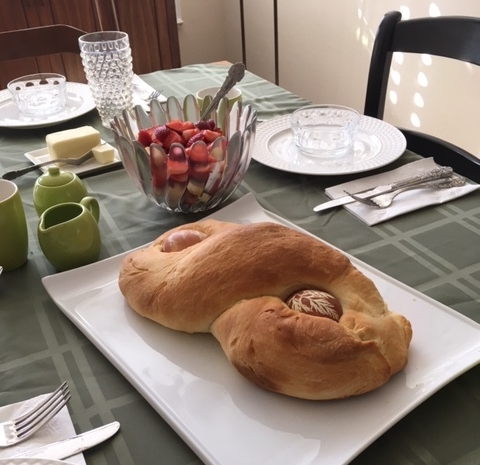
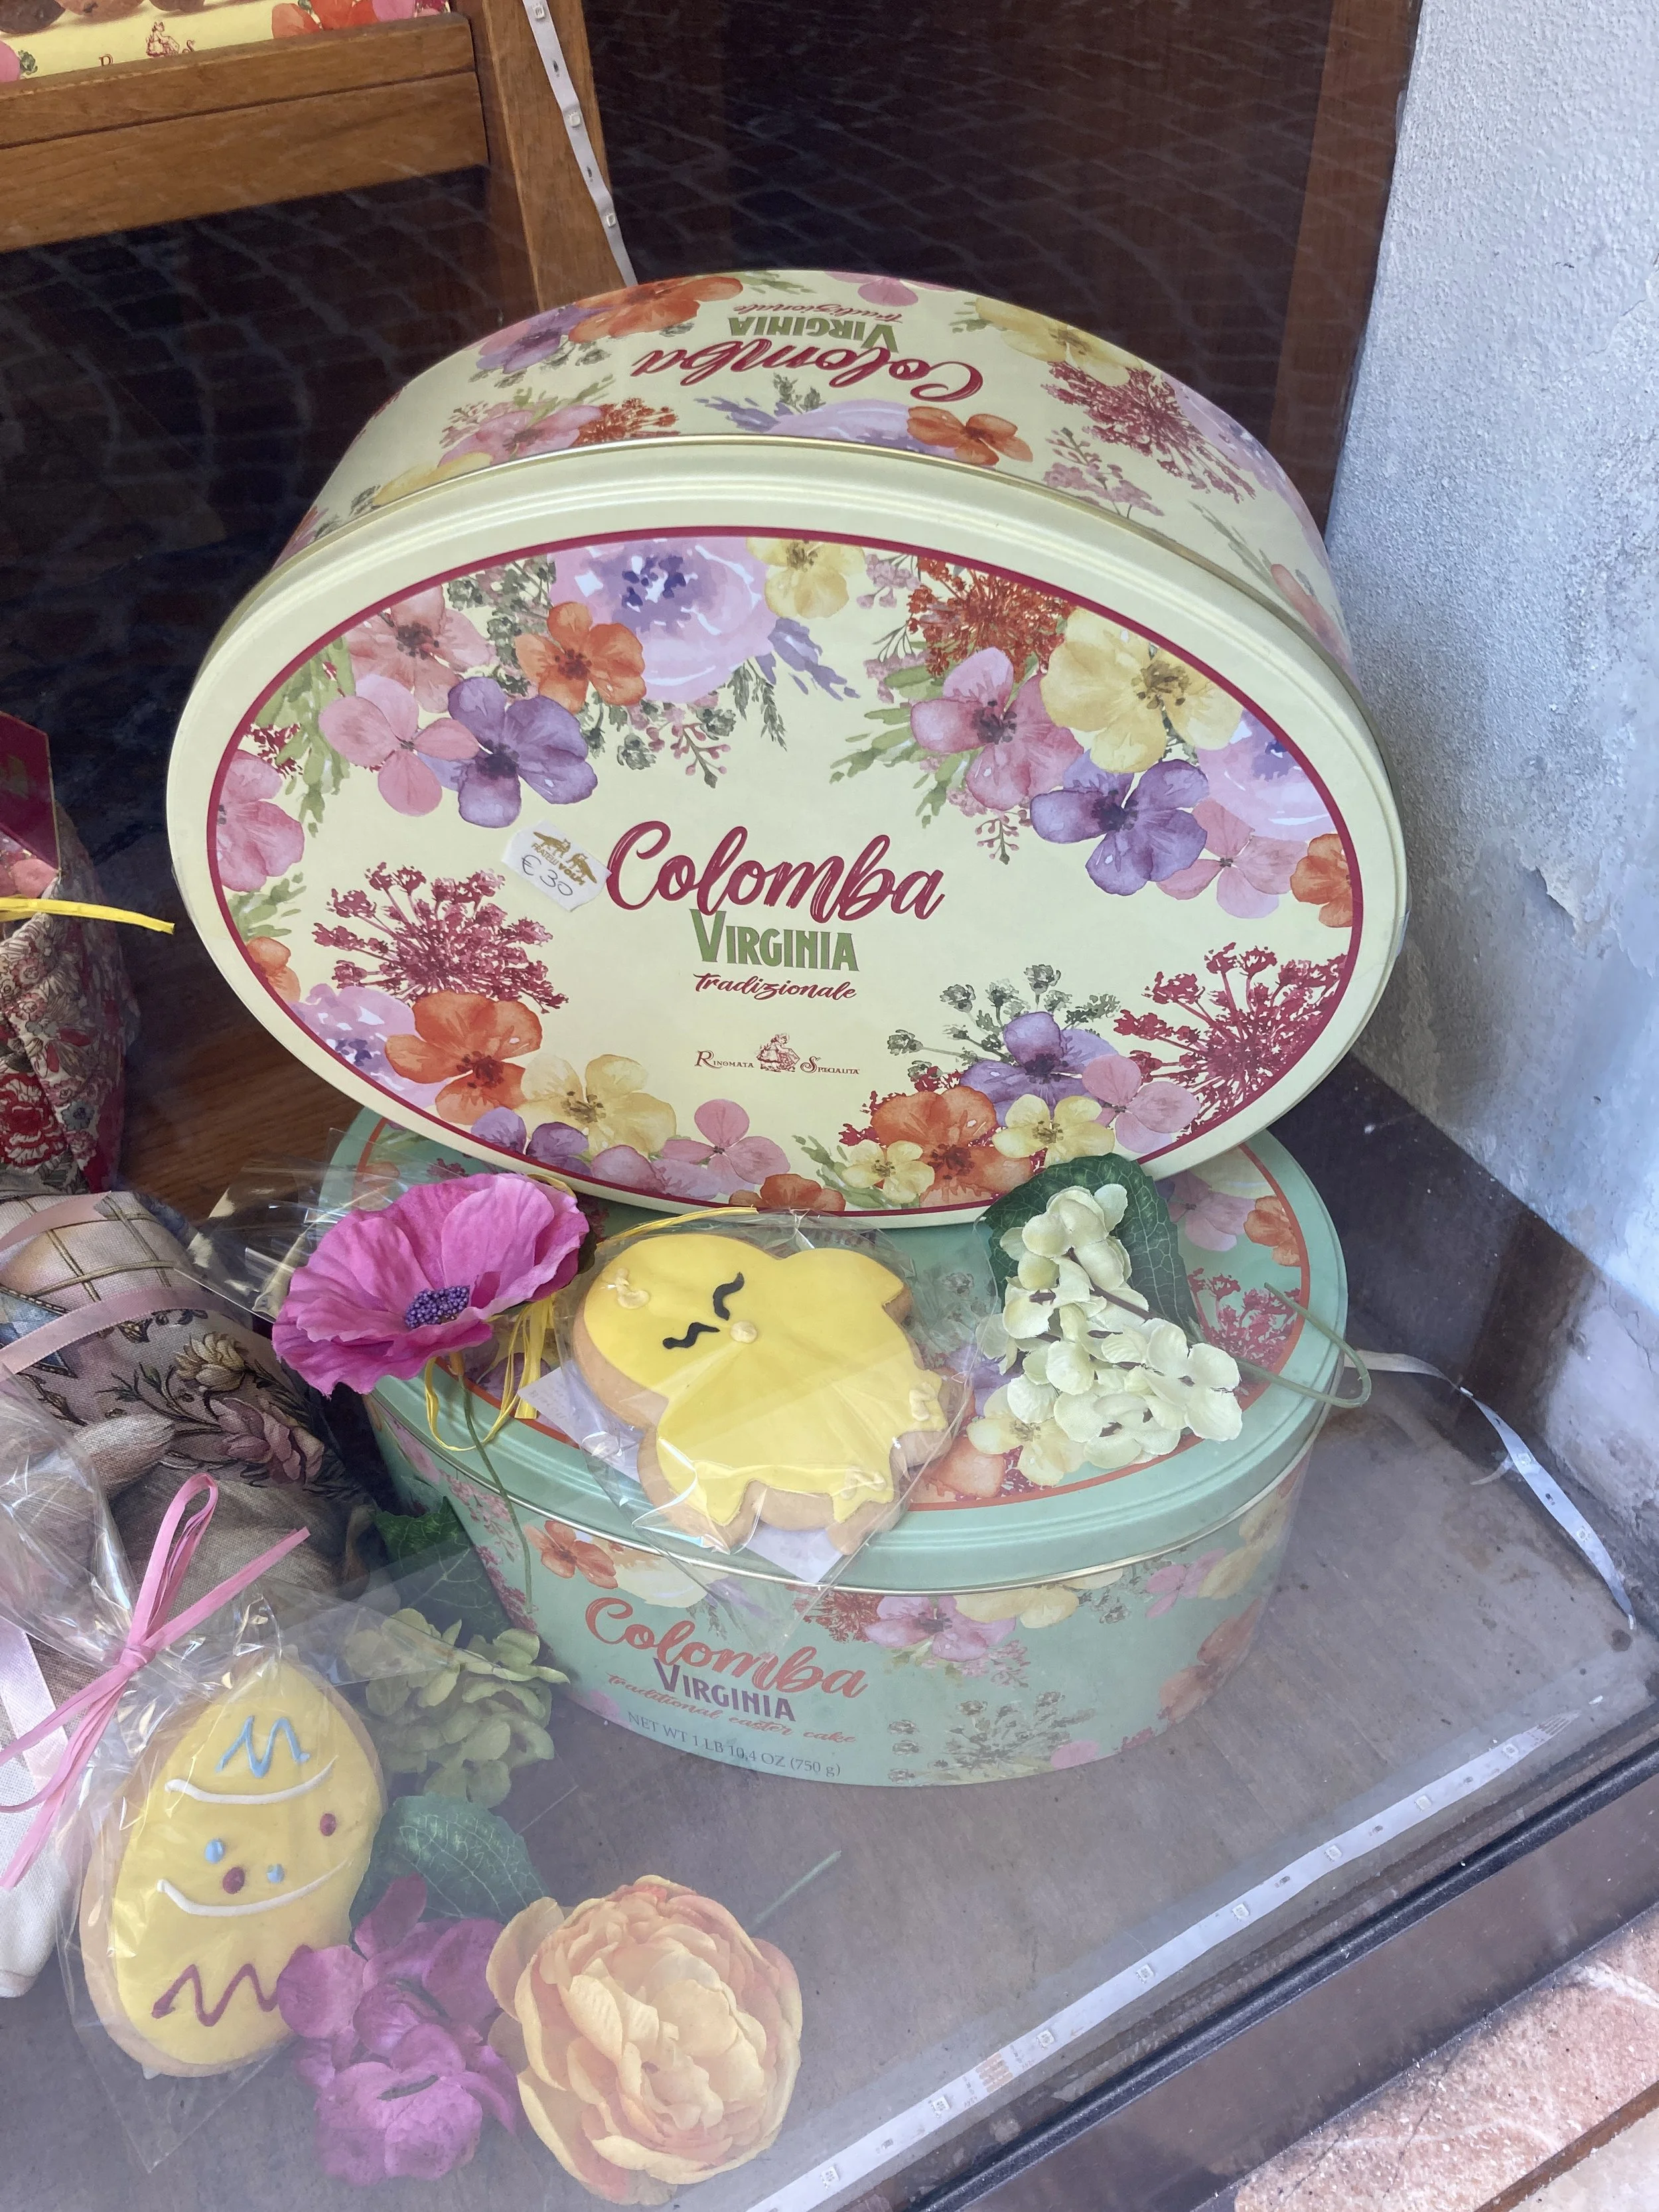
One Italian social media poster claimed to be uncertain whether Easter lunch should include a Colomba (the traditional Tuscan Easter sweetbread) or a Panettone (which is served at Christmas). With Easter coming quite early this year, and the chilly temperatures, that is a reasonable question.
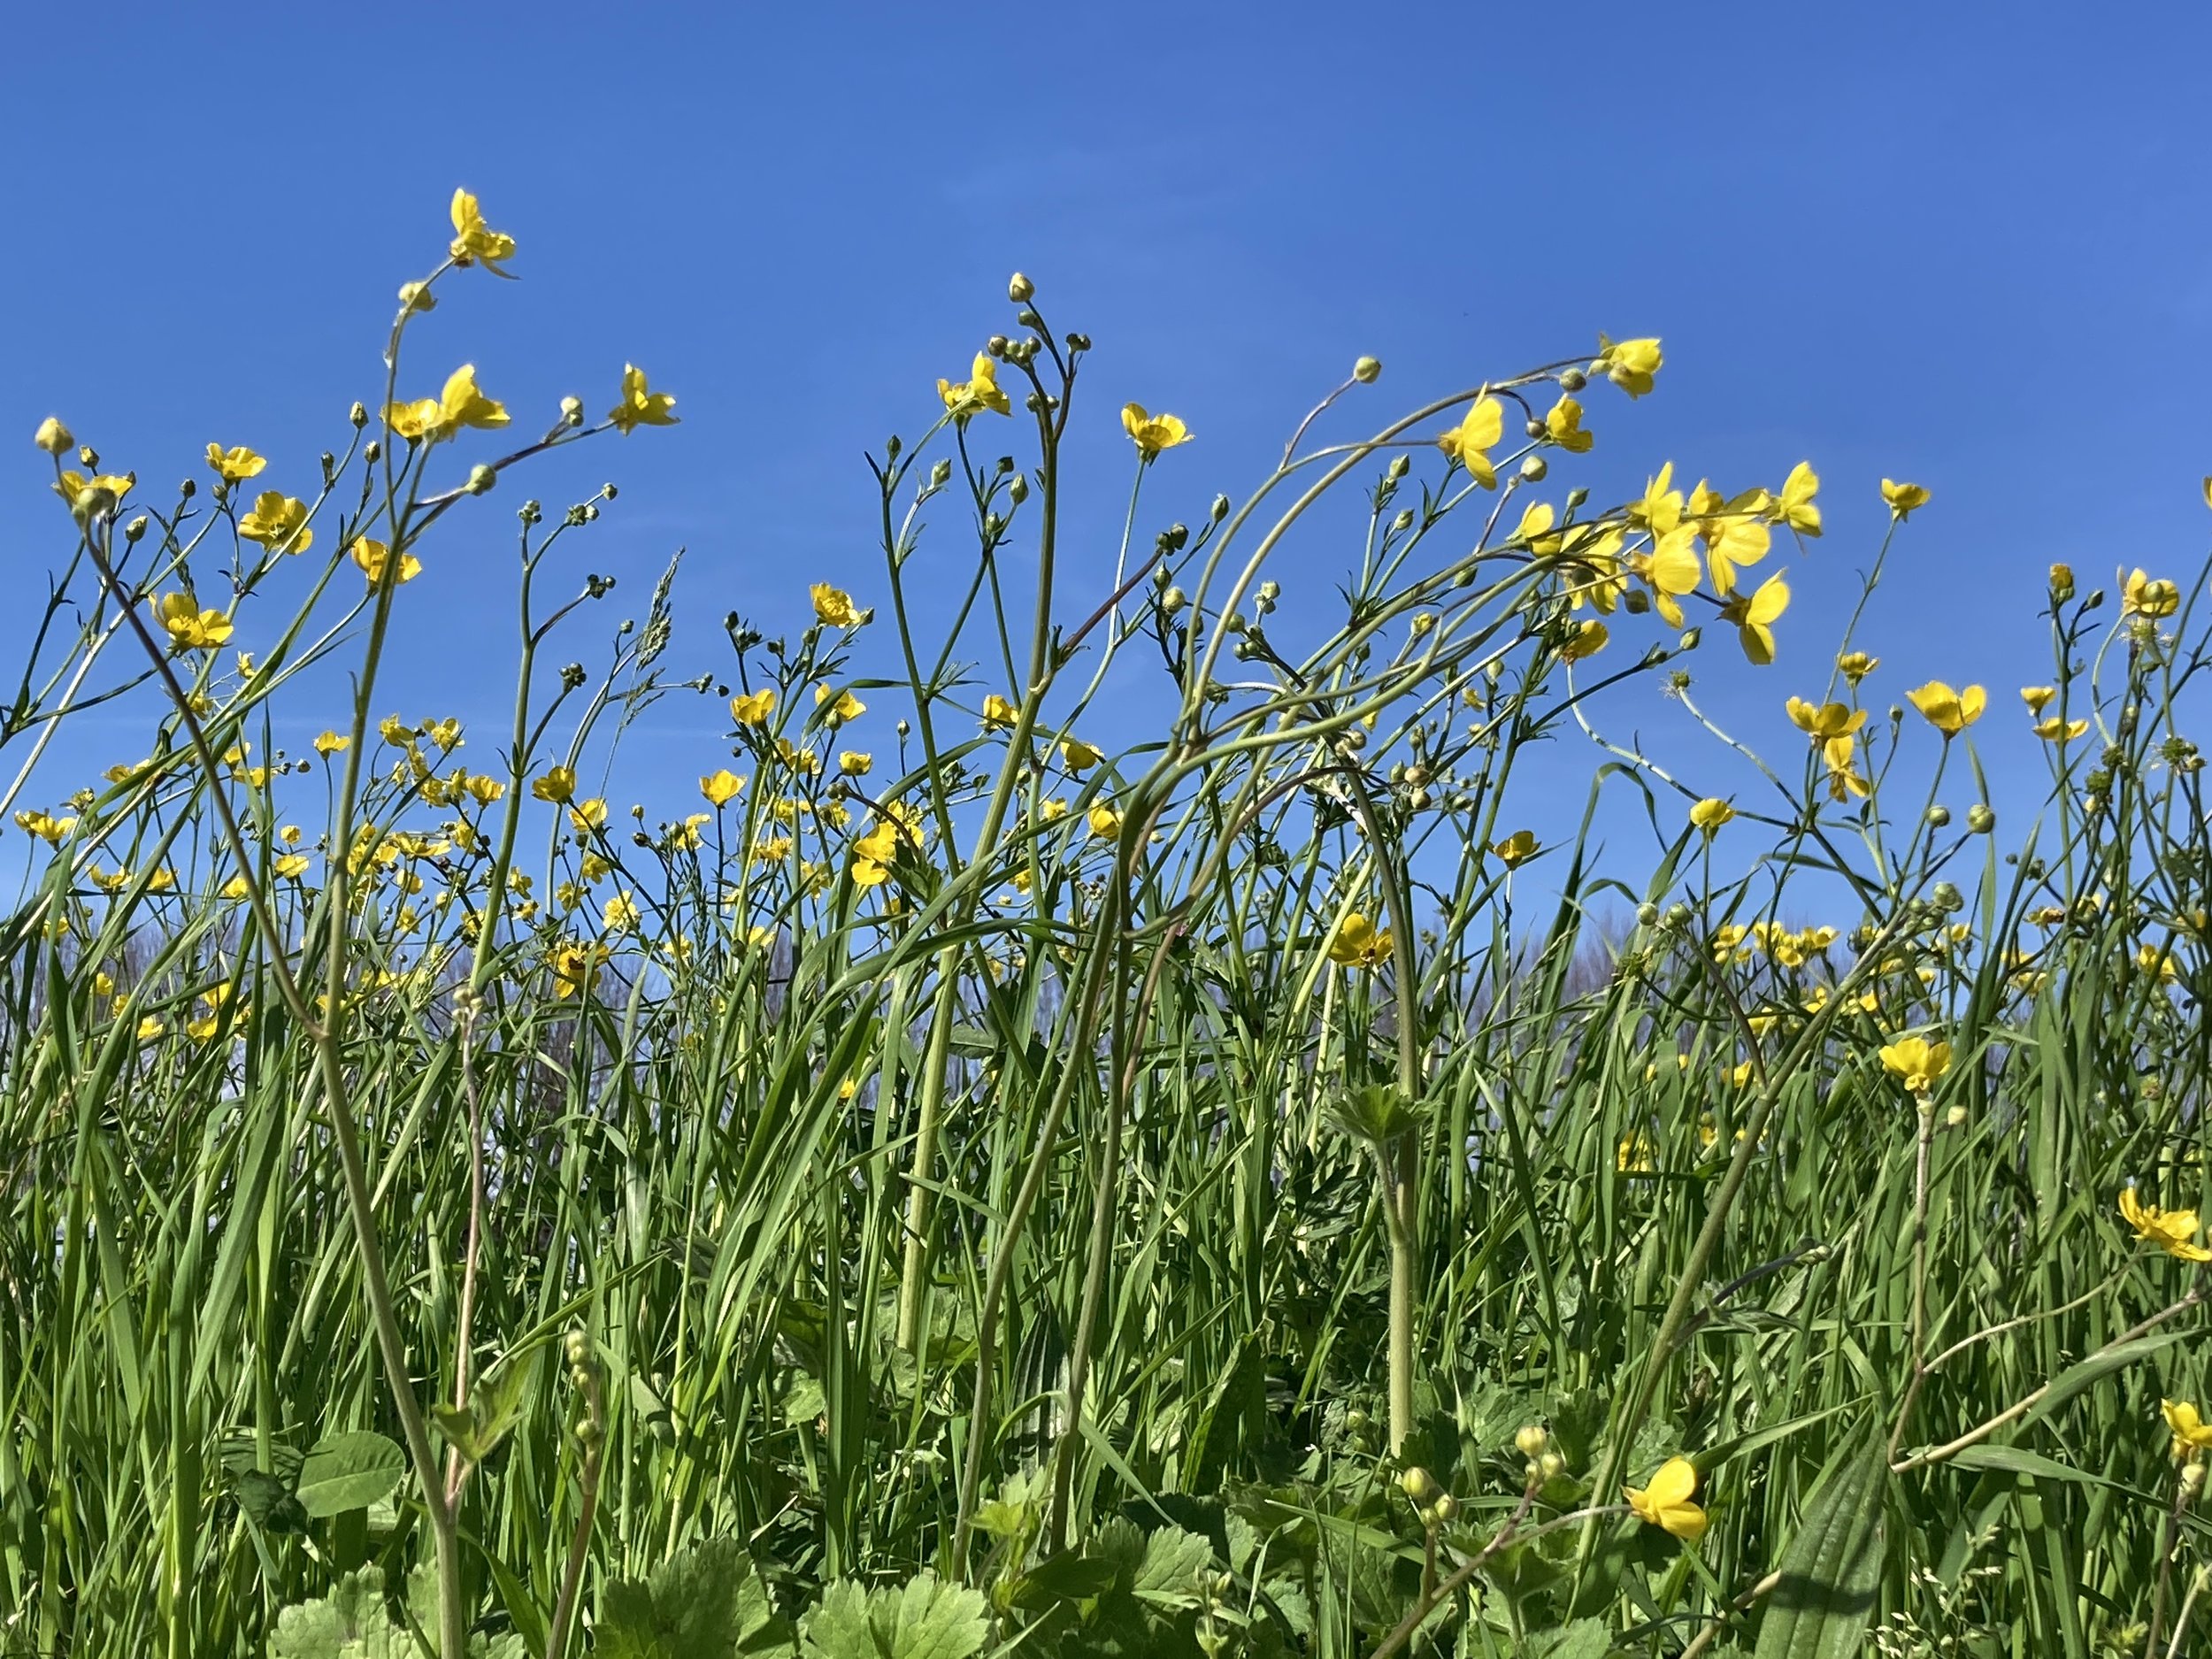
Some signs of spring are starting to appear, despite the chill. For one, wisteria are blooming across town. That is always one of the best parts of spring.
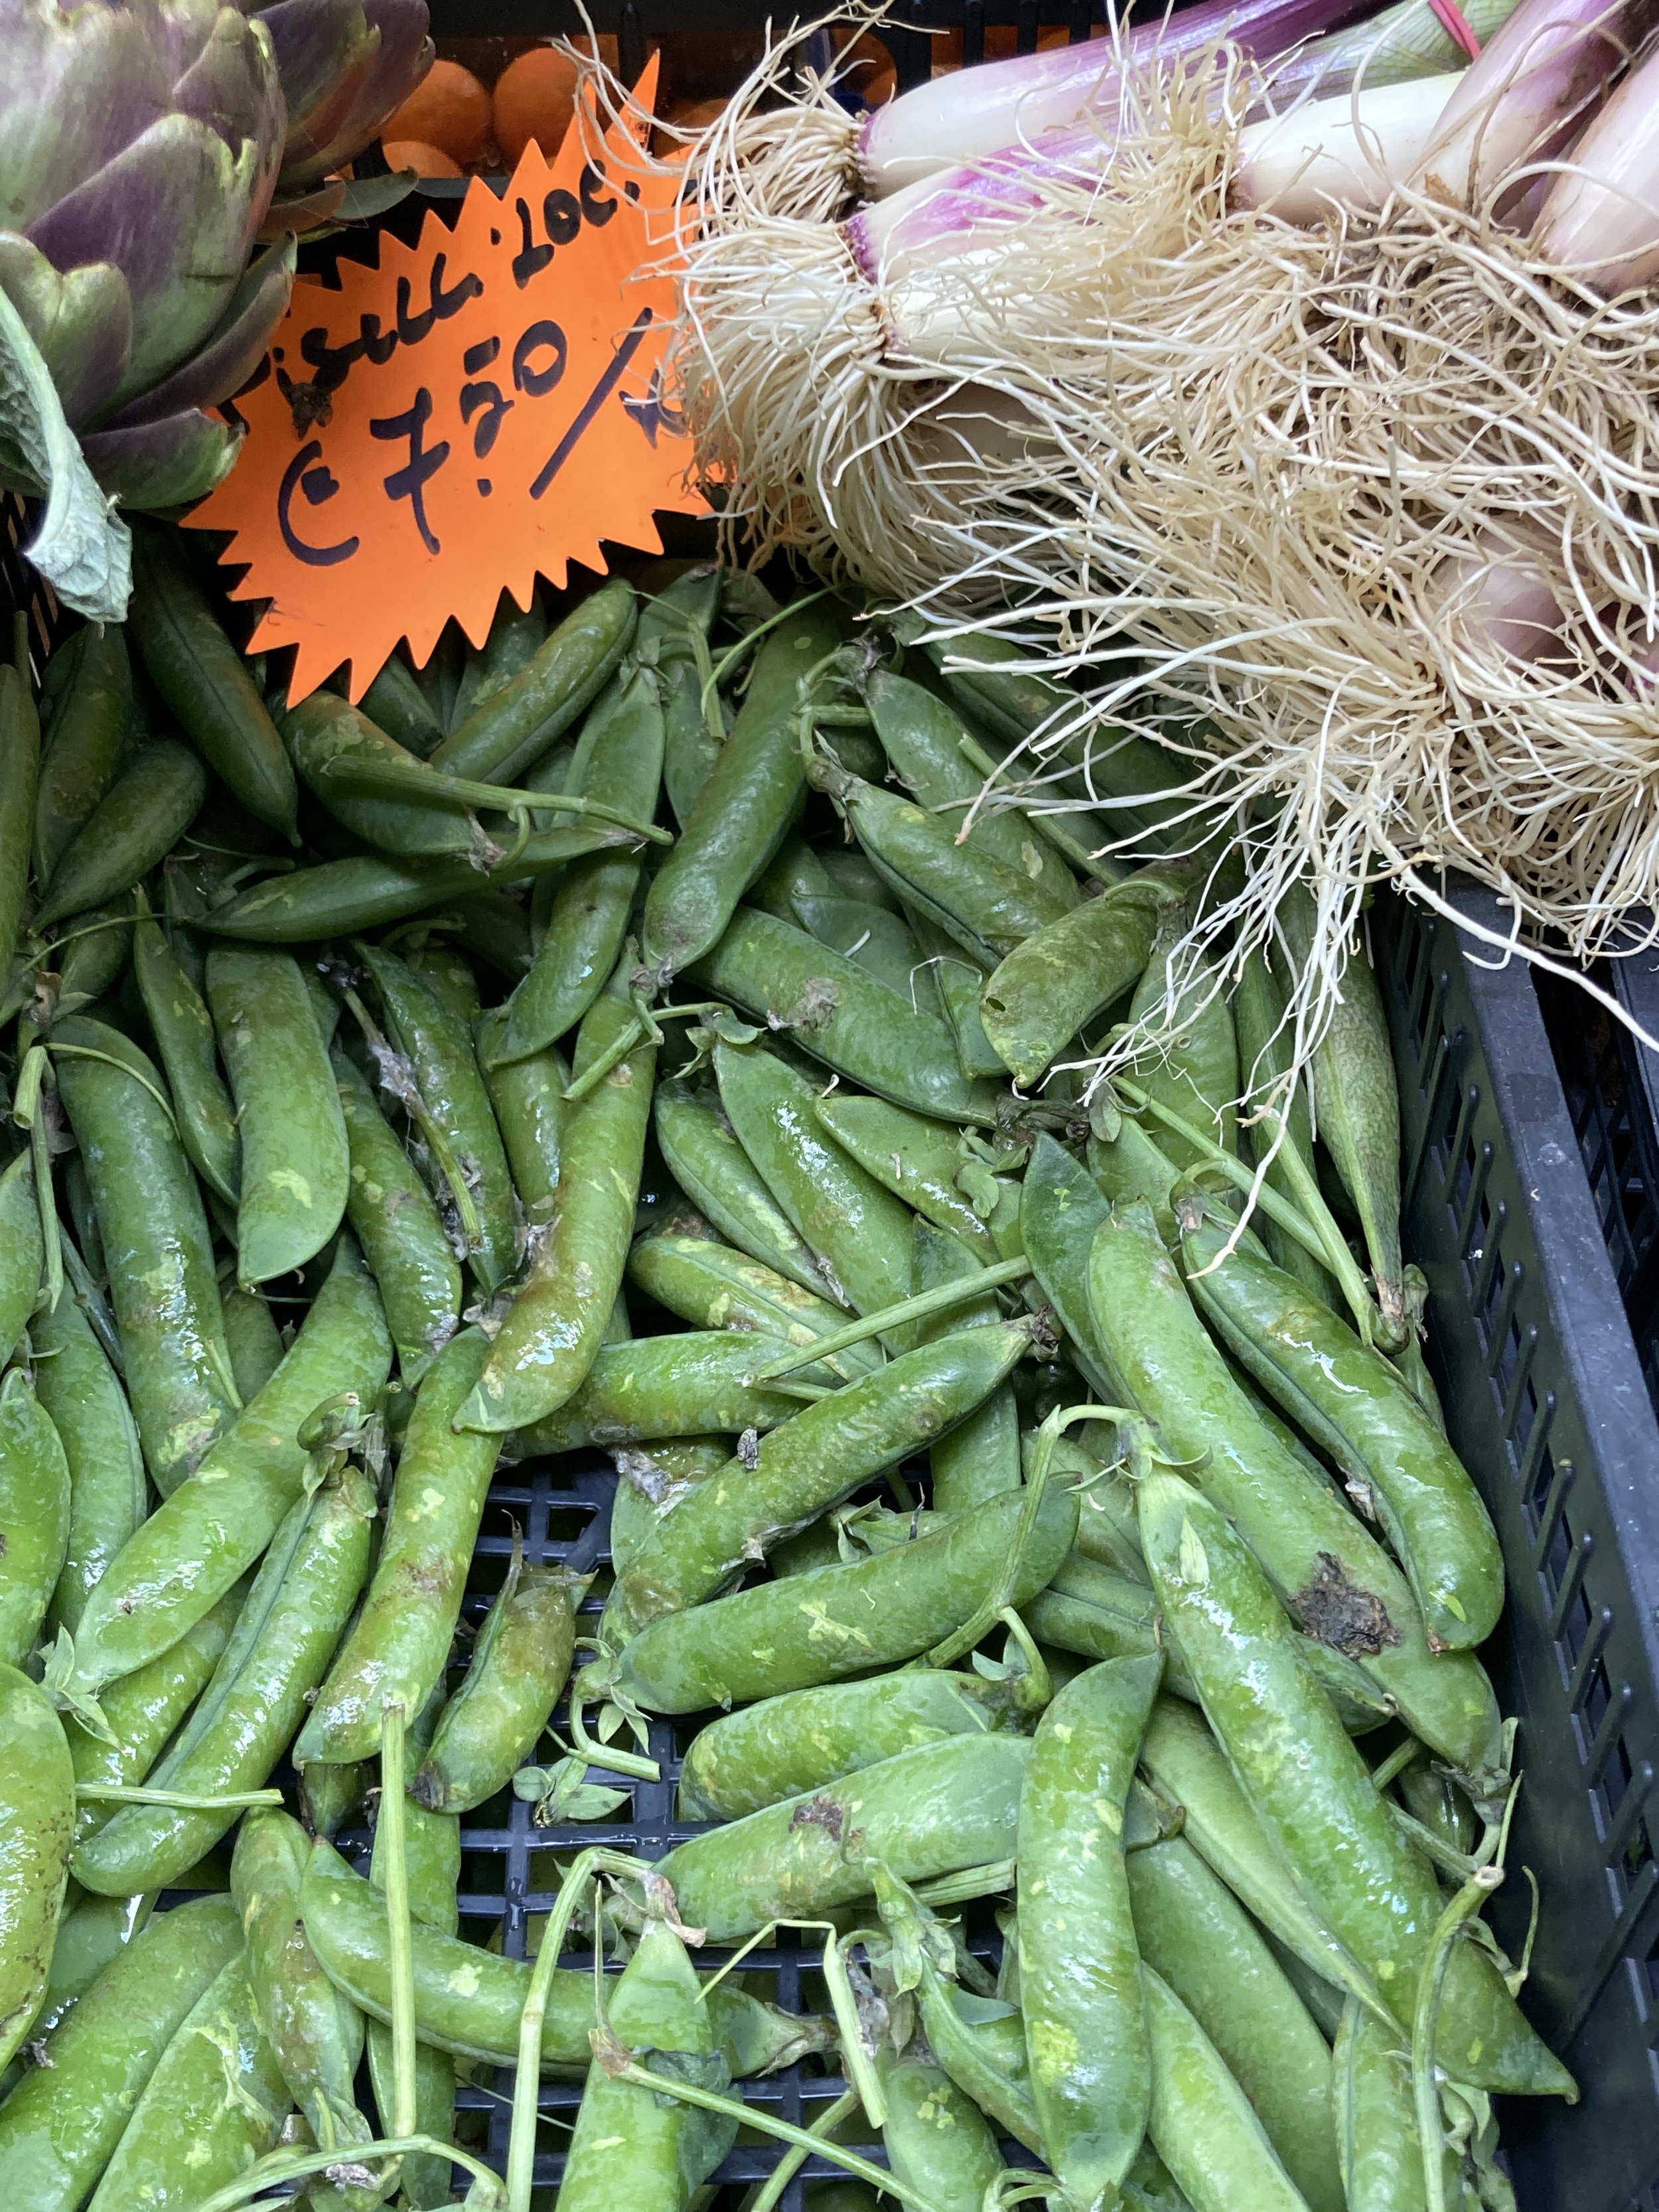
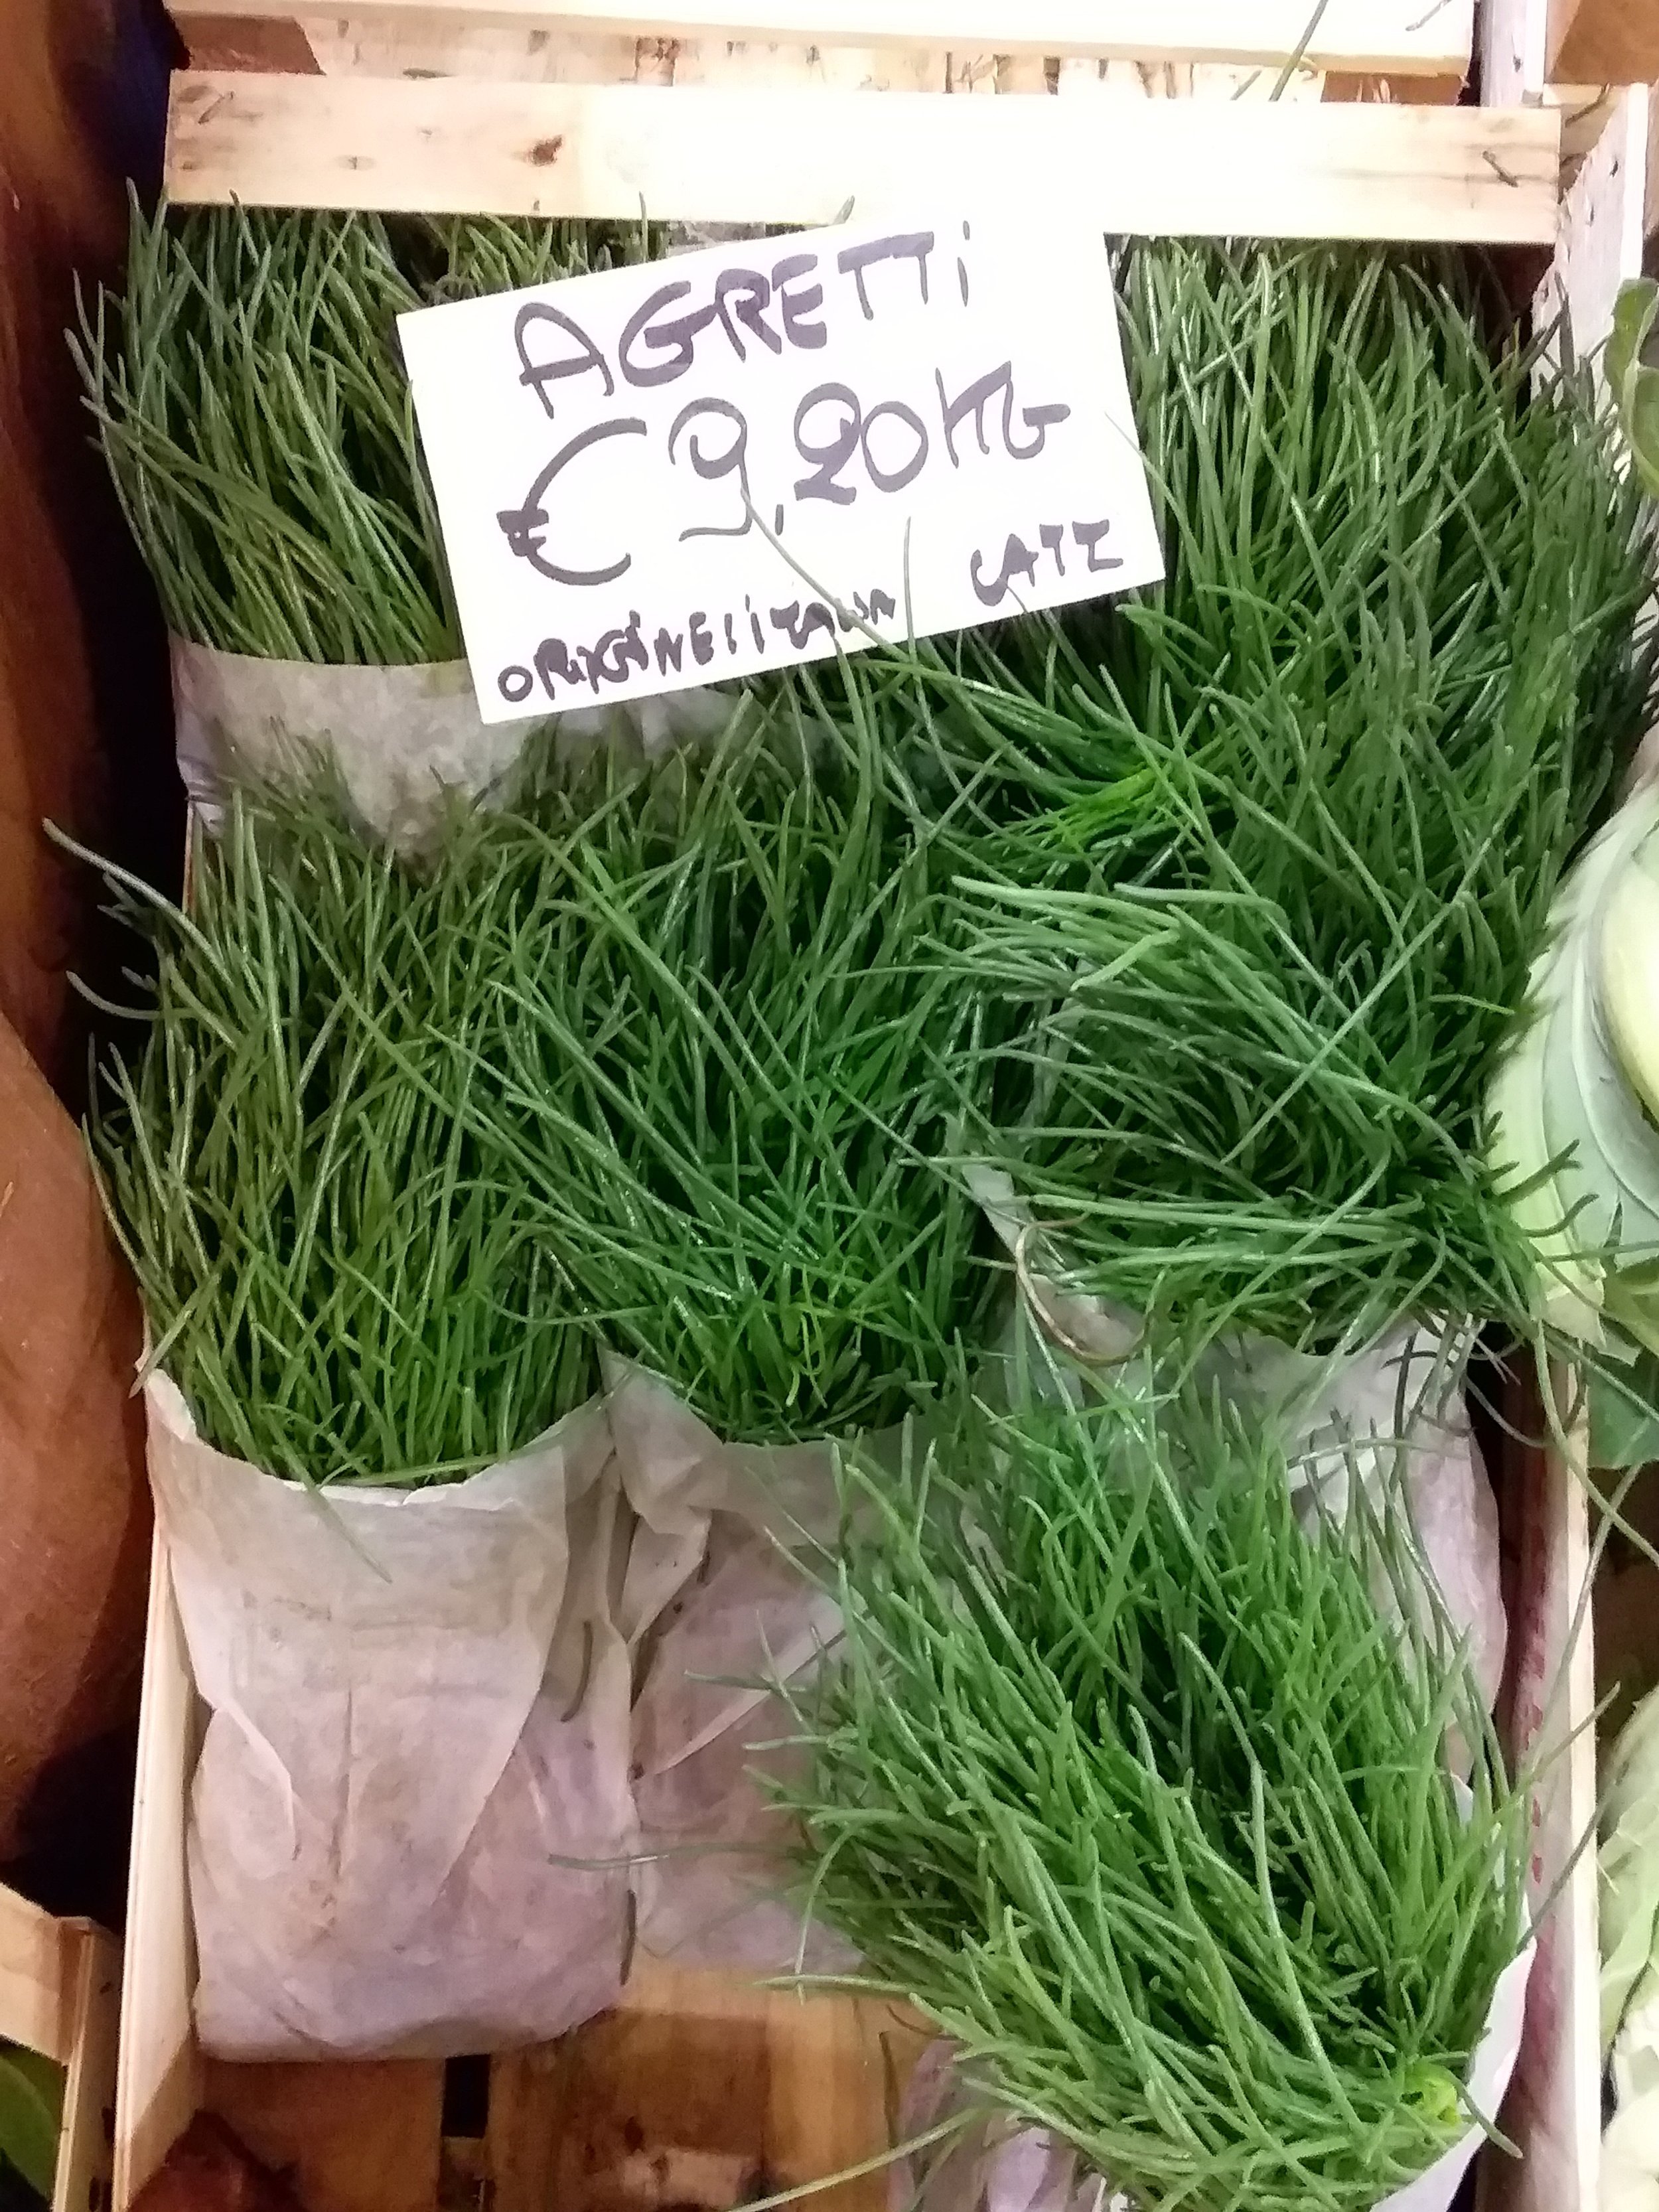
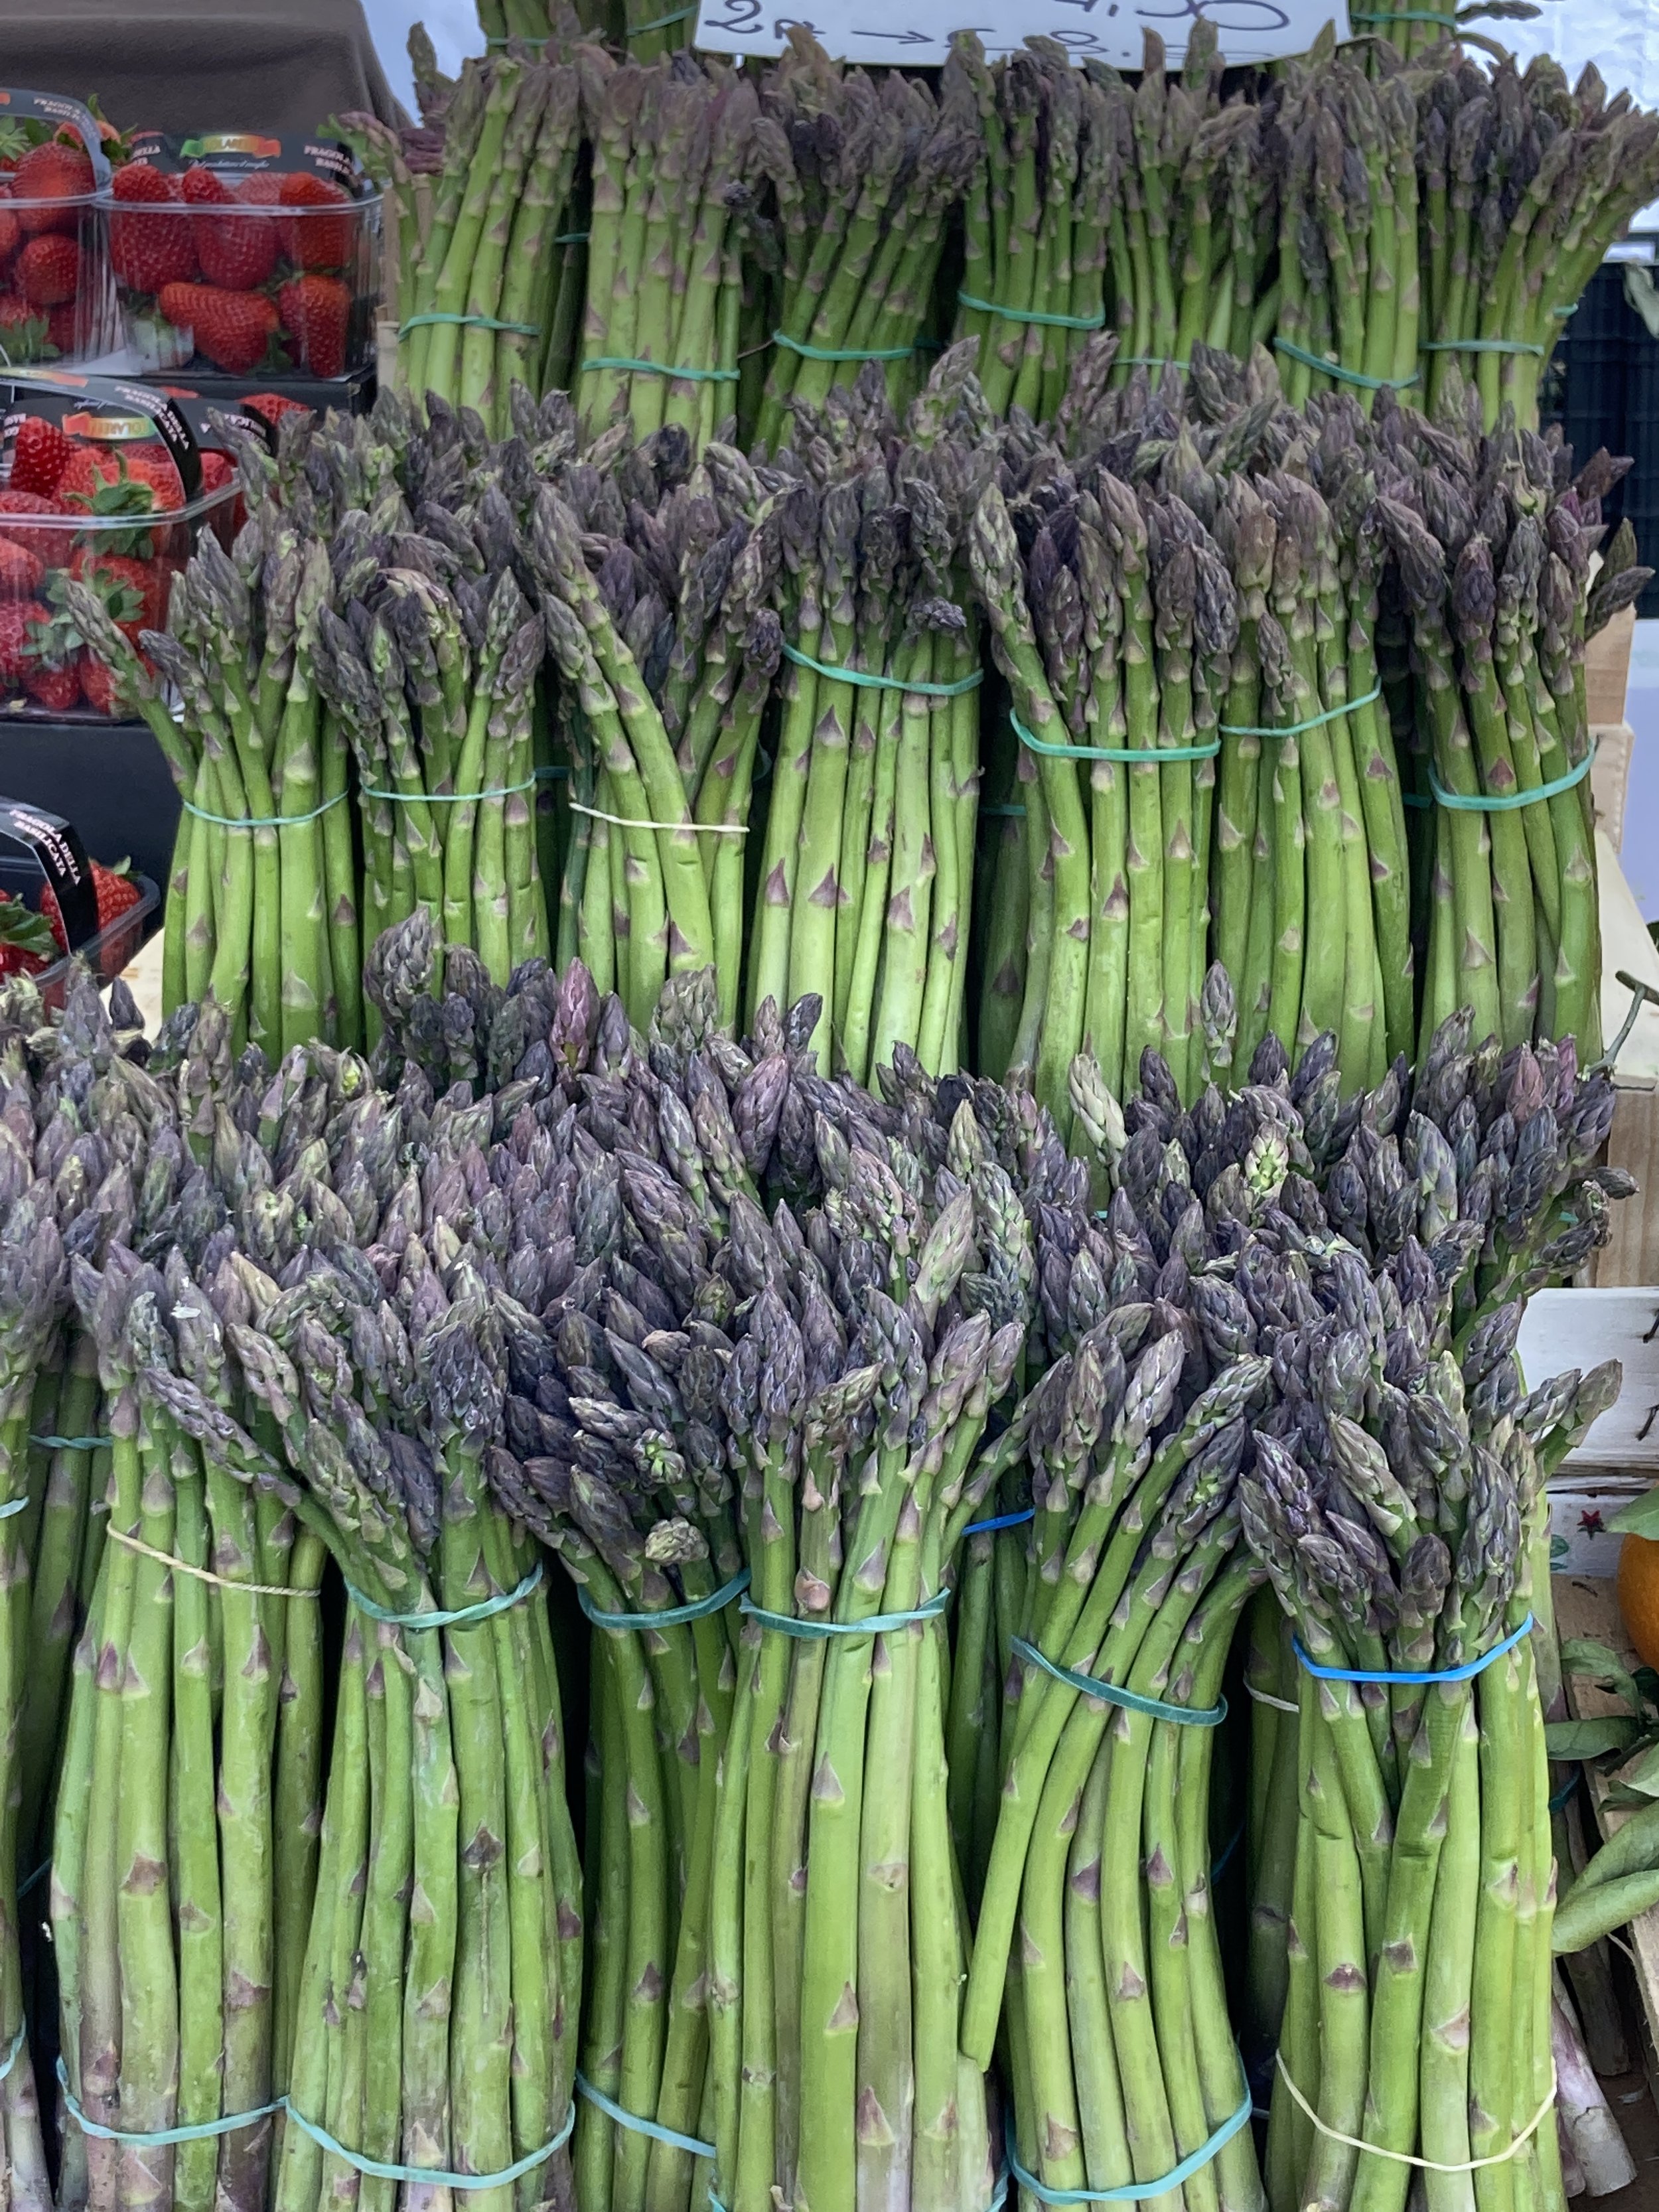
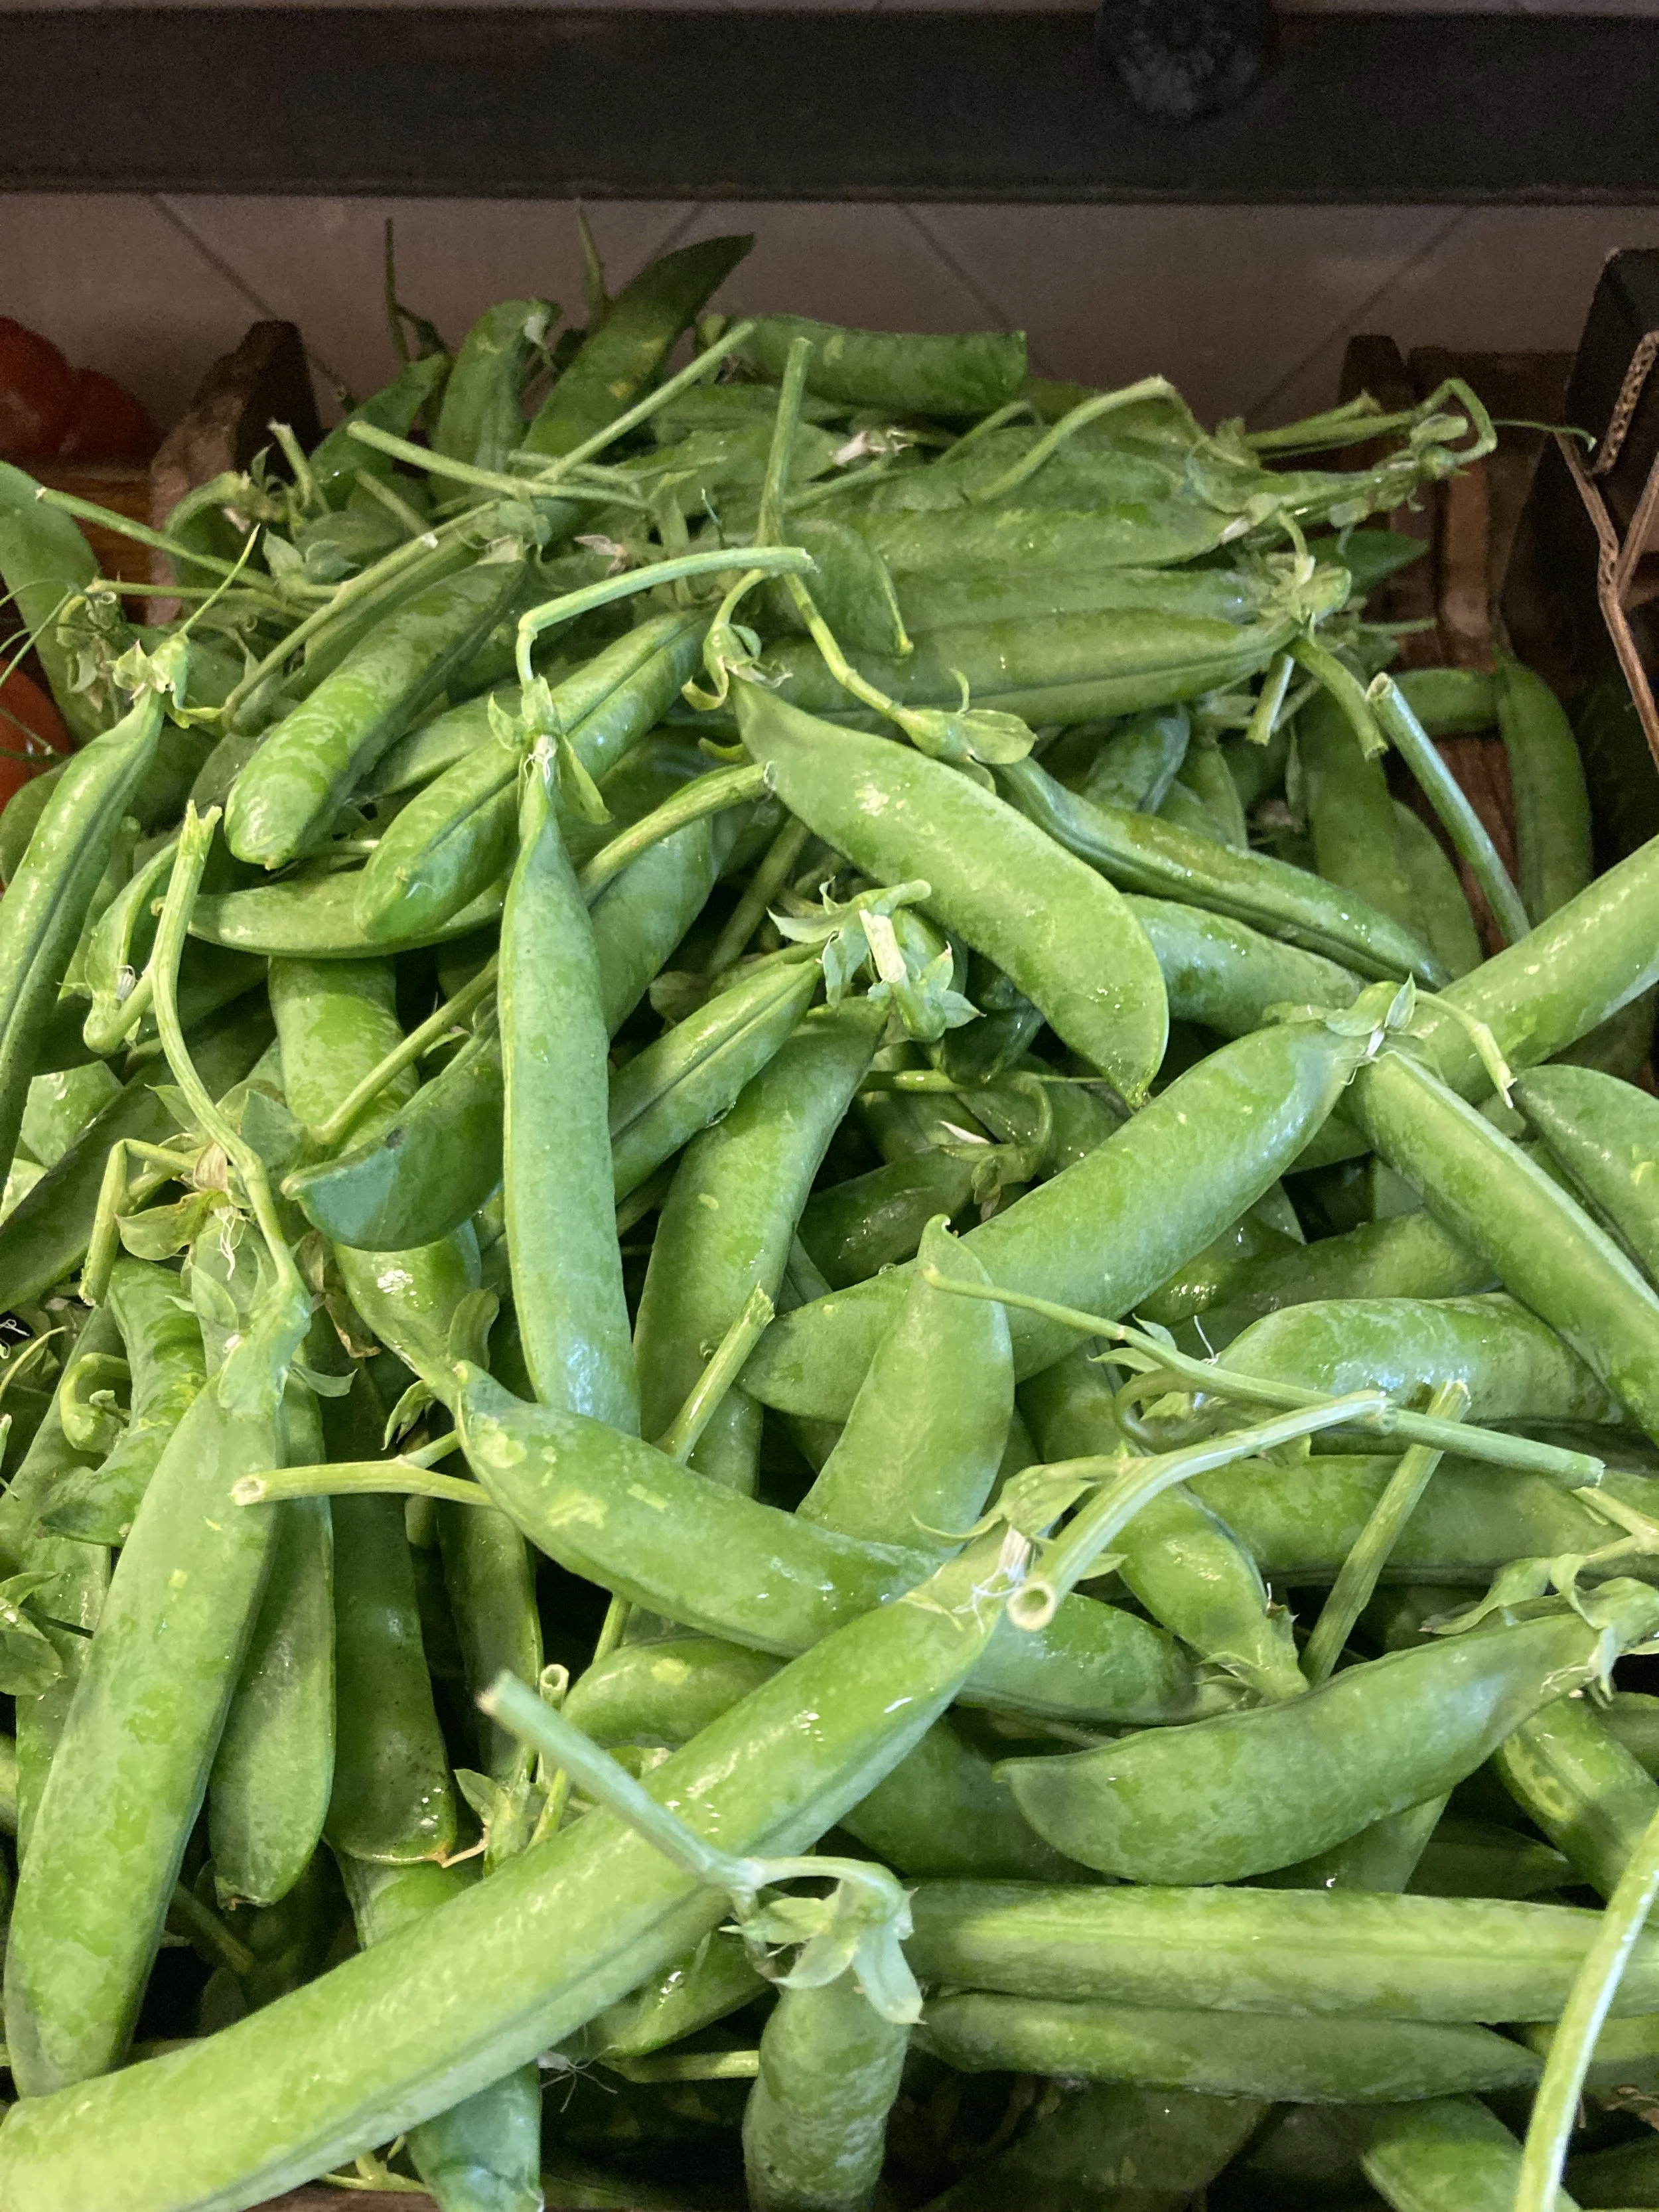
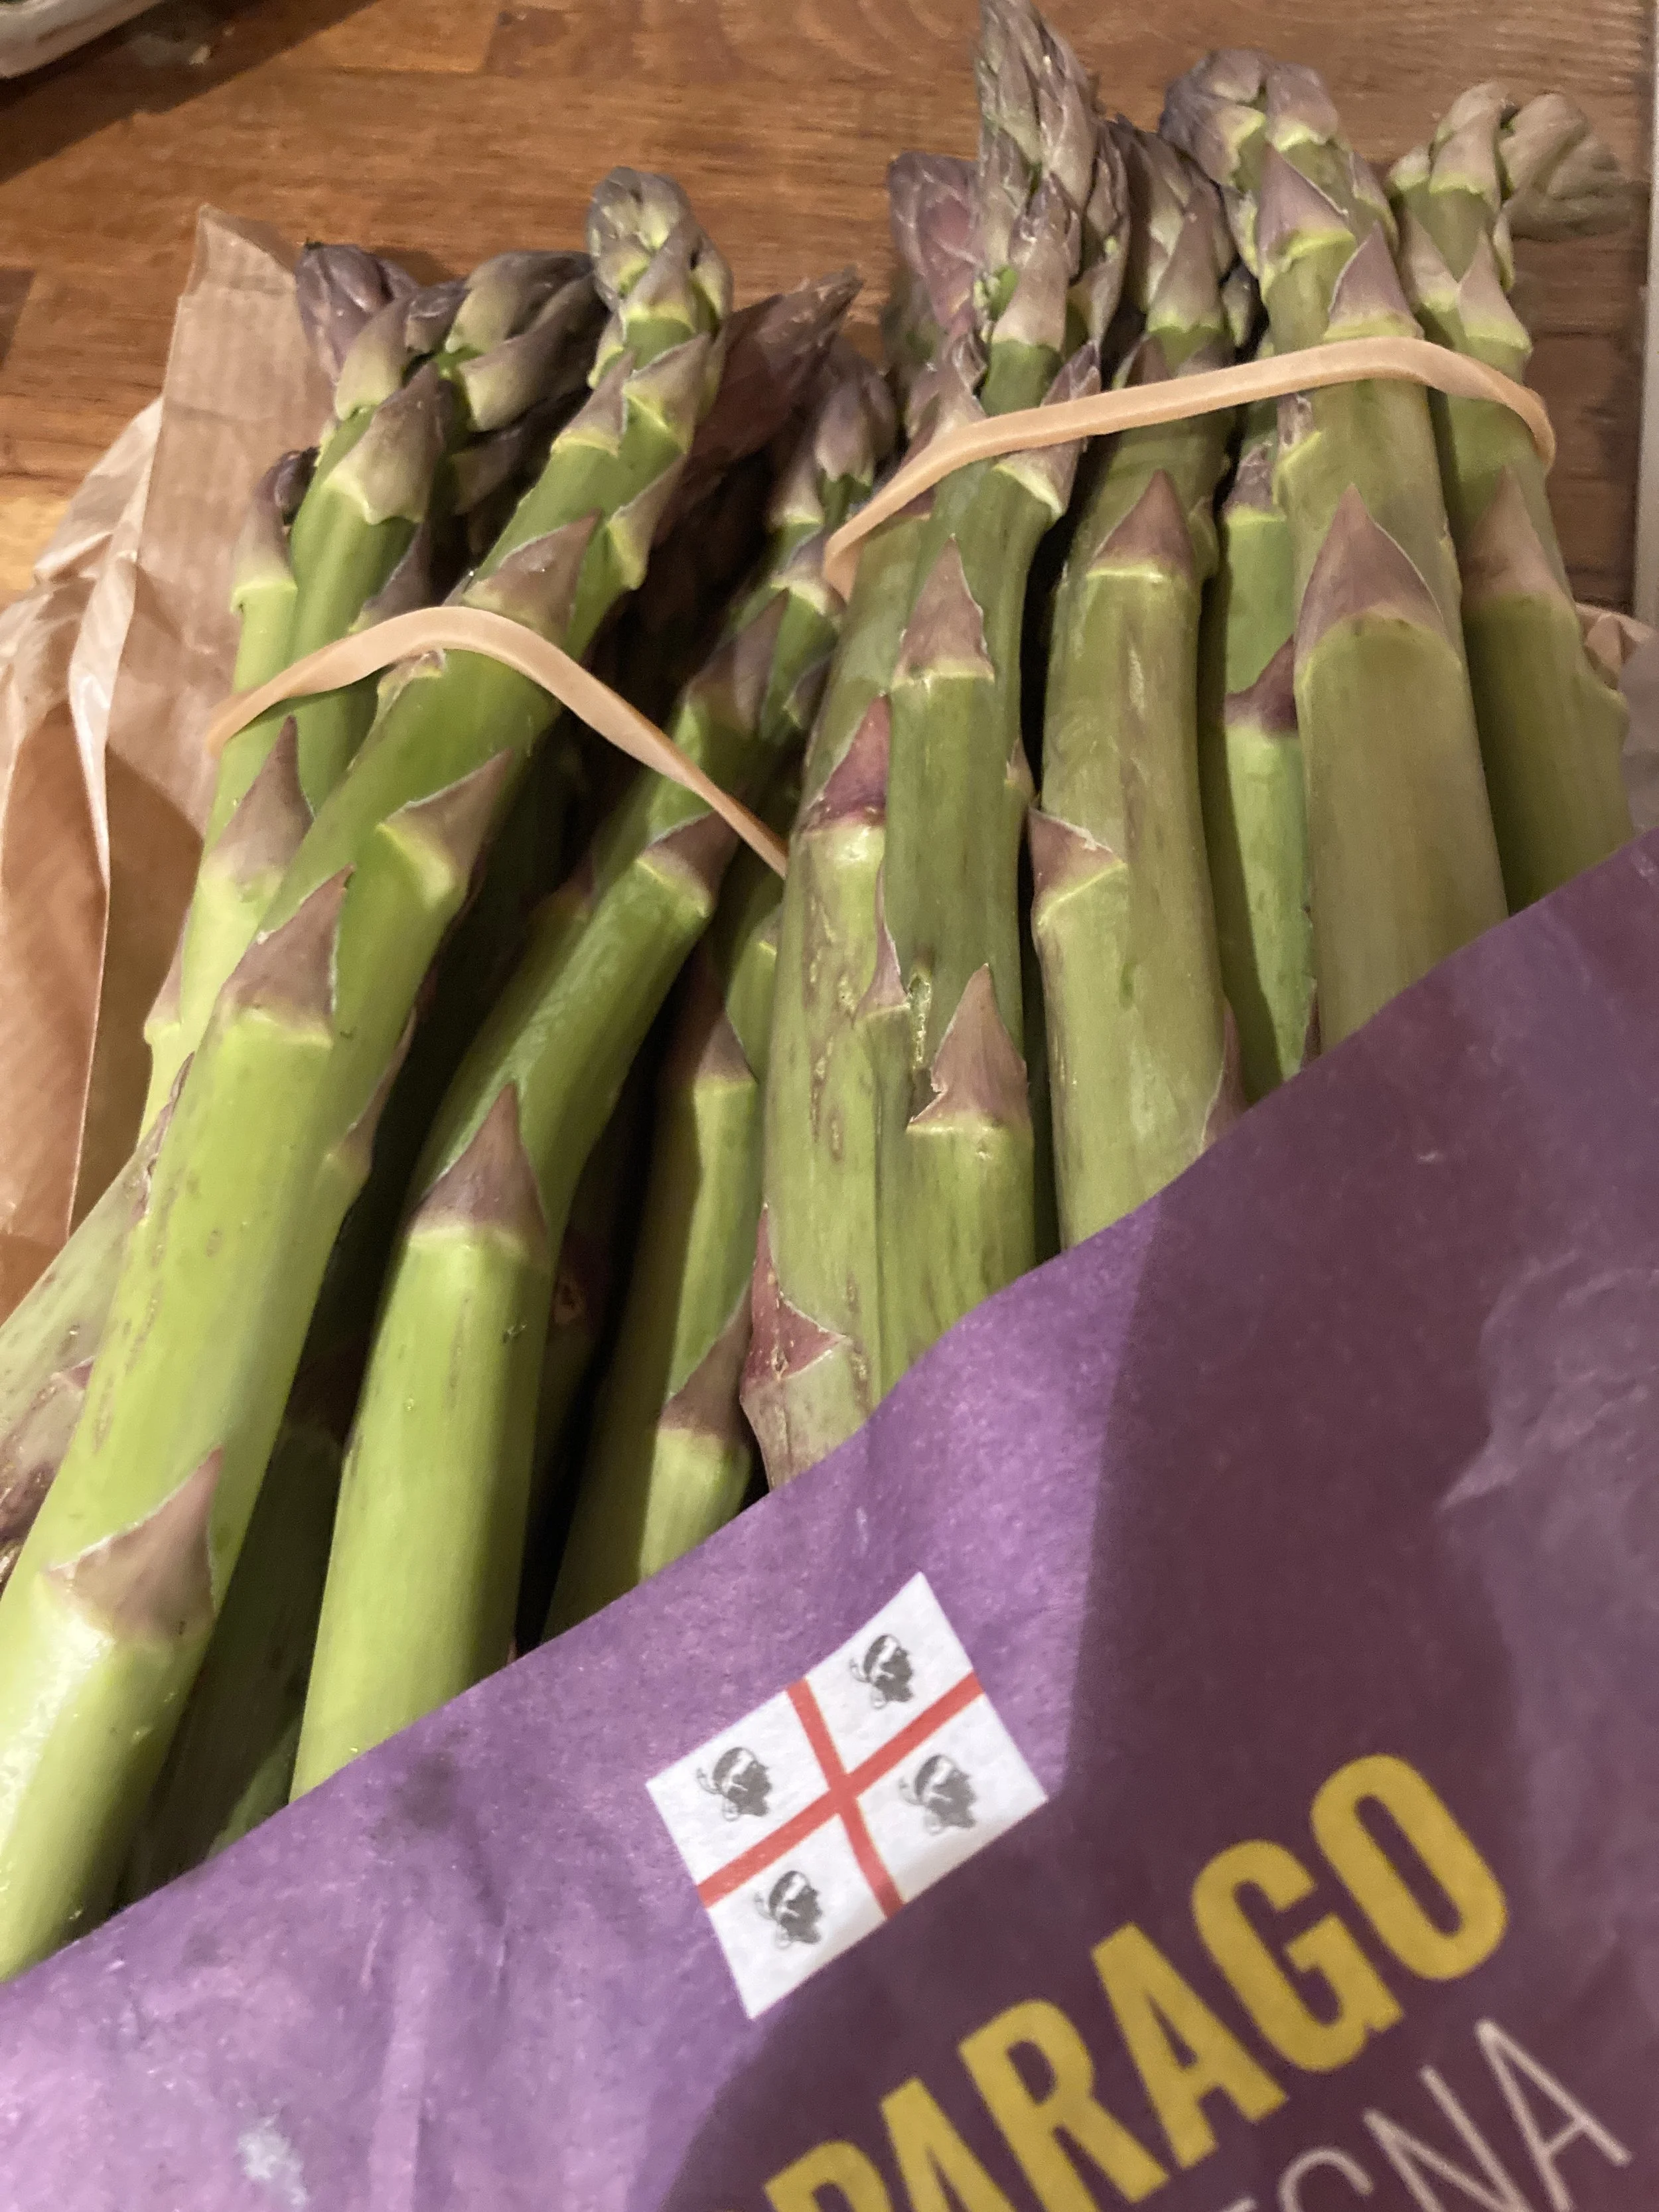
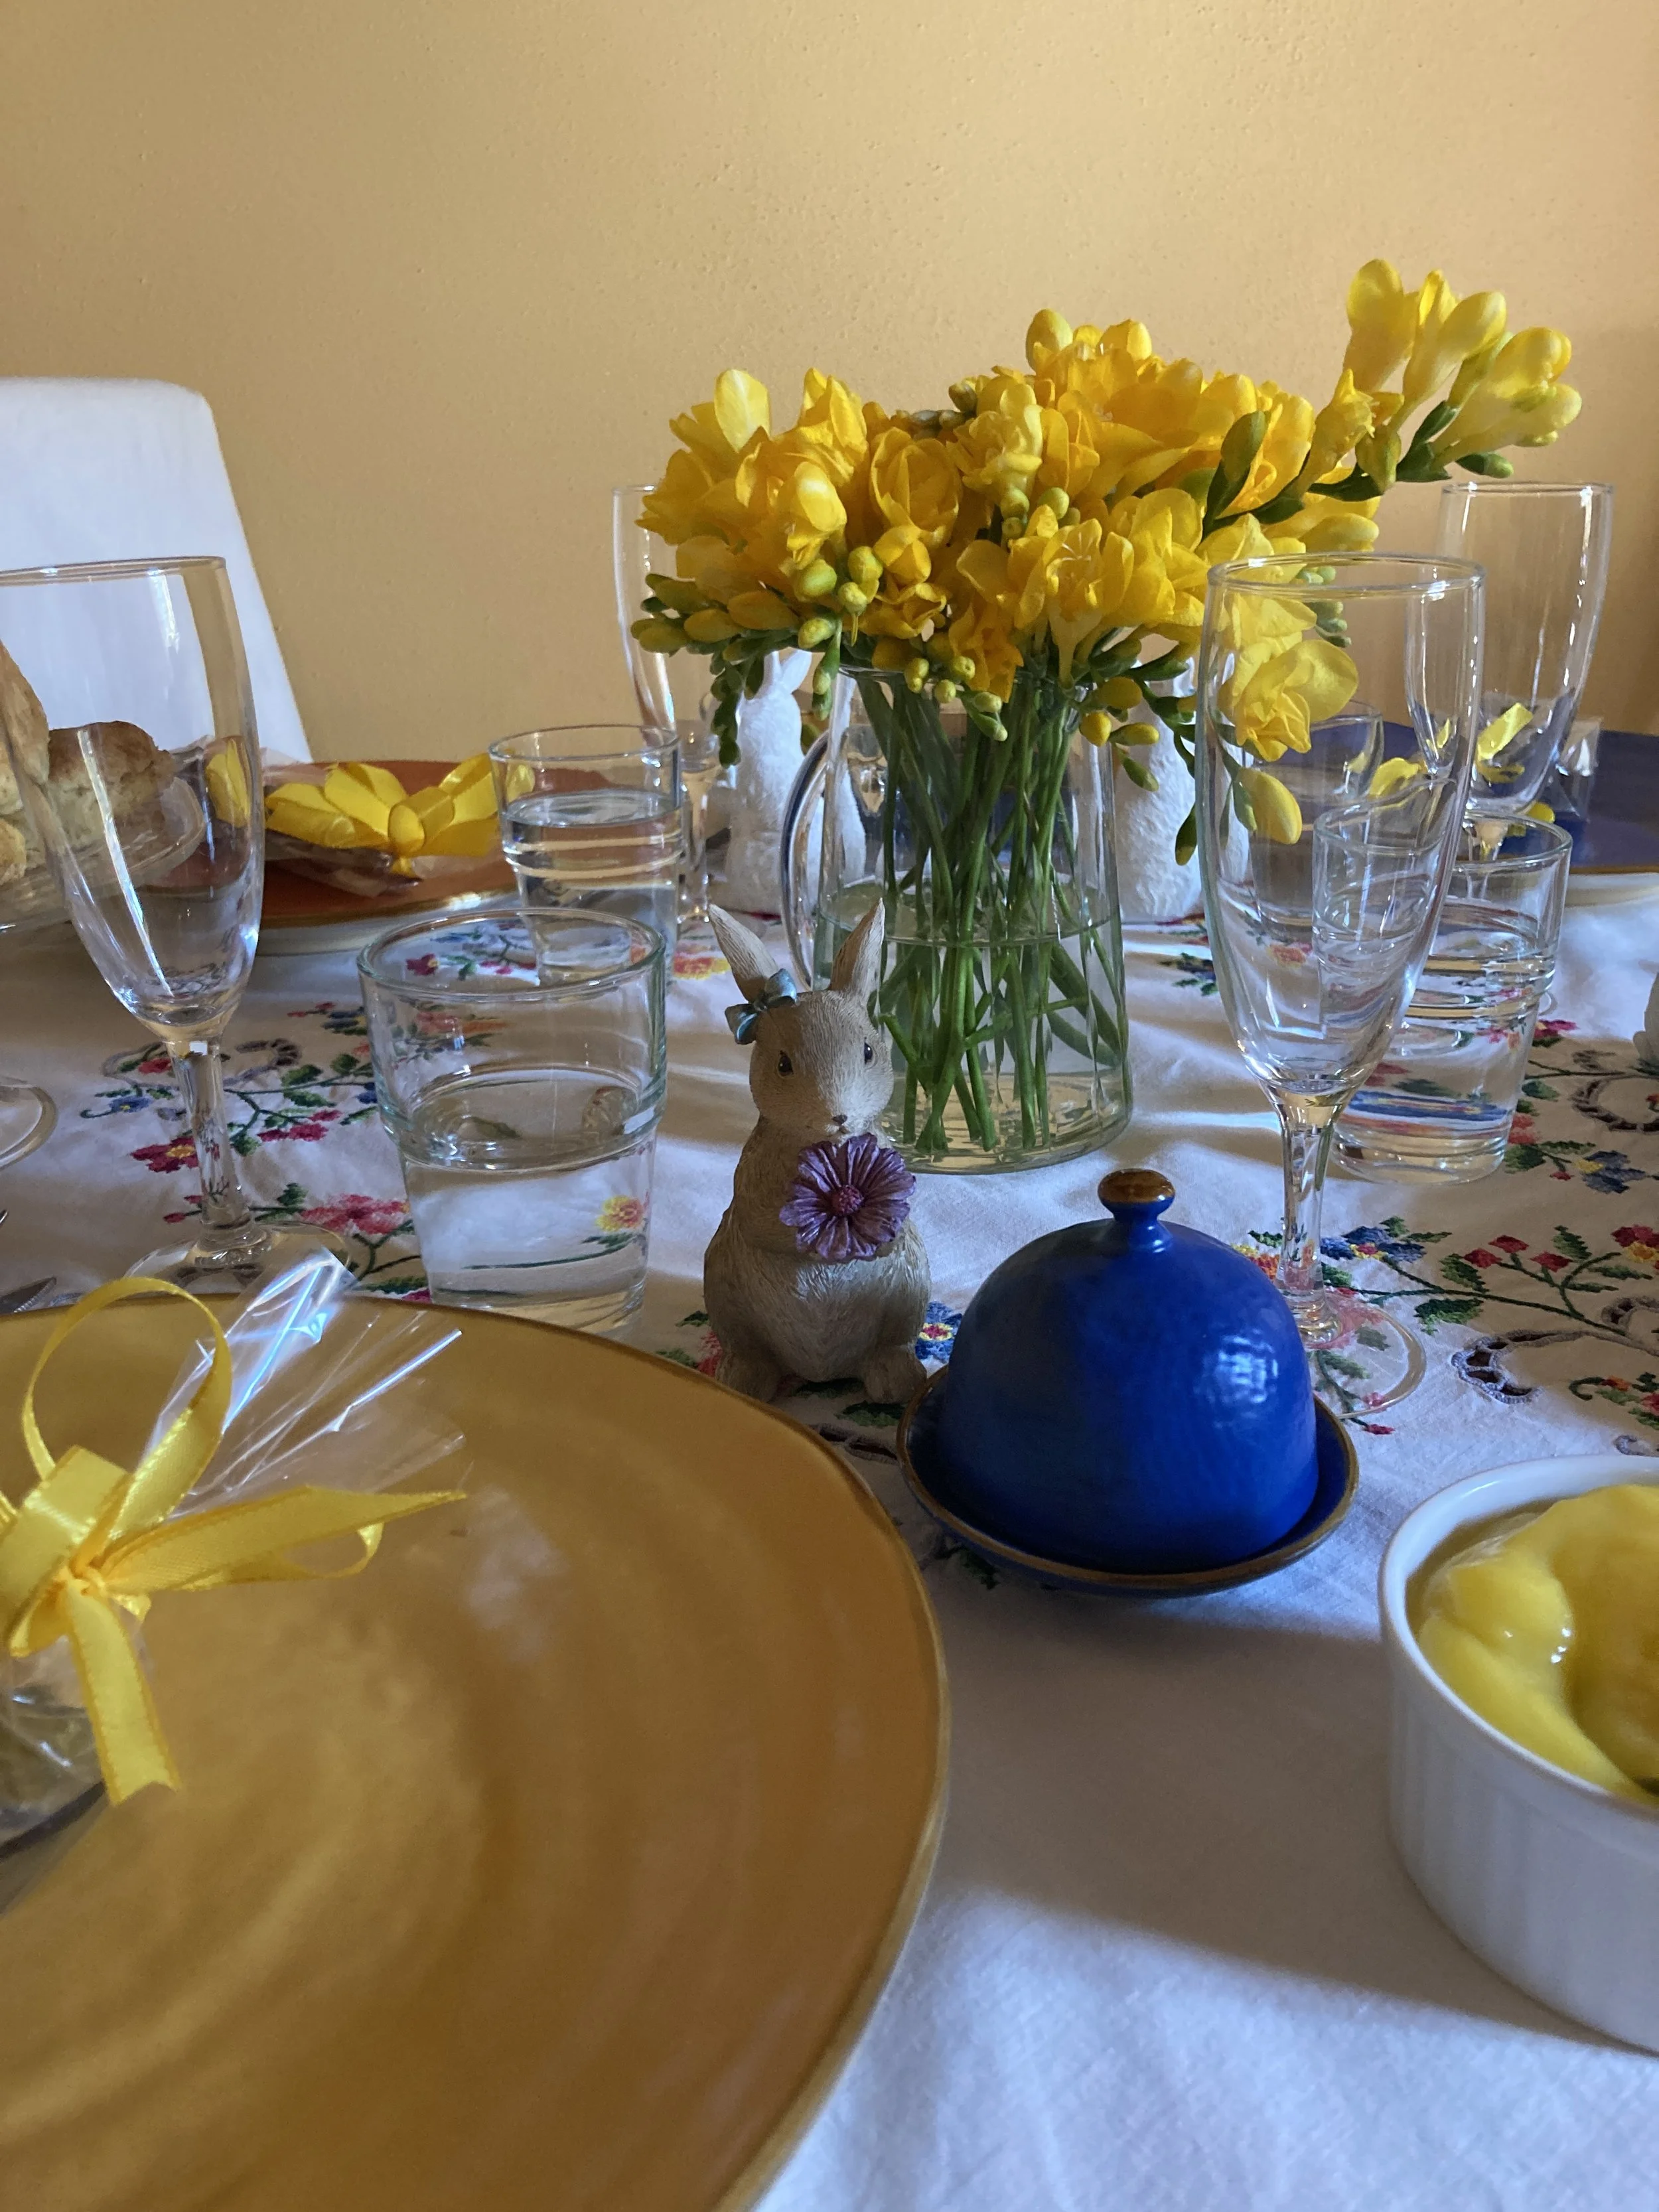
In the markets, both asparagus and shiny green pea pods have made an appearance. The shops have been busy as people gathered supplies for Easter lunch. In Italy that is typically a family affair. For me it meant brunch with good friends. Some of that gorgeous asparagus was definitely on the menu, along with some pretty yellow freesias from the twice weekly flower market.
Best of all, Easter weekend brought sunshine and the first spring like temperatures. Finally !
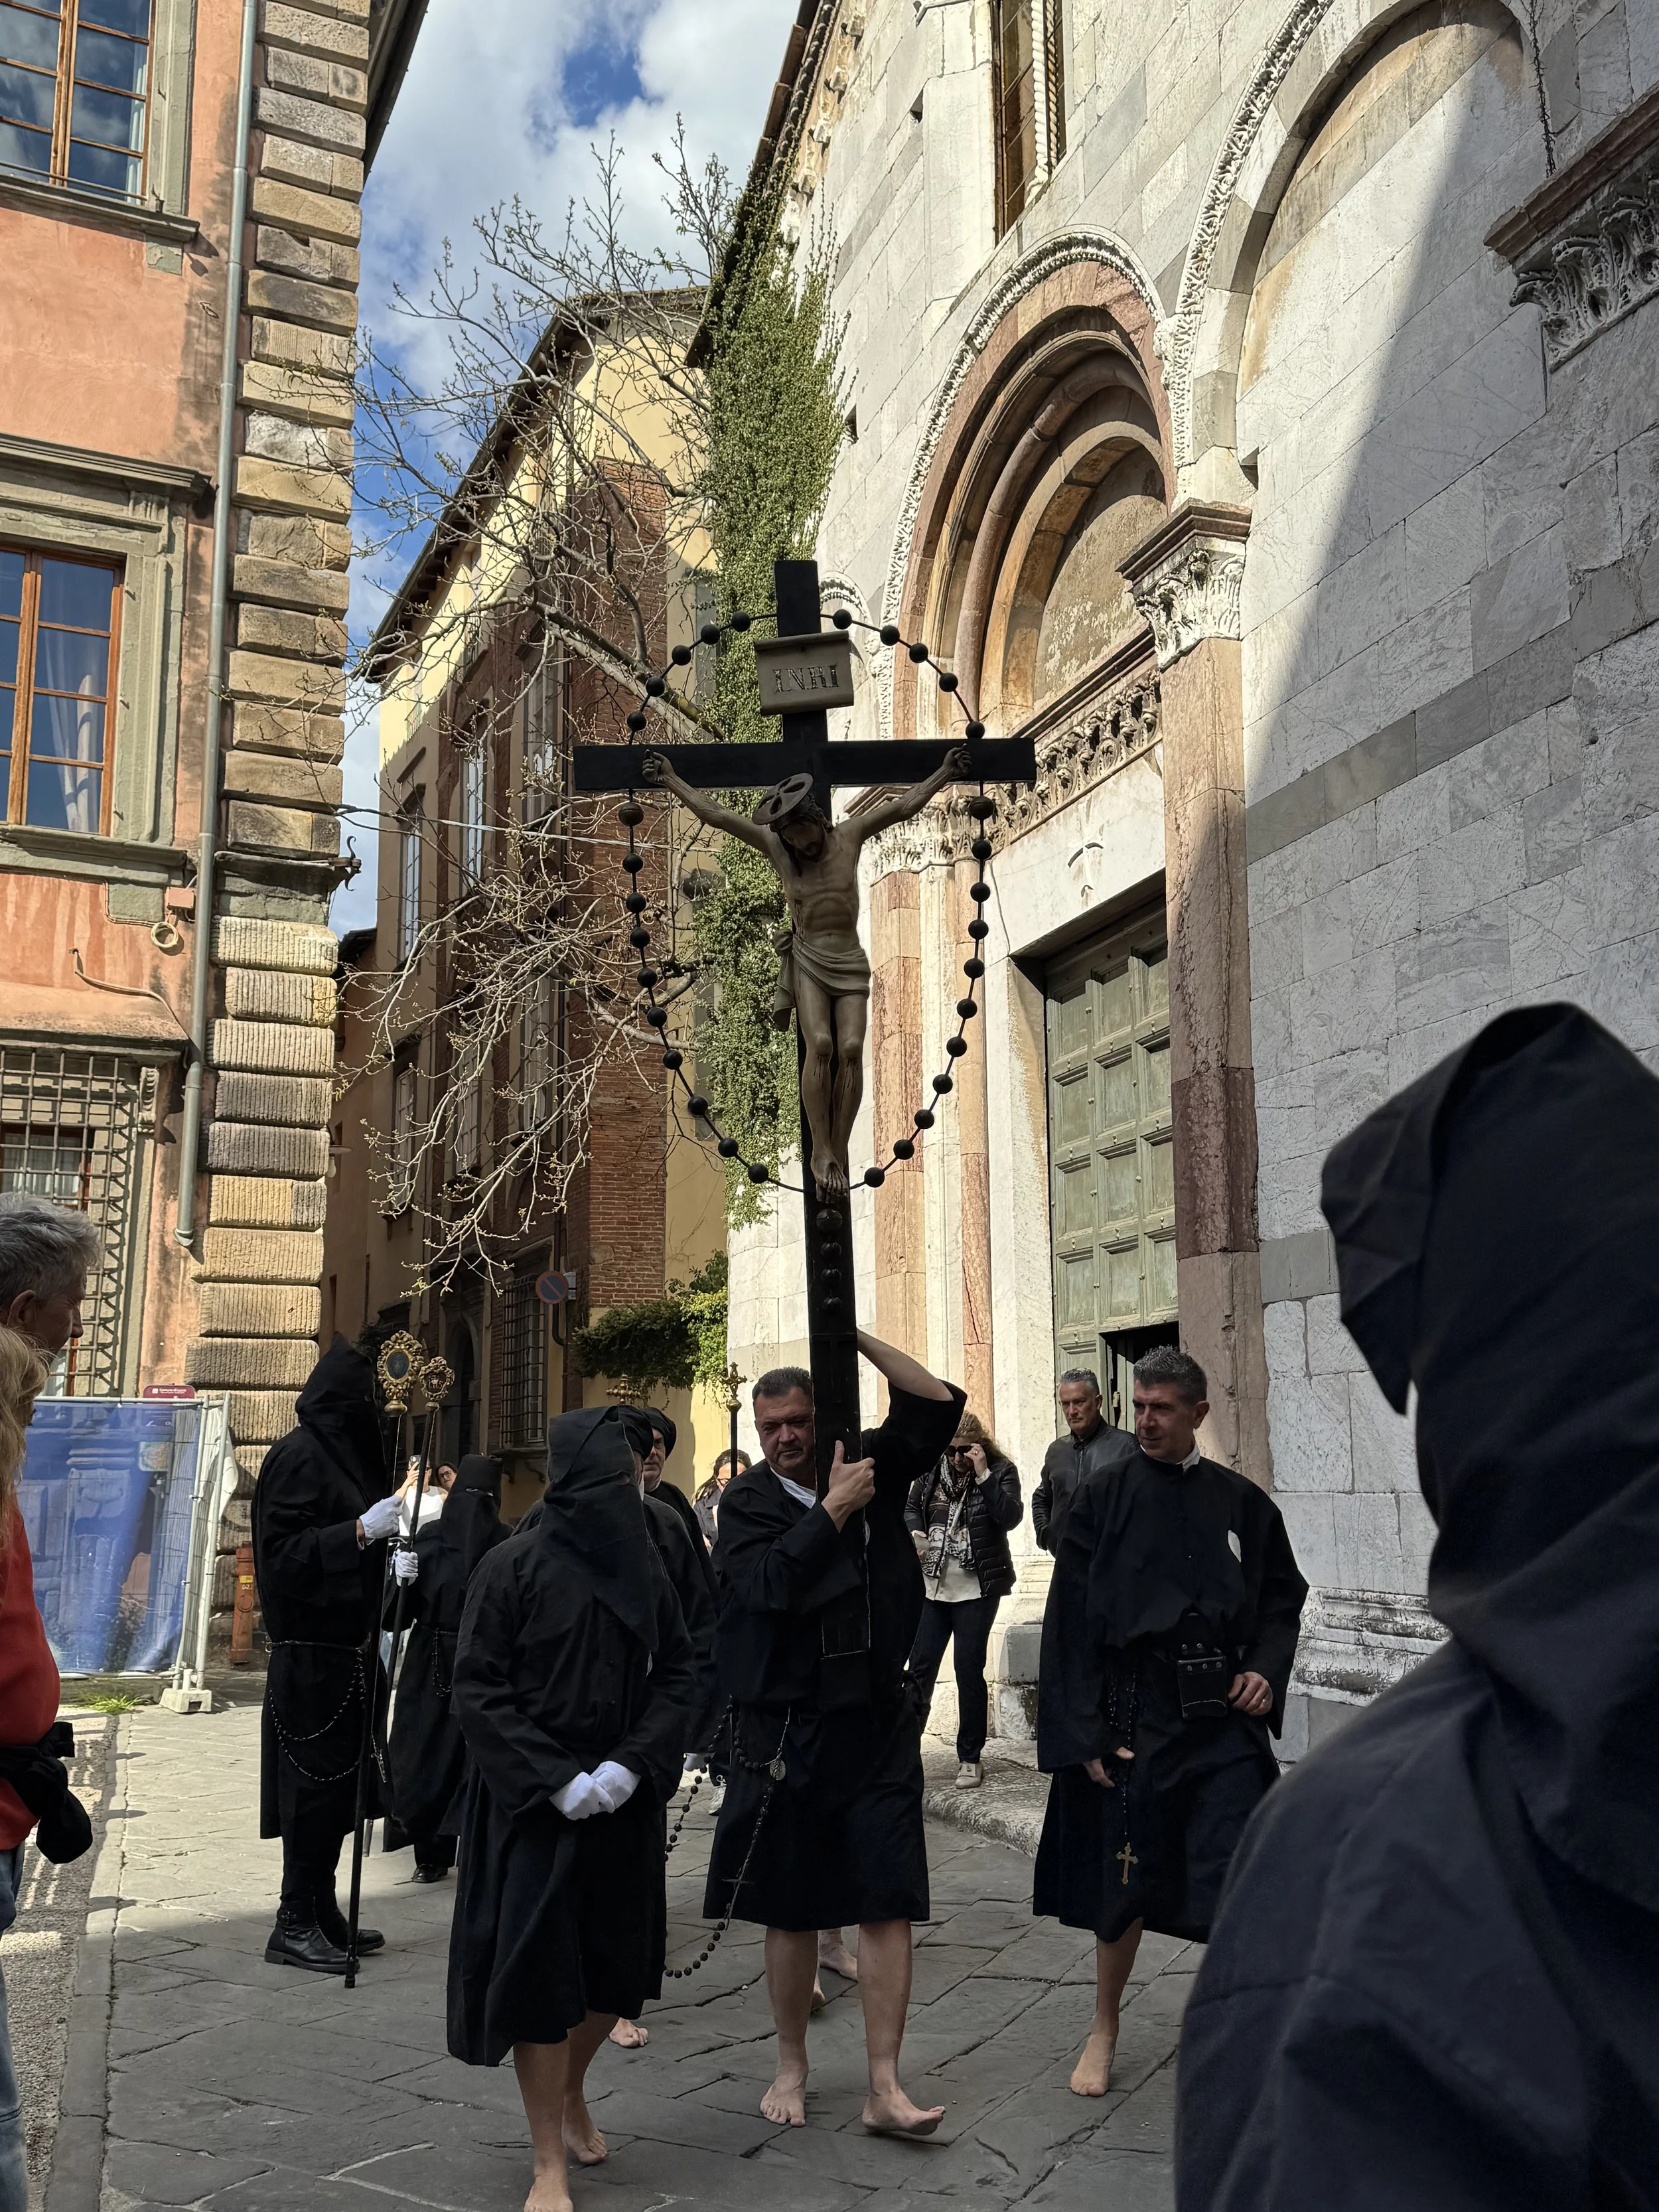
The week leading up to Pasqua (Easter) is always busy. Good Friday was marked by a procession that harkened back to medieval times as it wandered through Lucca, complete with the barefoot men of the Misericordia carrying a large crucifix with stops made at small chapels and roadside shrines. Ancient and meaningful, with chanting and prayers, it is an integral part of Easter time here.
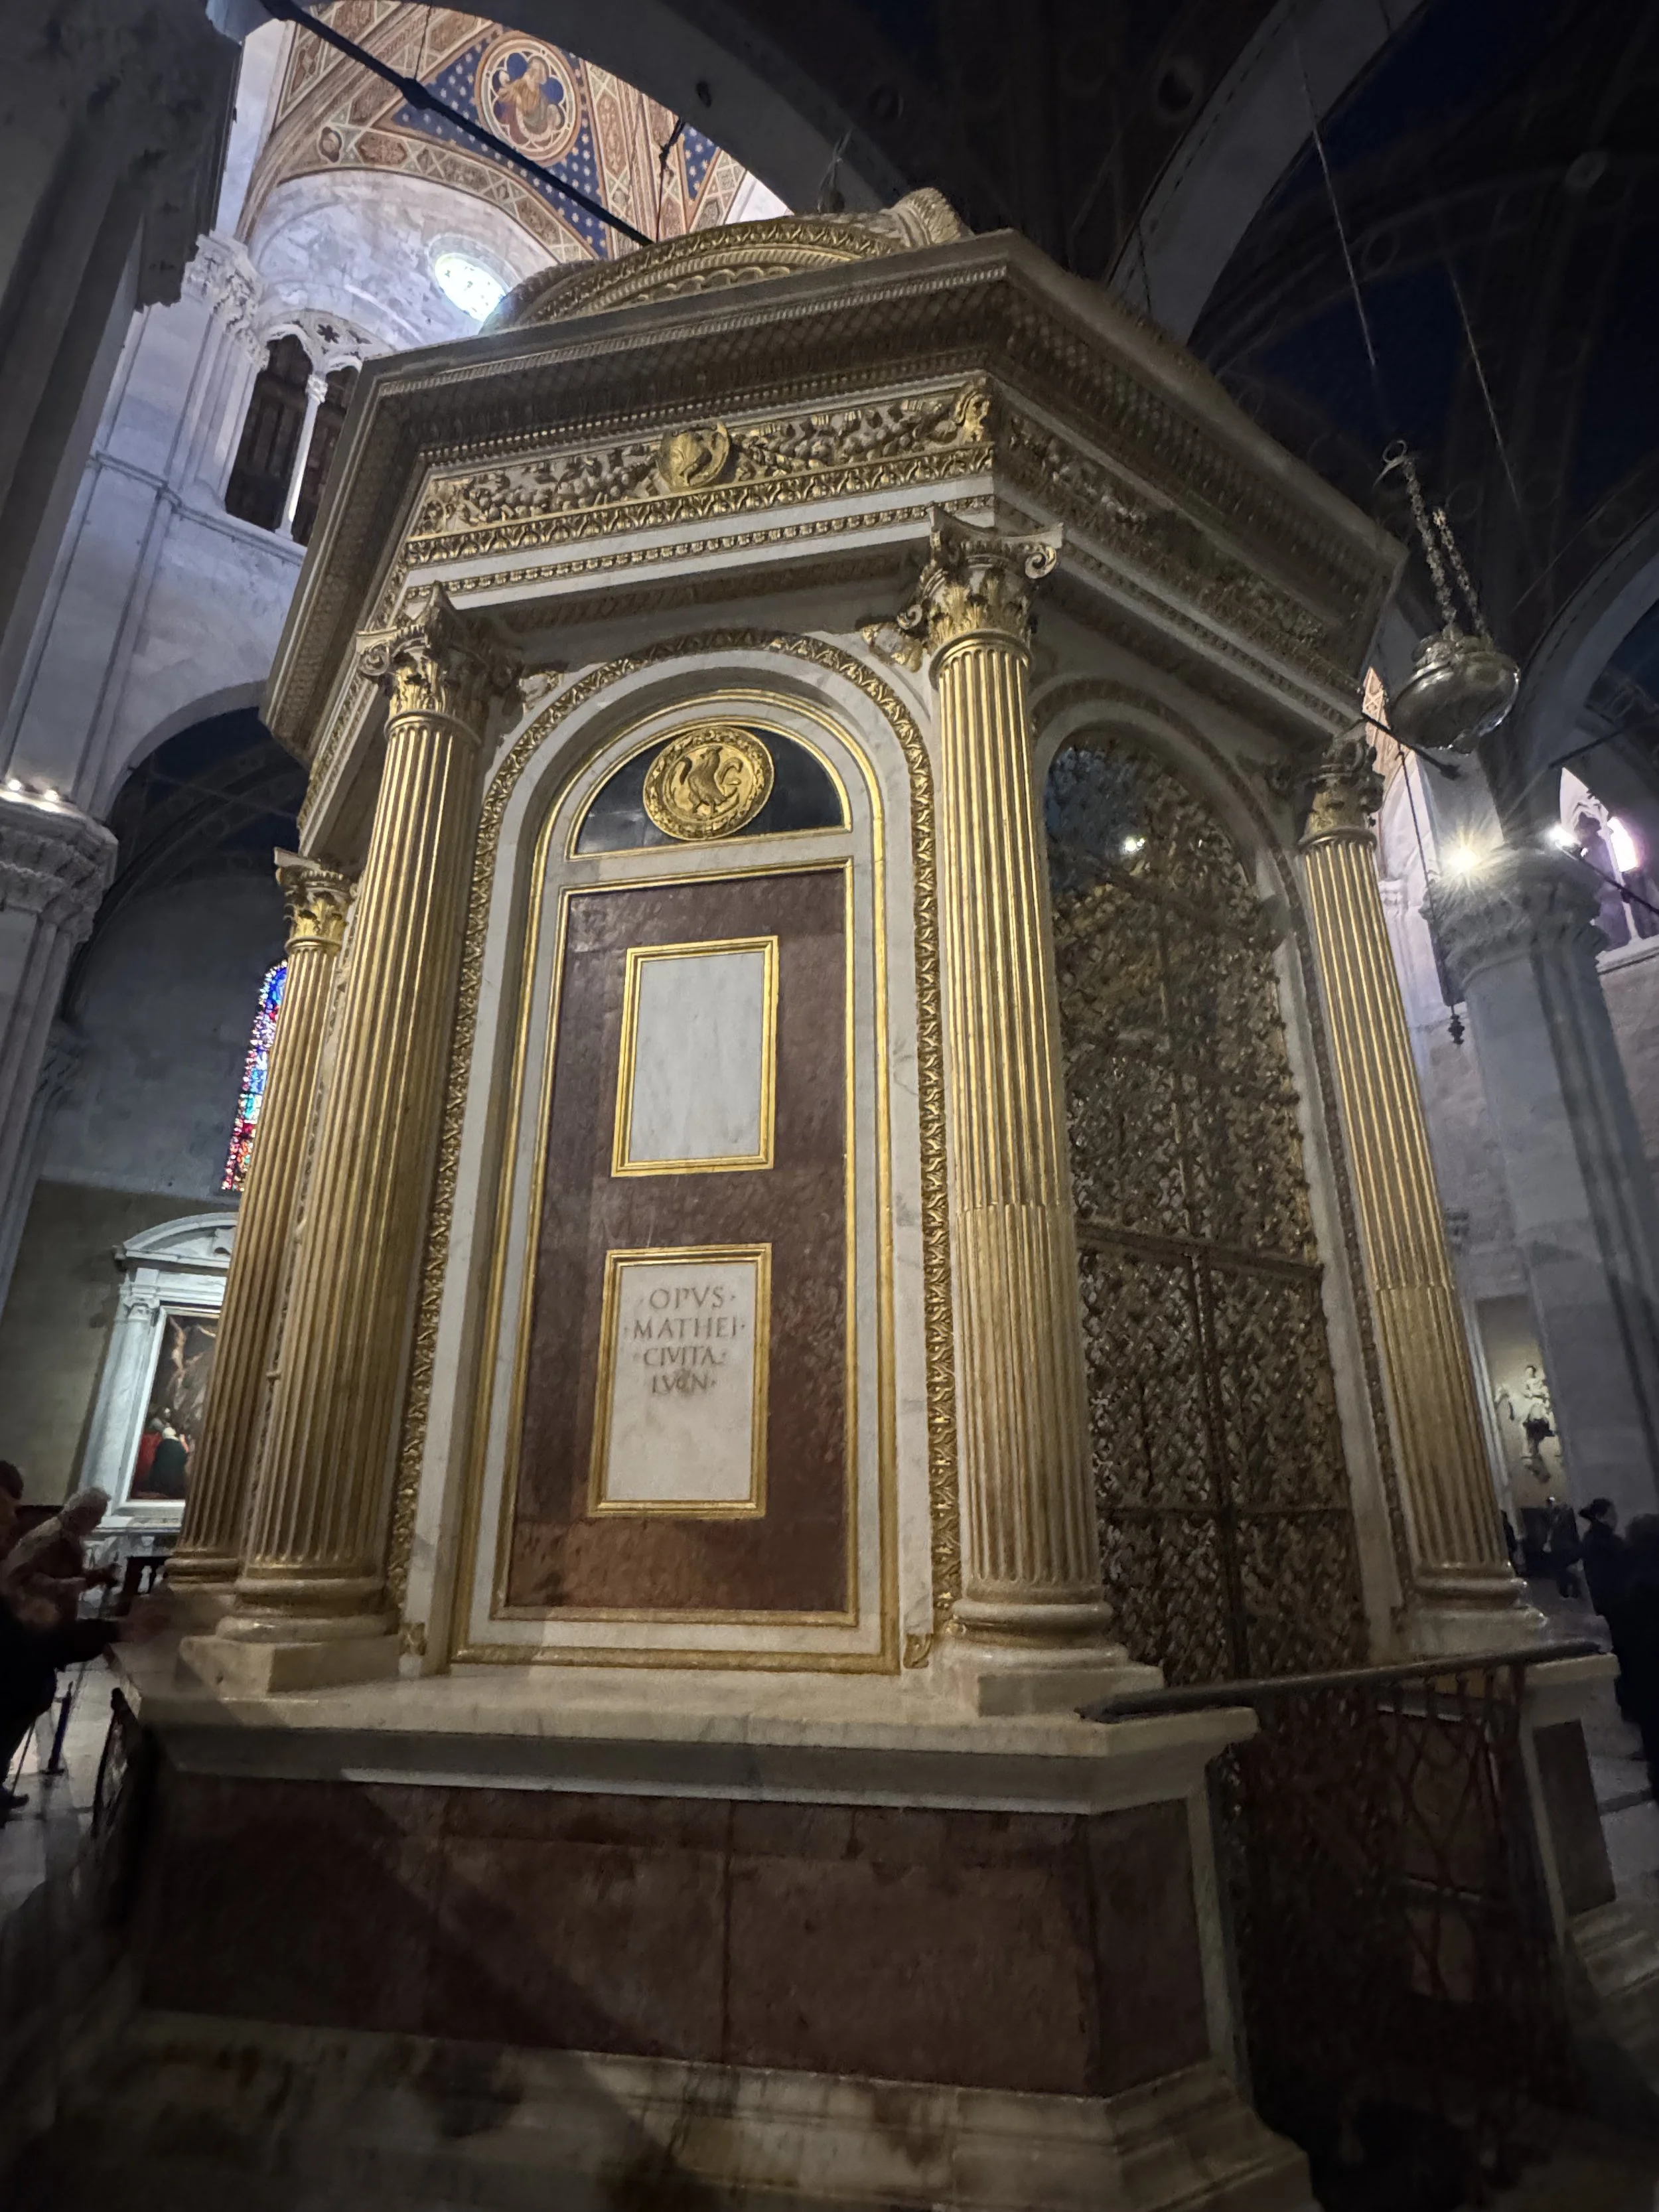
In the Duomo (Lucca’s main cathedral), an Easter week visit gave me a chance to see the restoration work that has been completed on the Tempietto del Volto Santo, the small, 15th century temple where Lucca’s 1500+ year old wooden crucifix is usually kept.

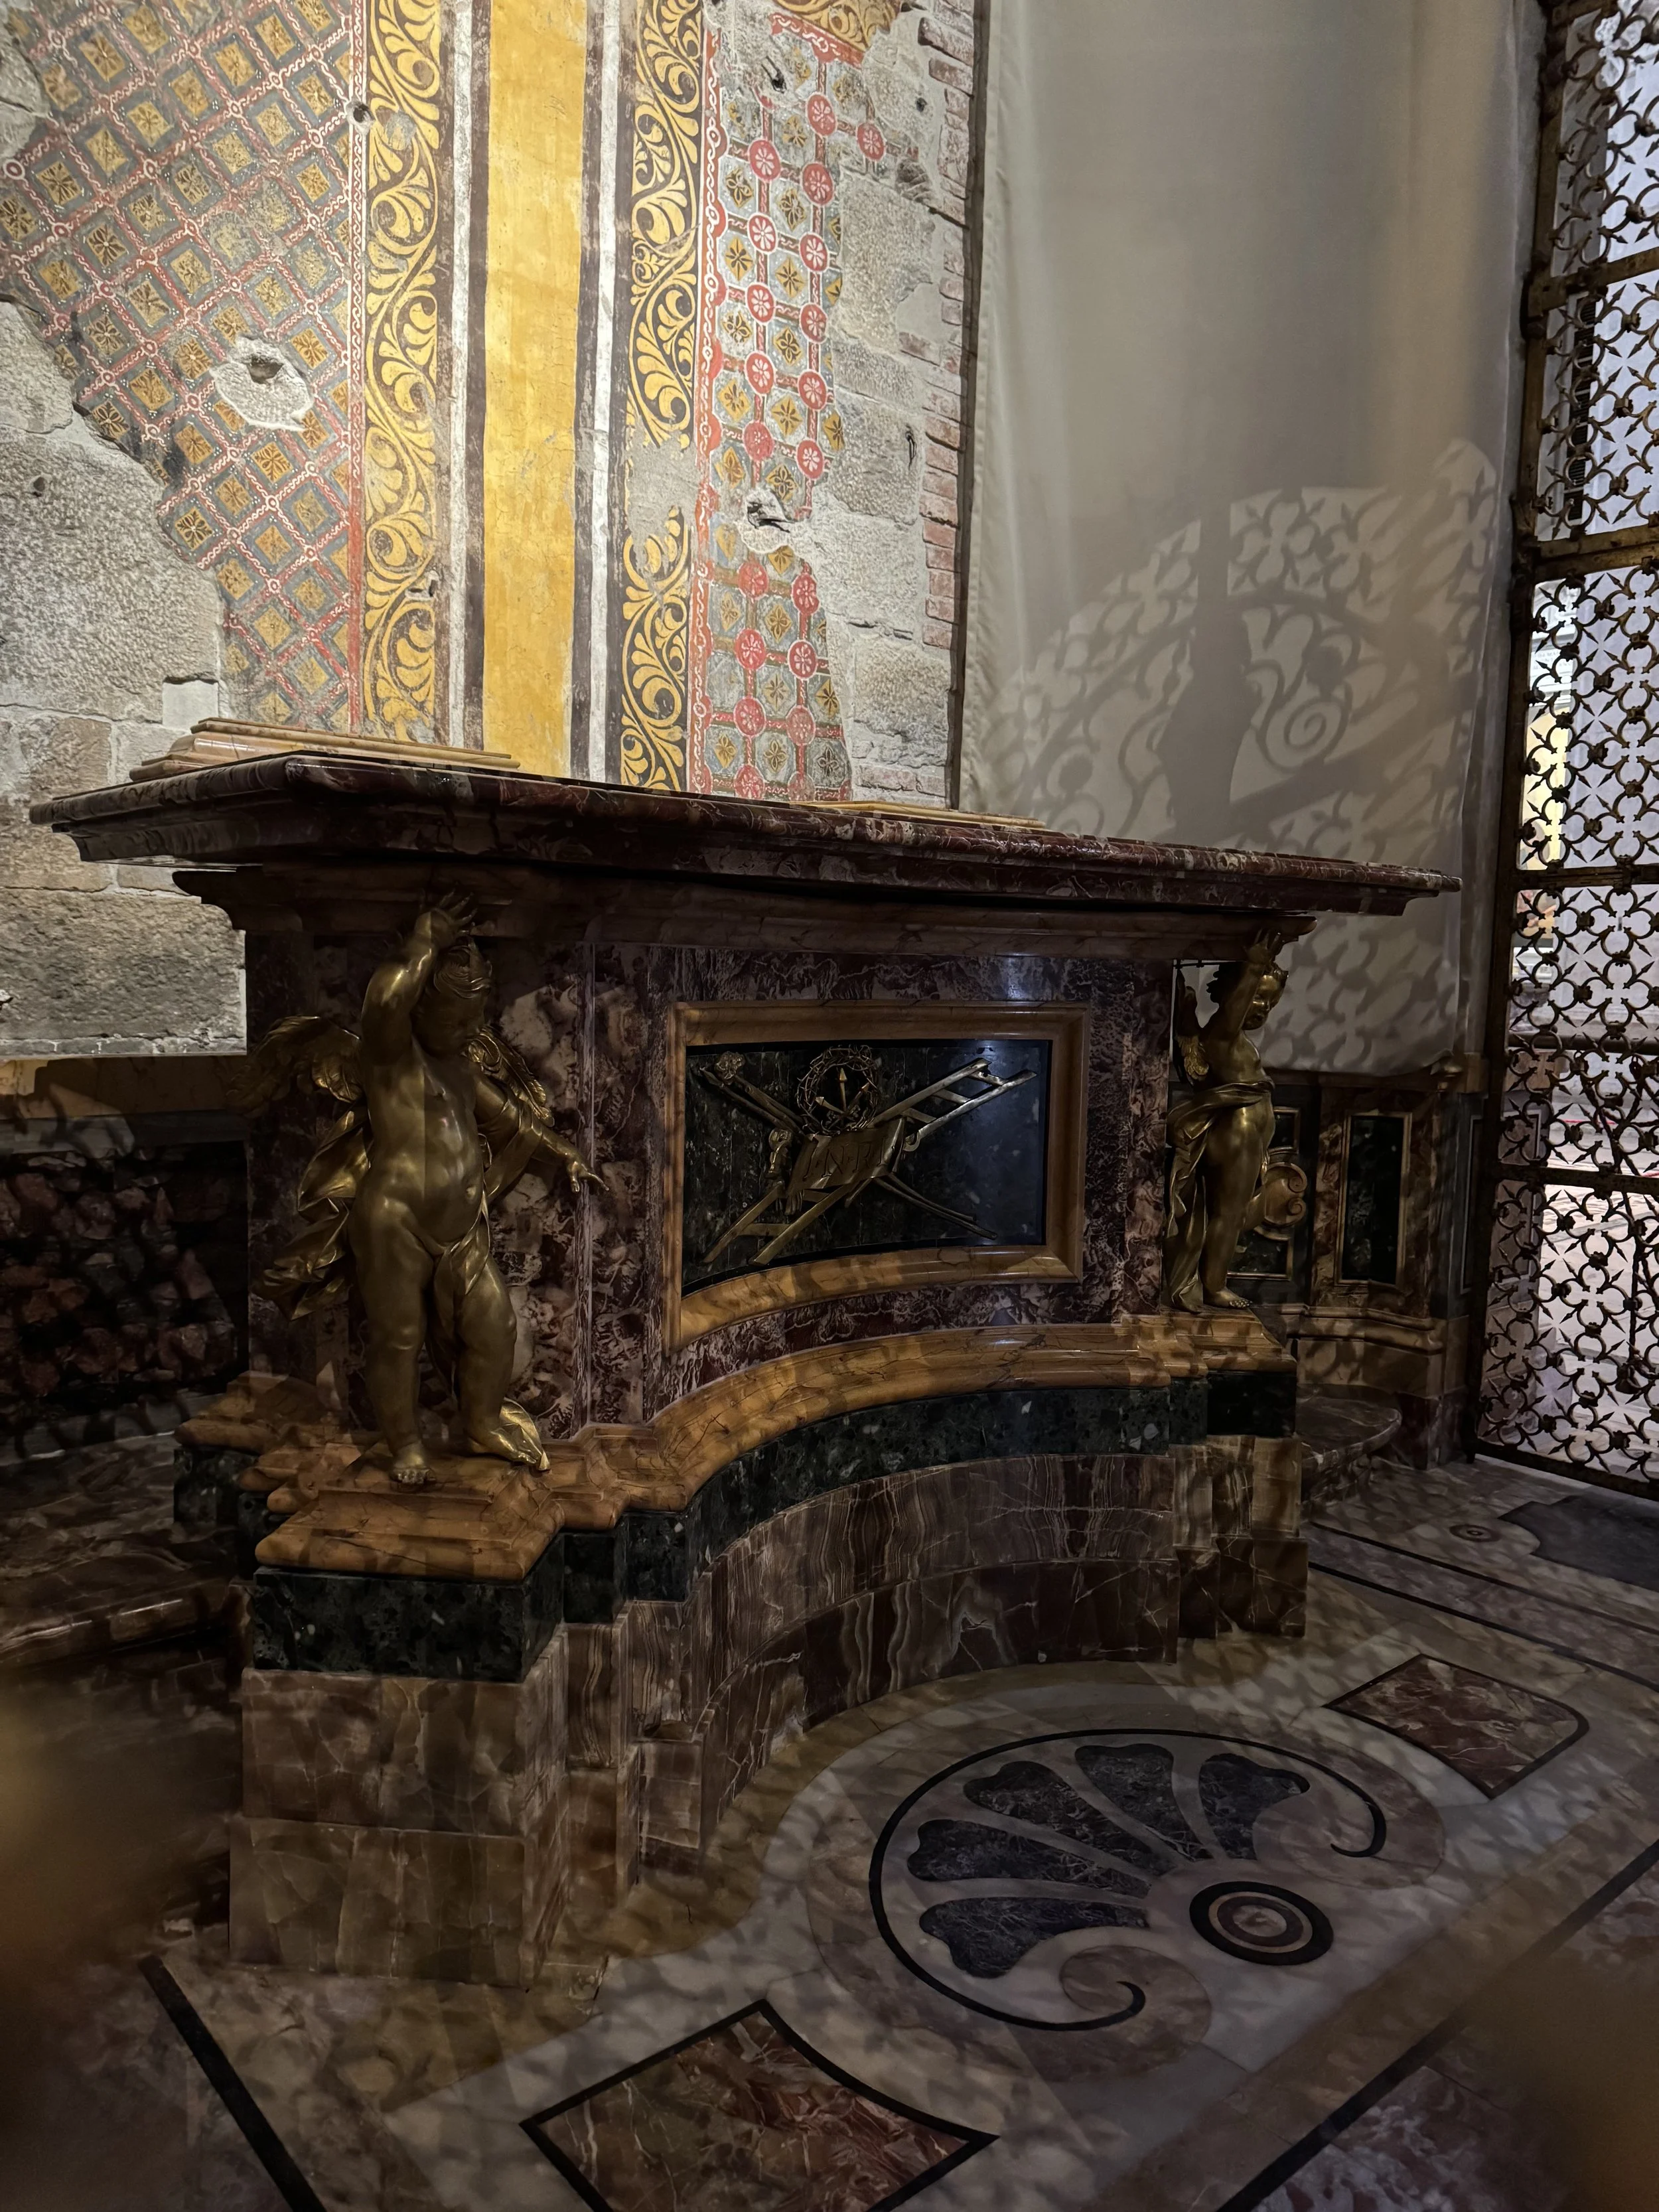
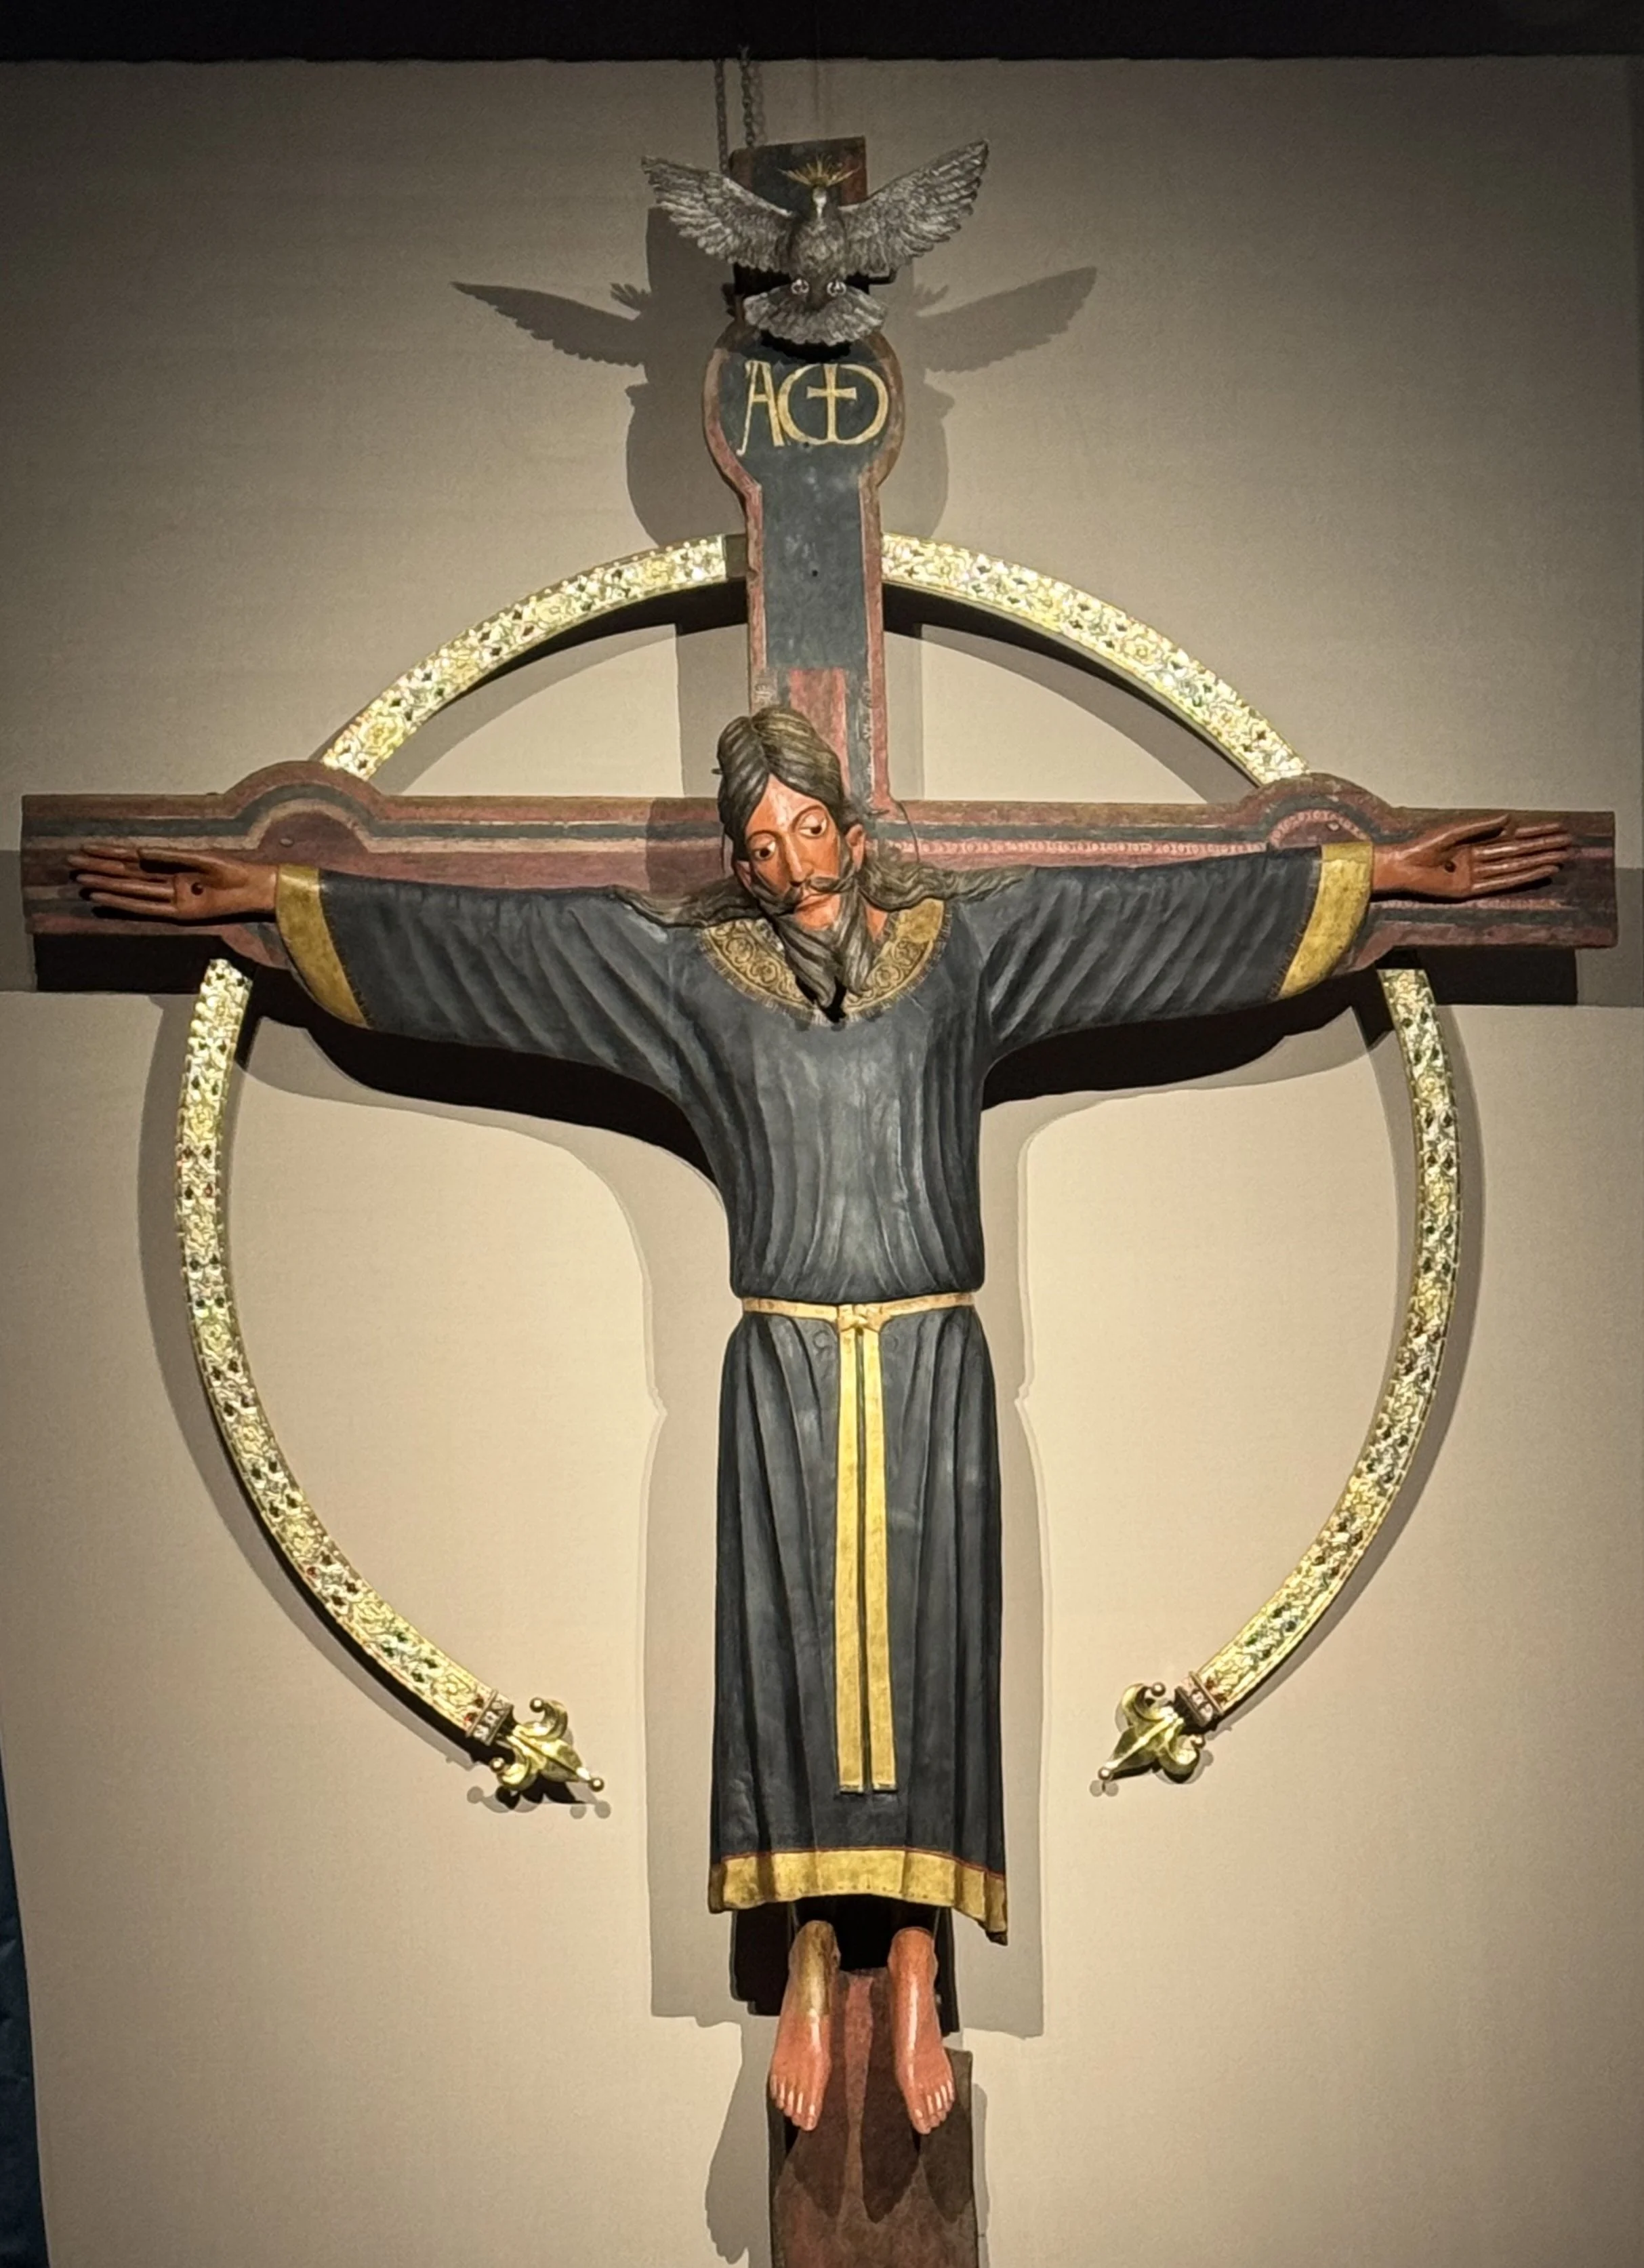
The crucifix itself was restored last year and is on display within the cathedral in the workshop were the restoration work took place.
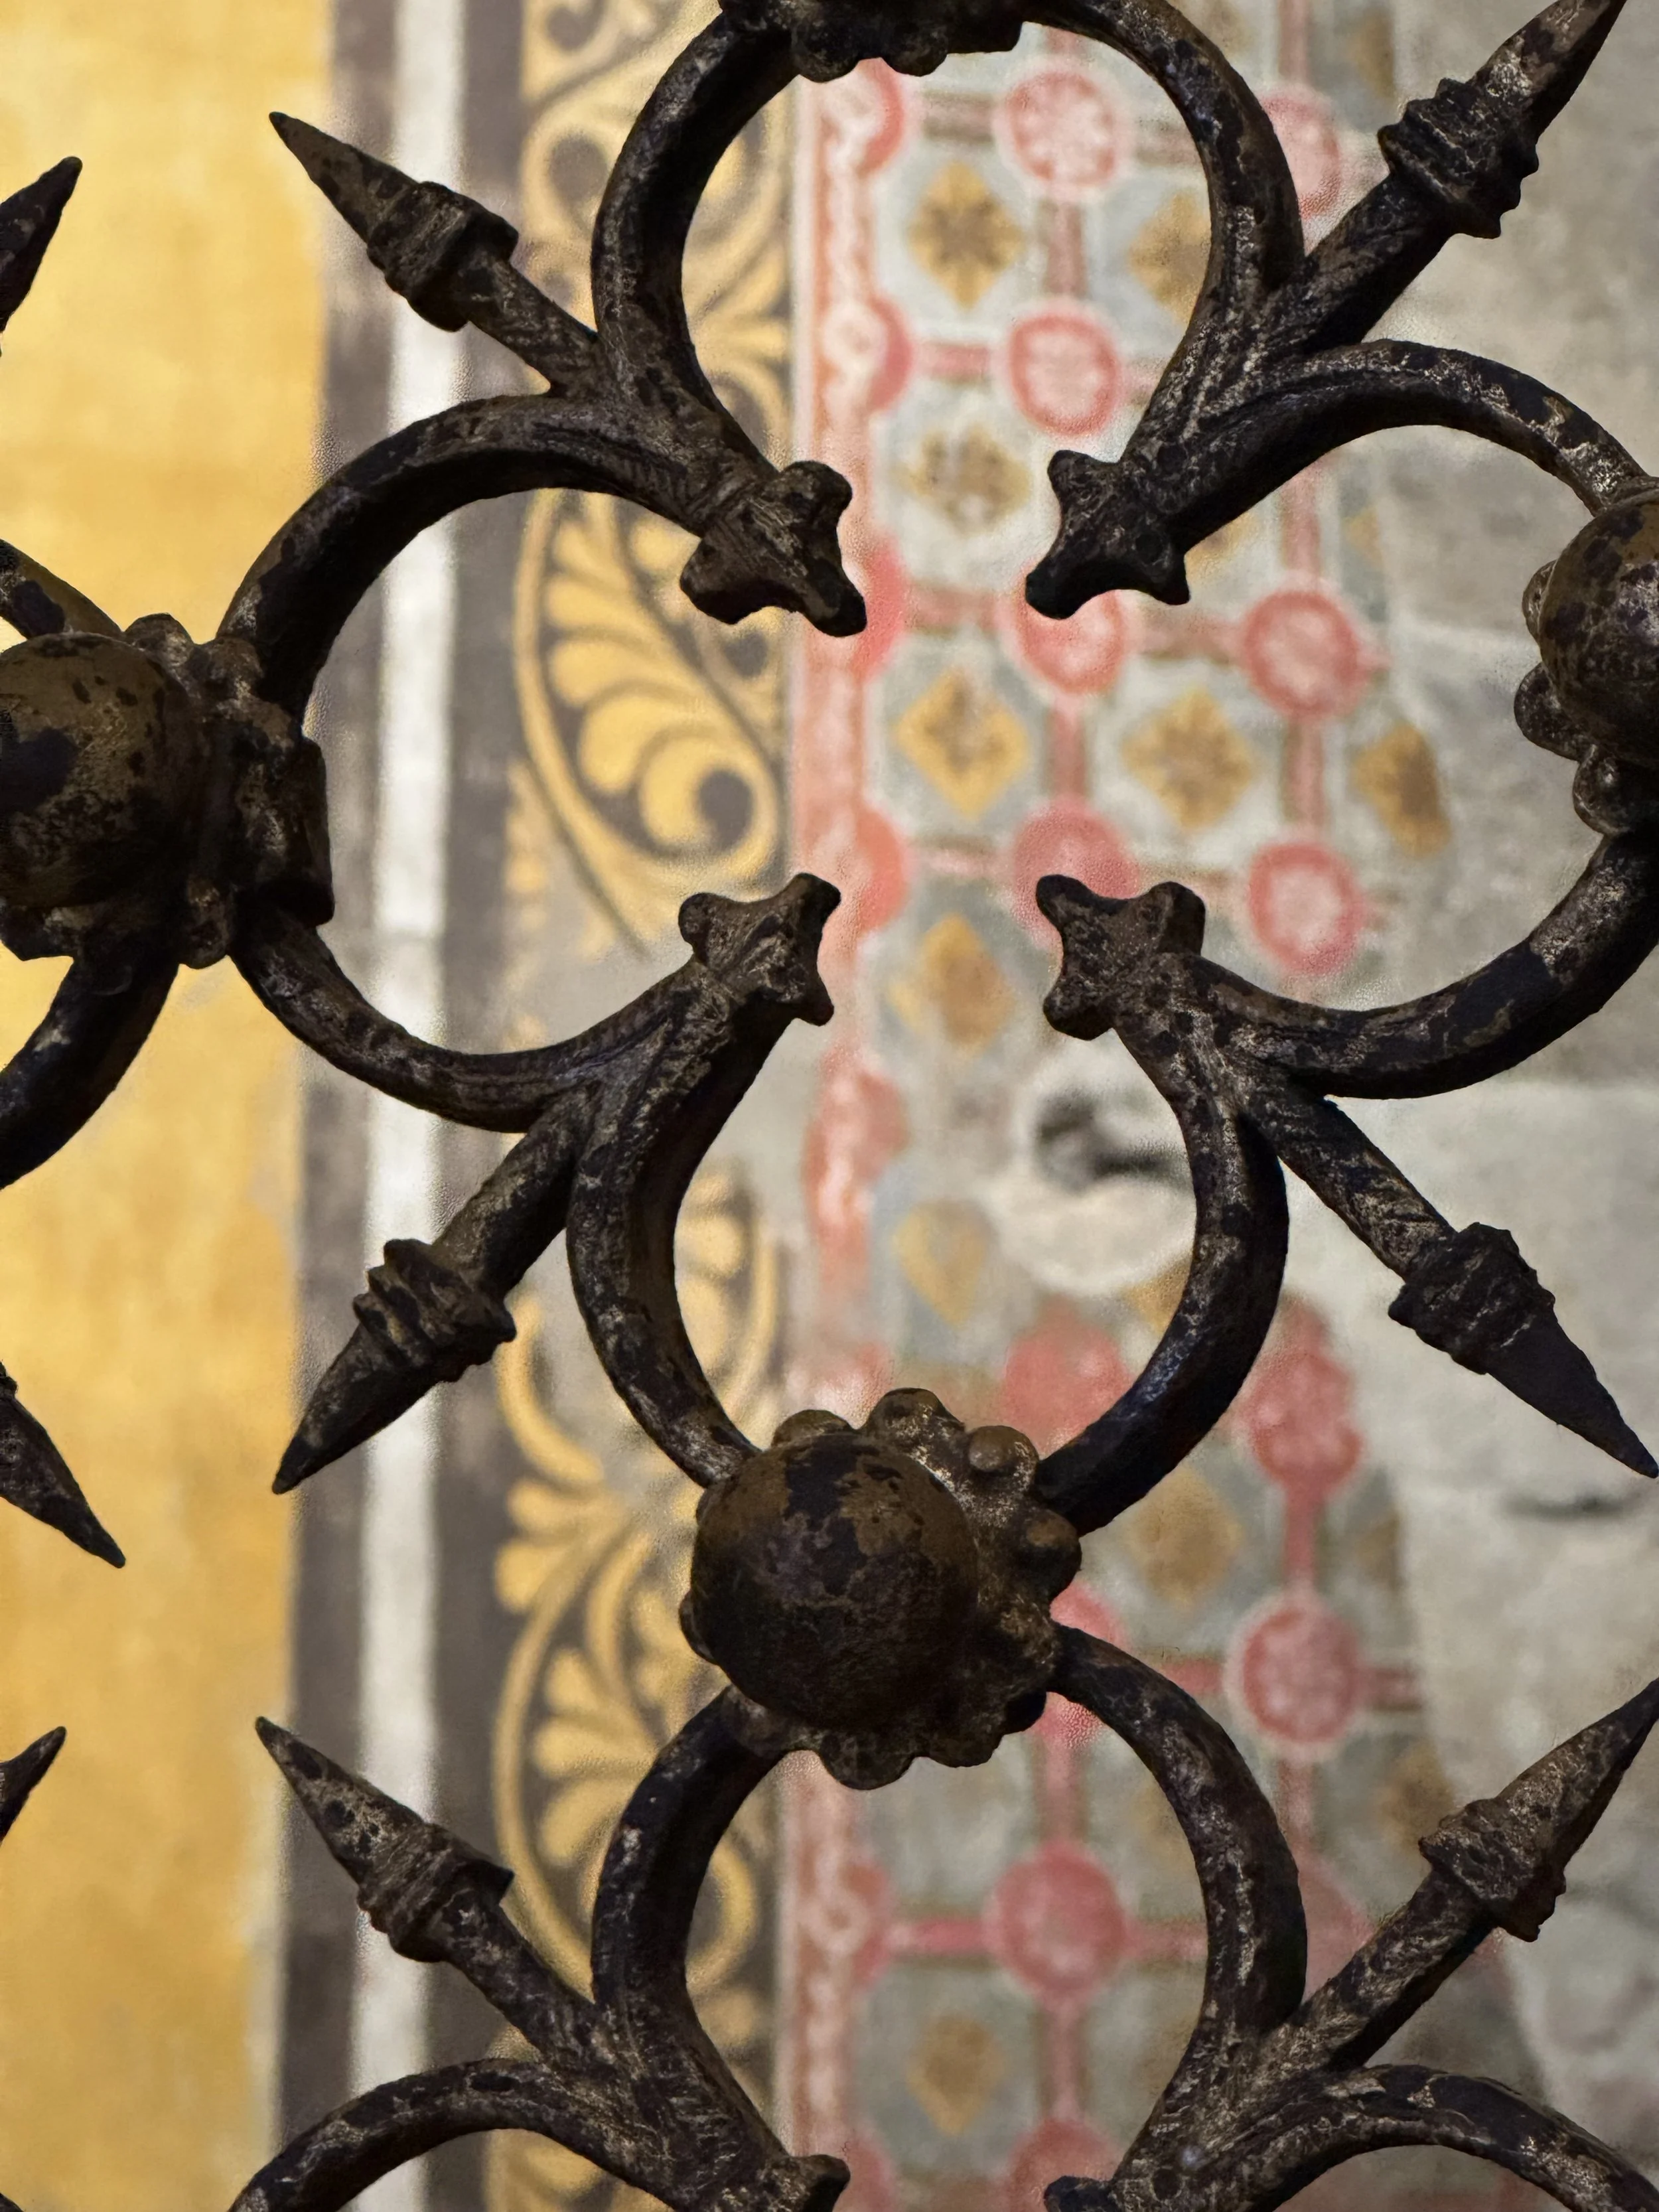
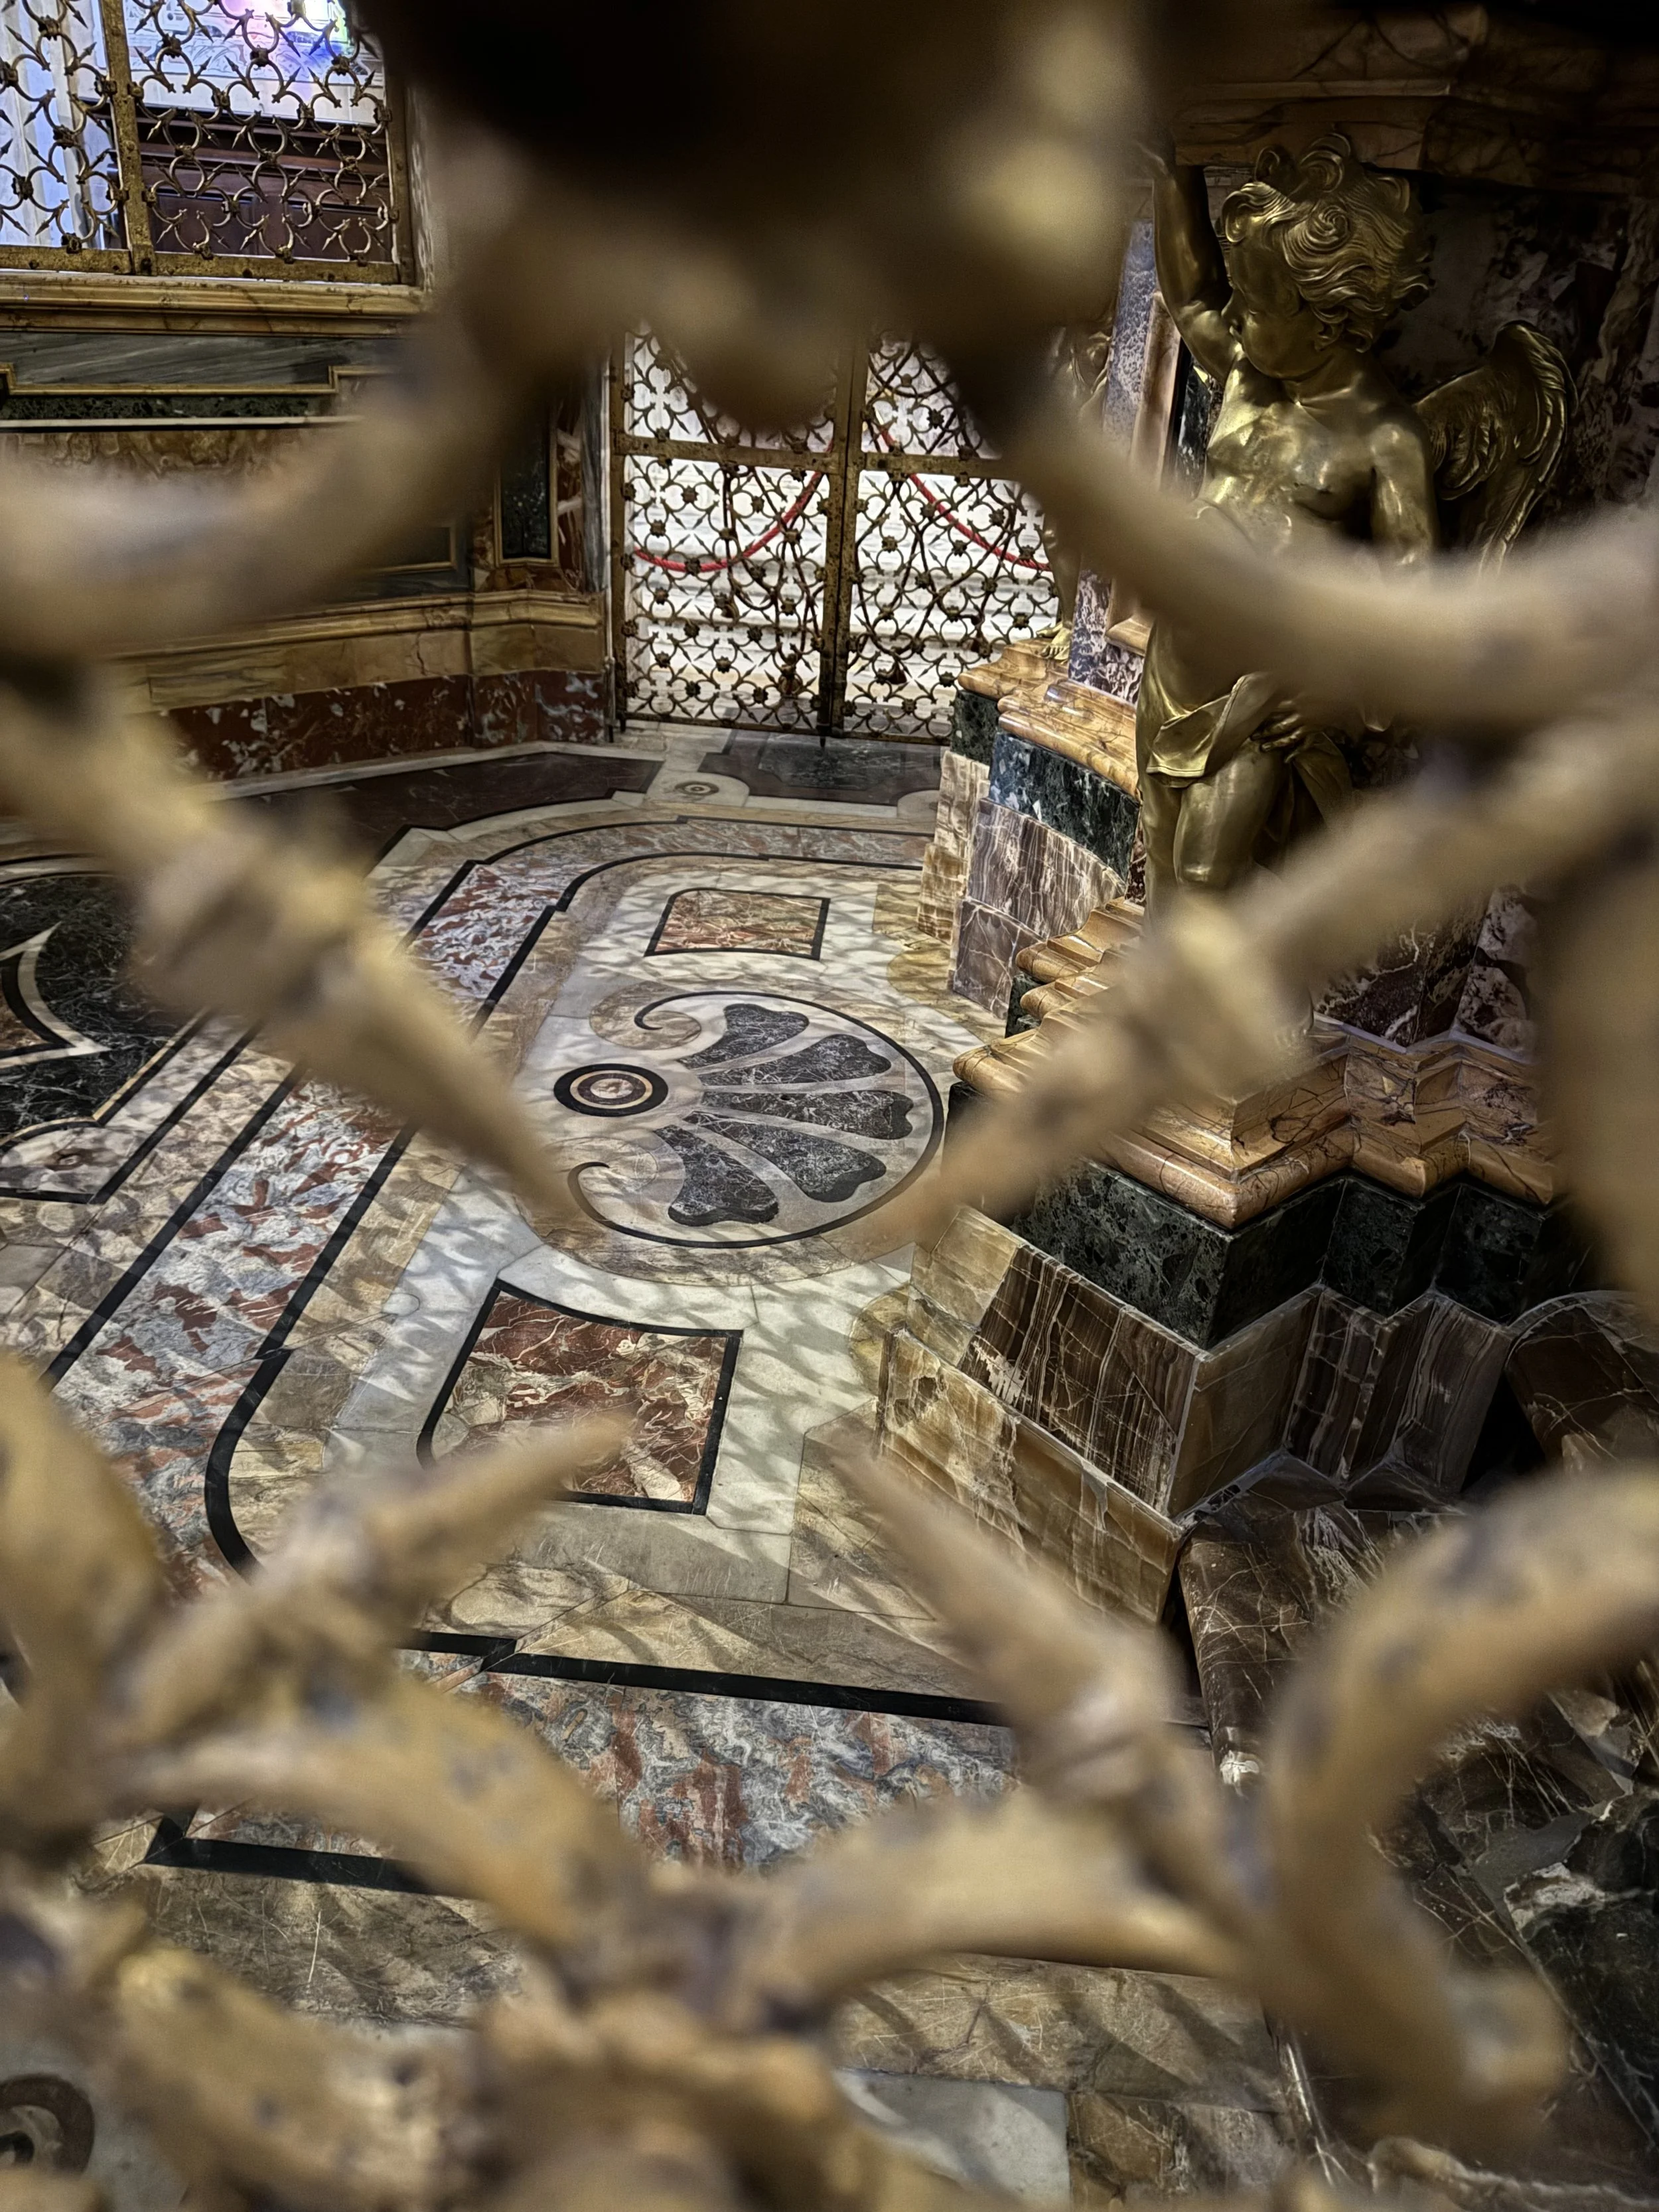
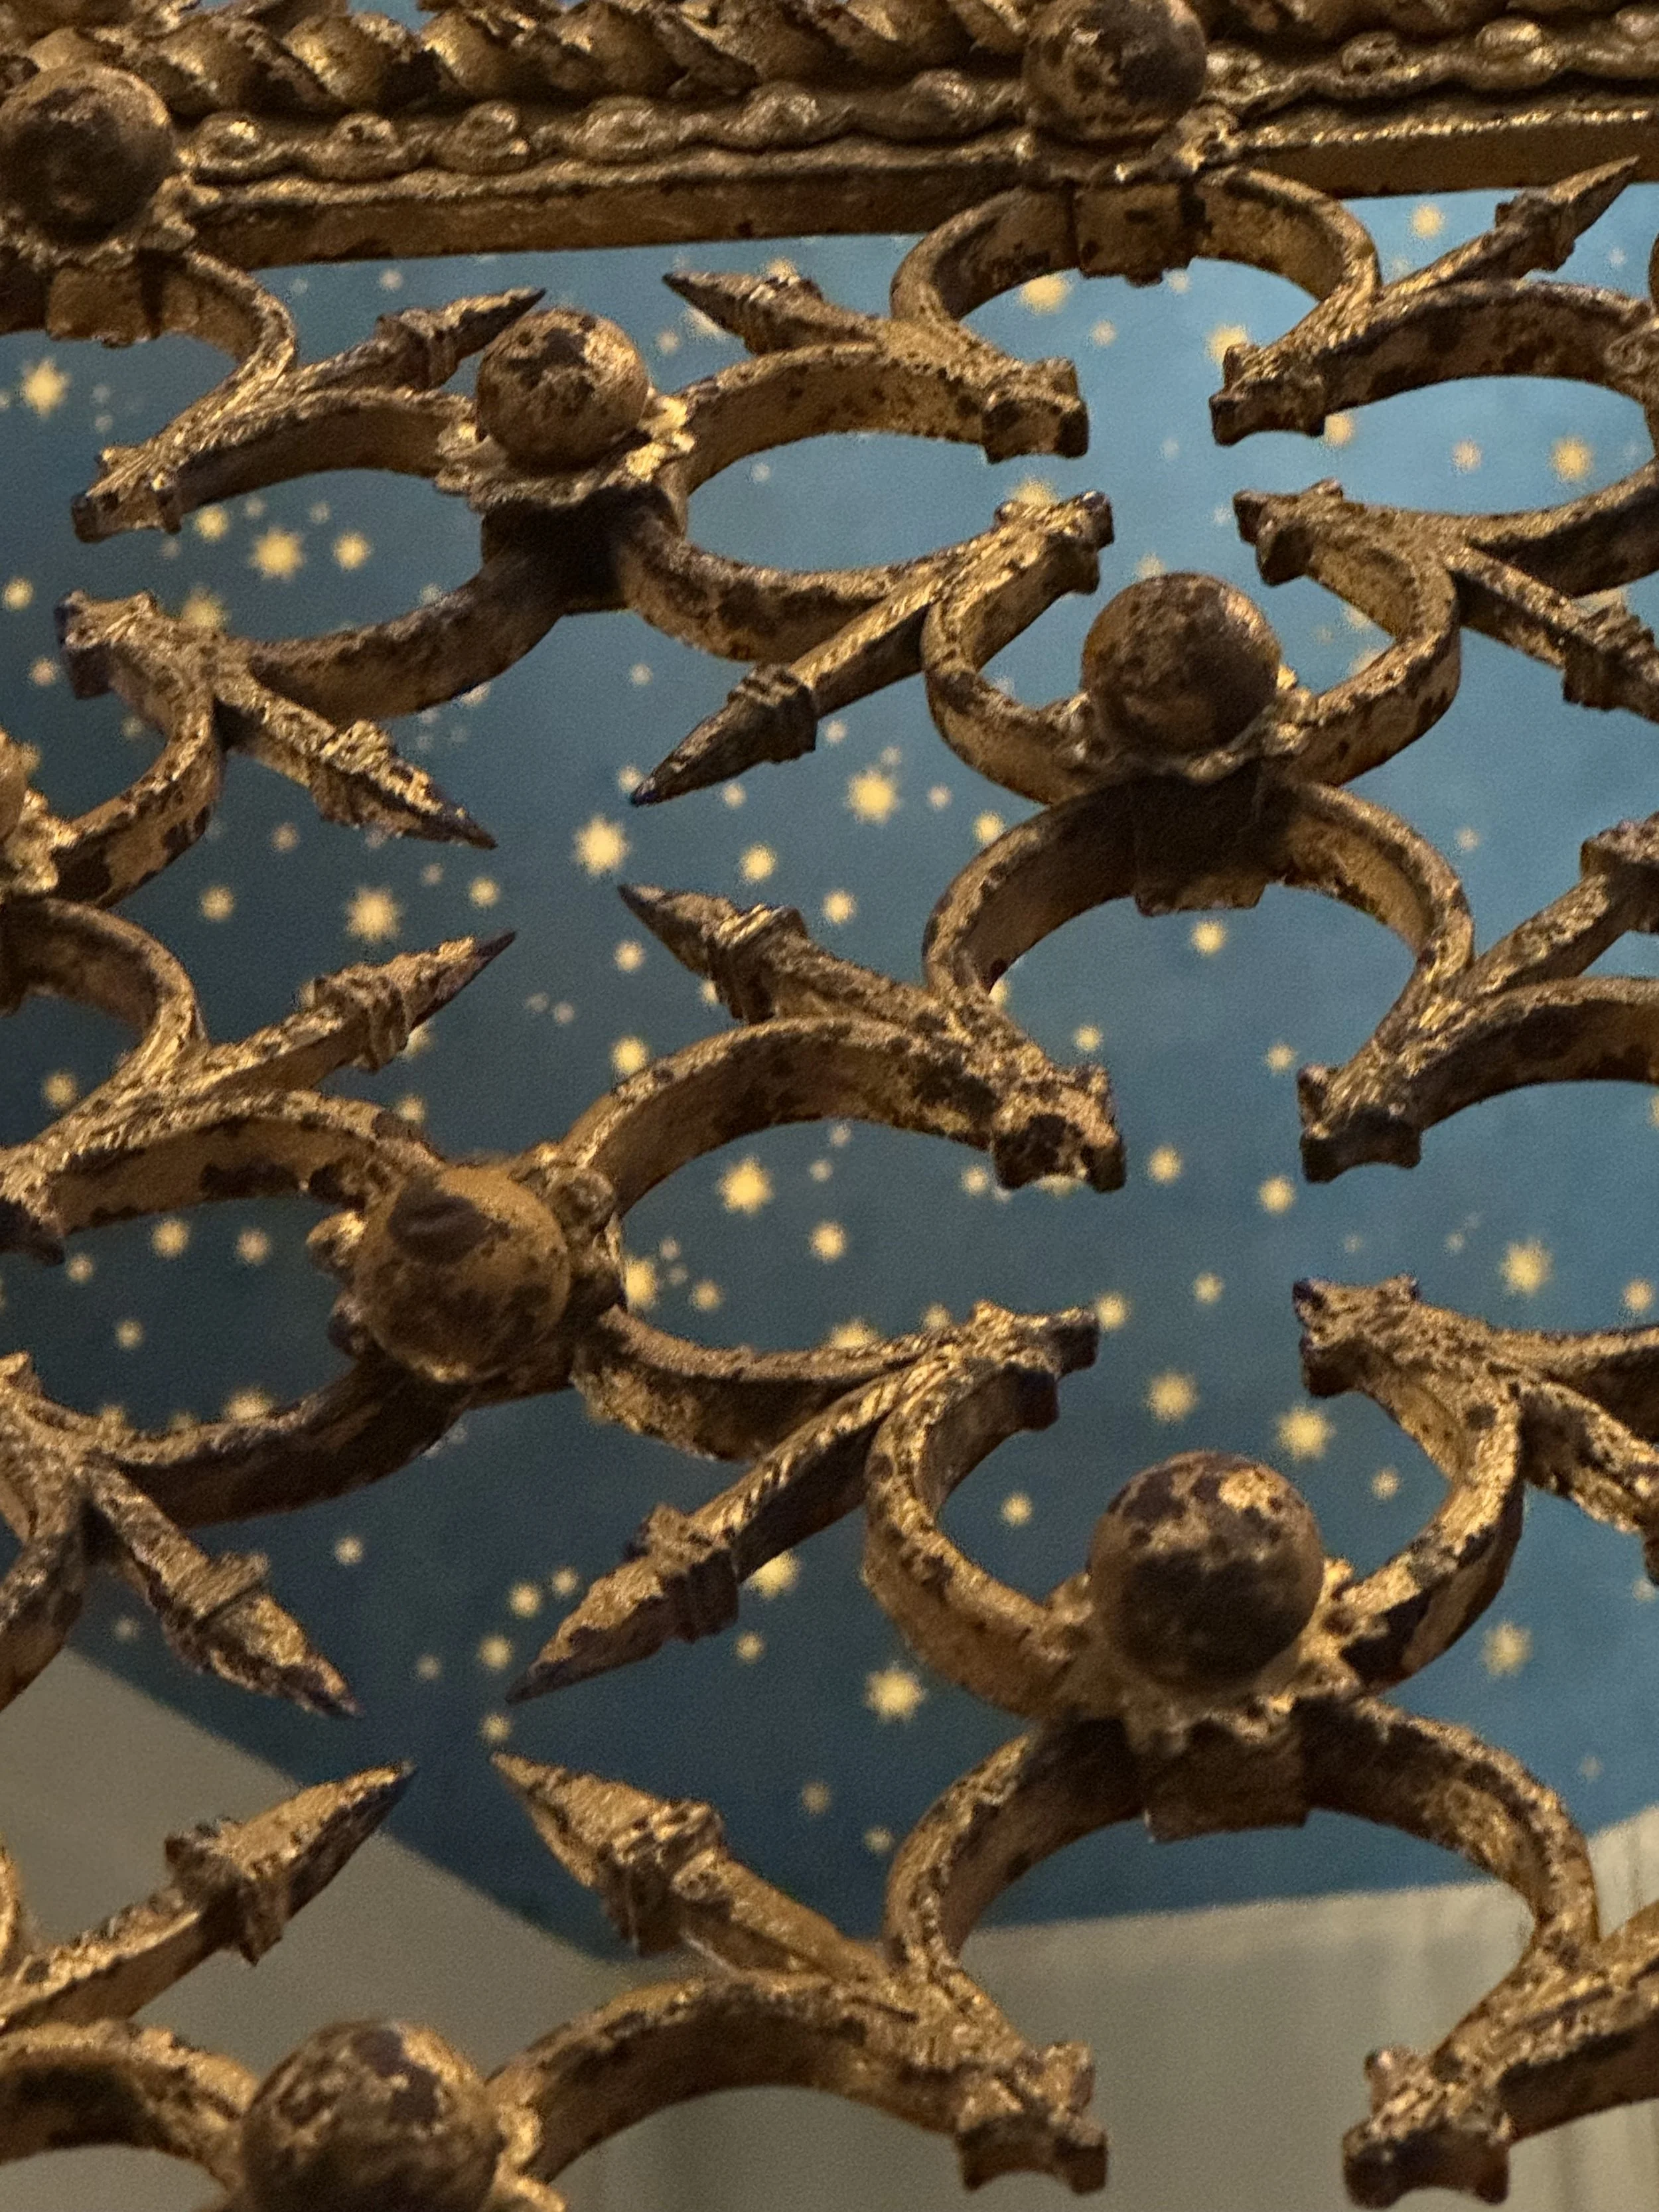
The Tempietto work uncovered layers of history and hidden decorations. Behind where the crucifix usually stands, remnants were uncovered of frescoes that reflect patterns that might have been seen in Lucca’s Medieval era silk works. The inlaid floor, marble altar, and blue starry ceiling are wonderful. All are viewed through the intricate “cage” of the structure.
The Tempietto was just recently opened for public viewing (through April 19th). In early May the process of returning the Volta Santo crucifix to the Tempietto will begin.
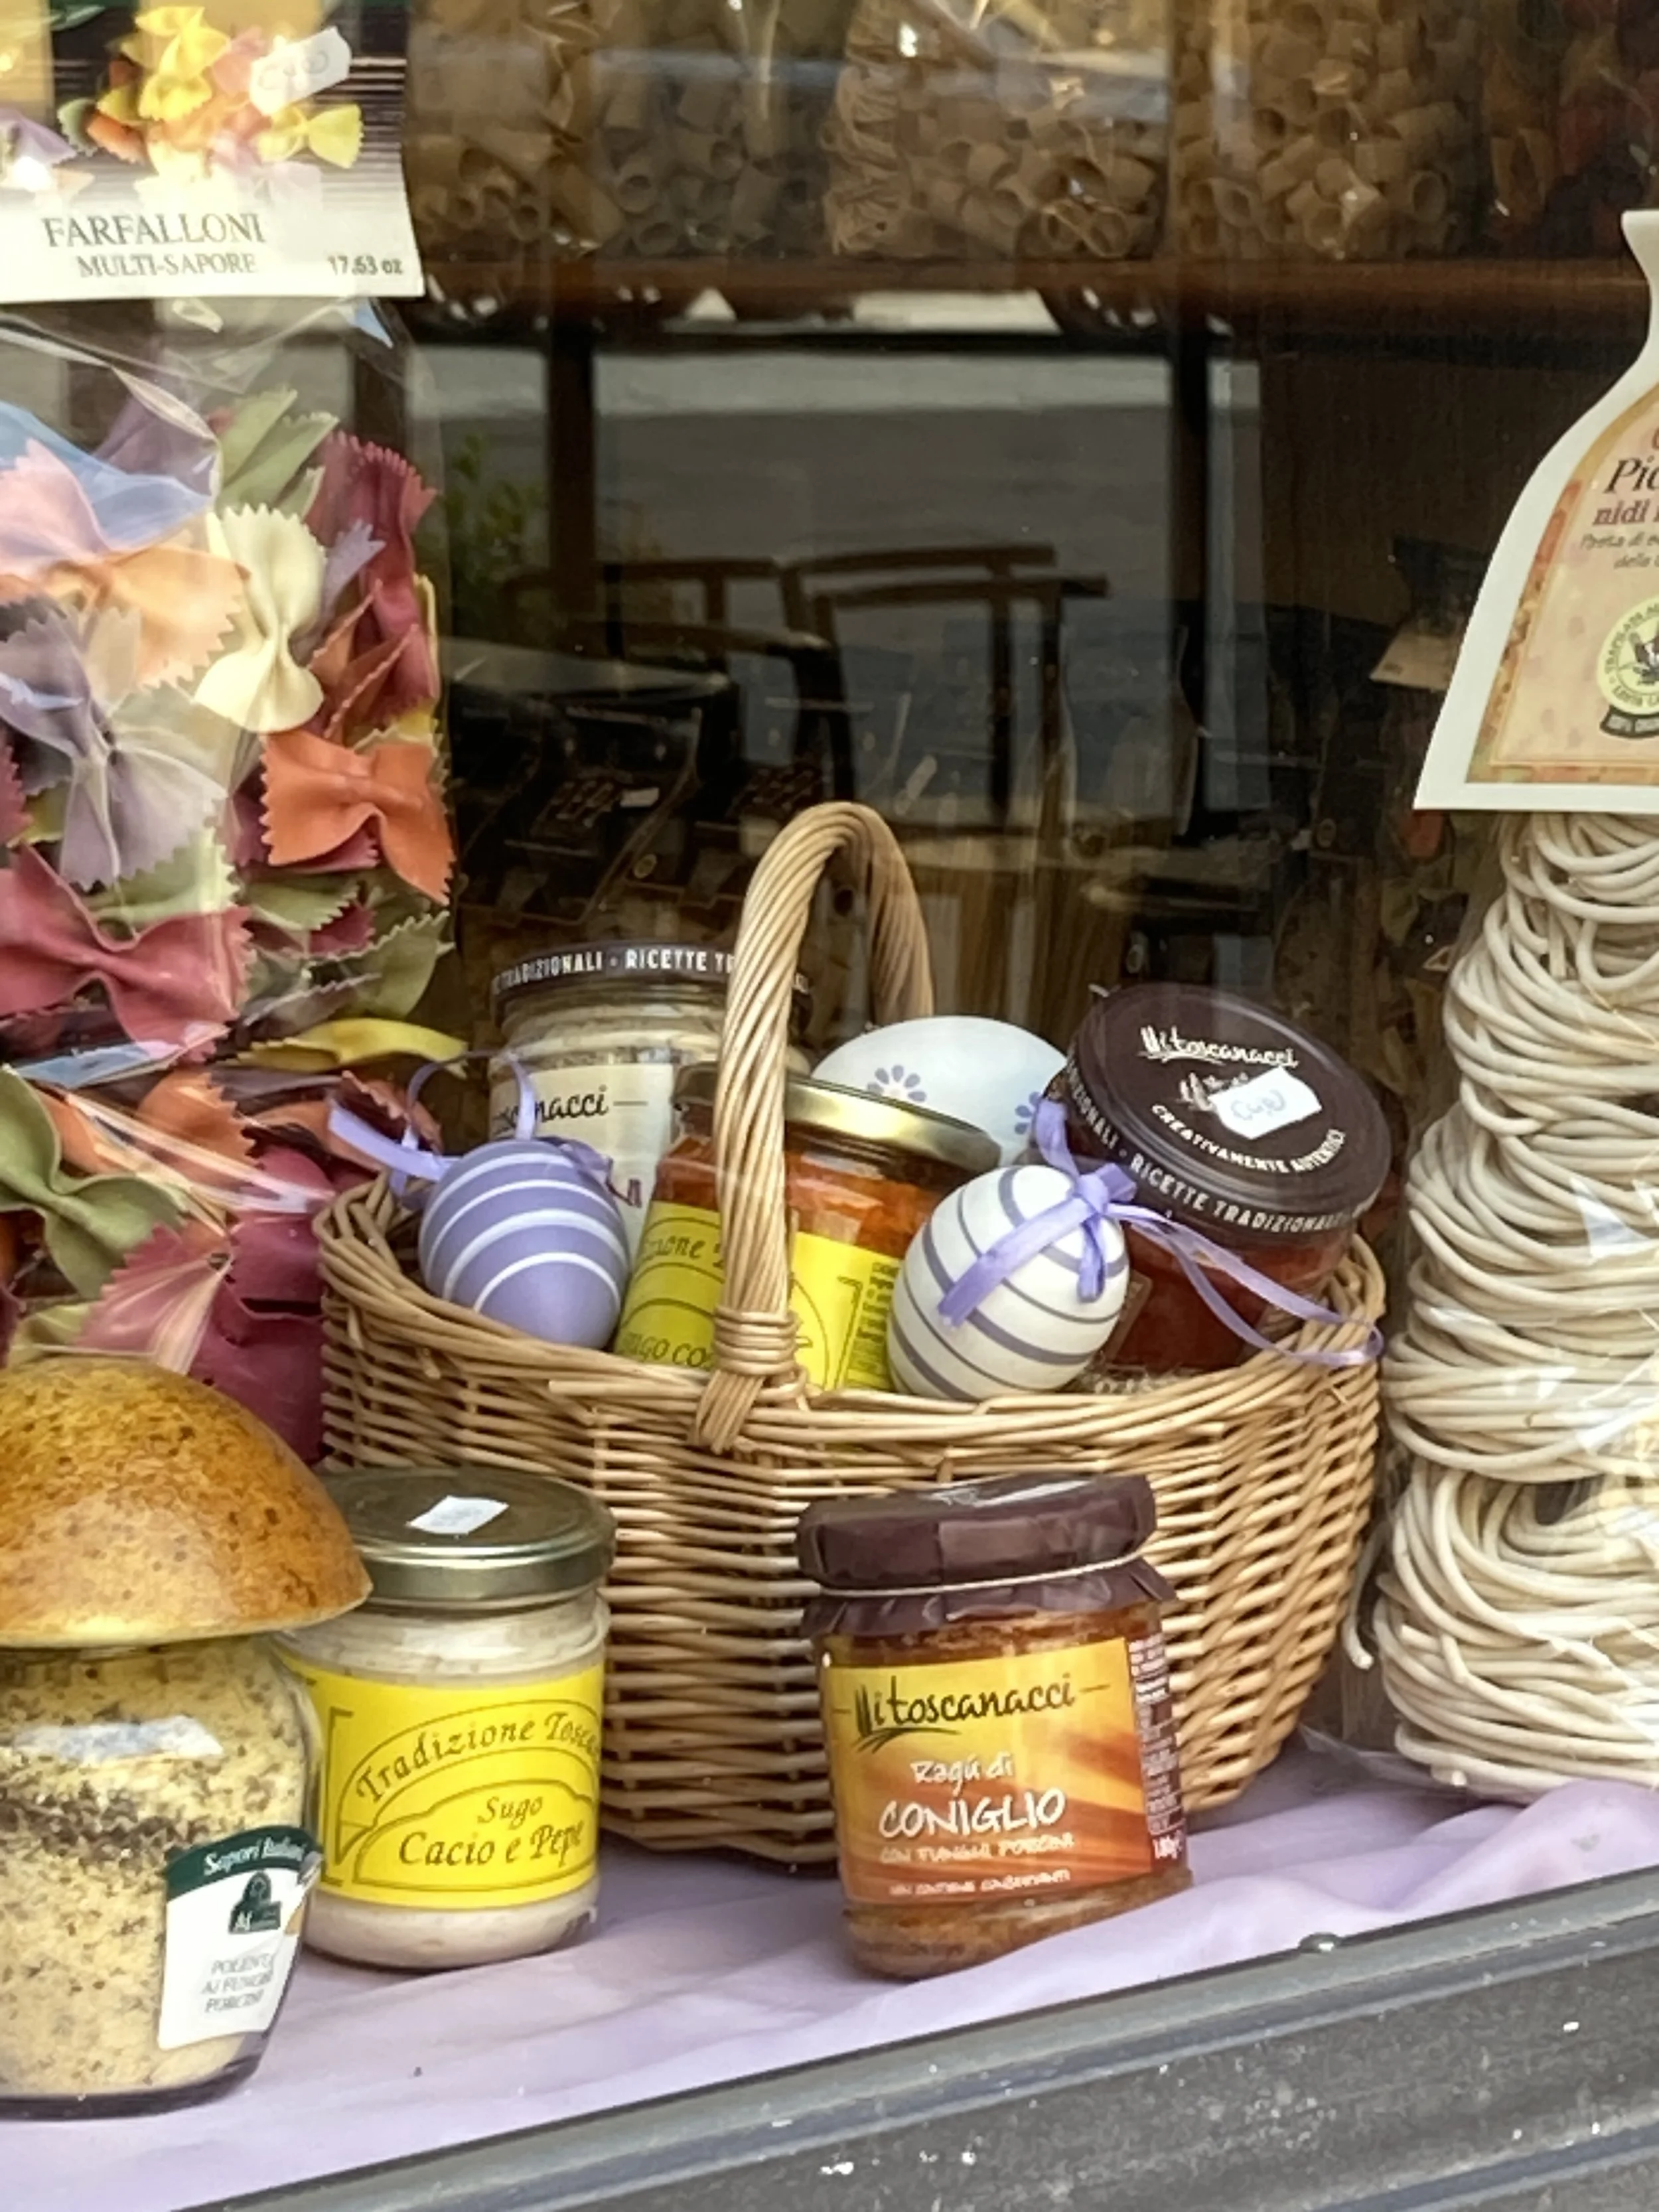

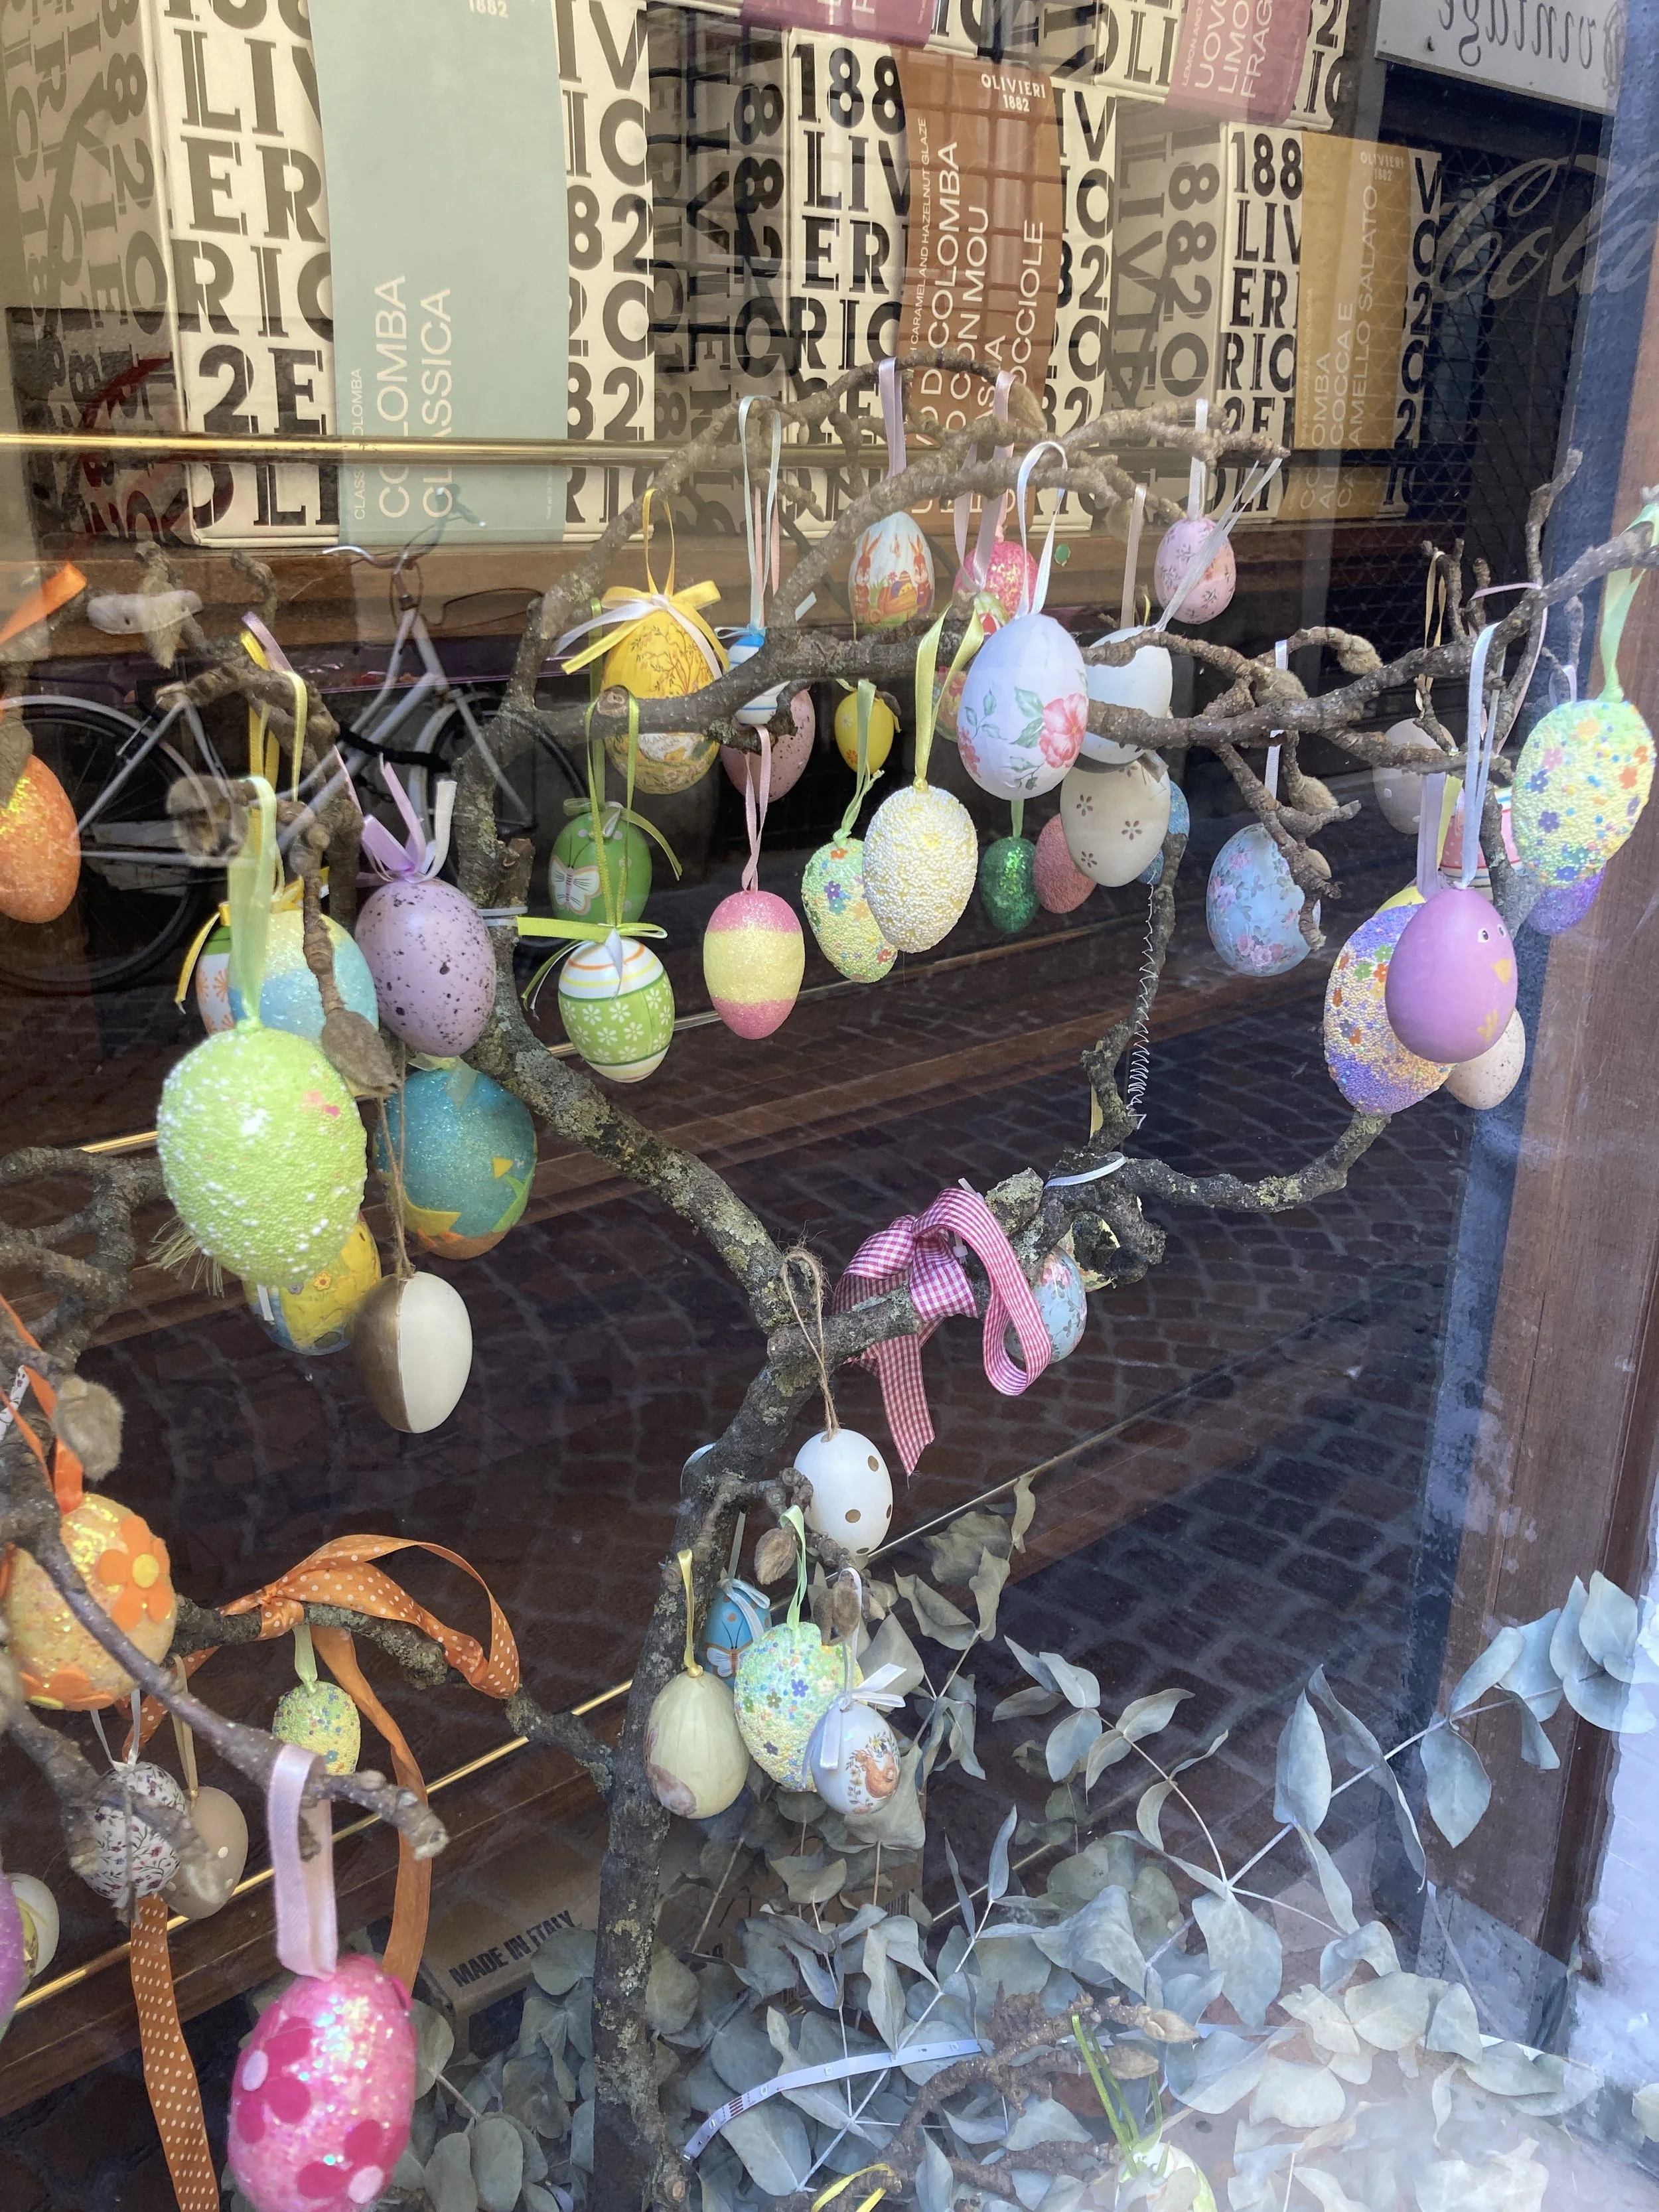
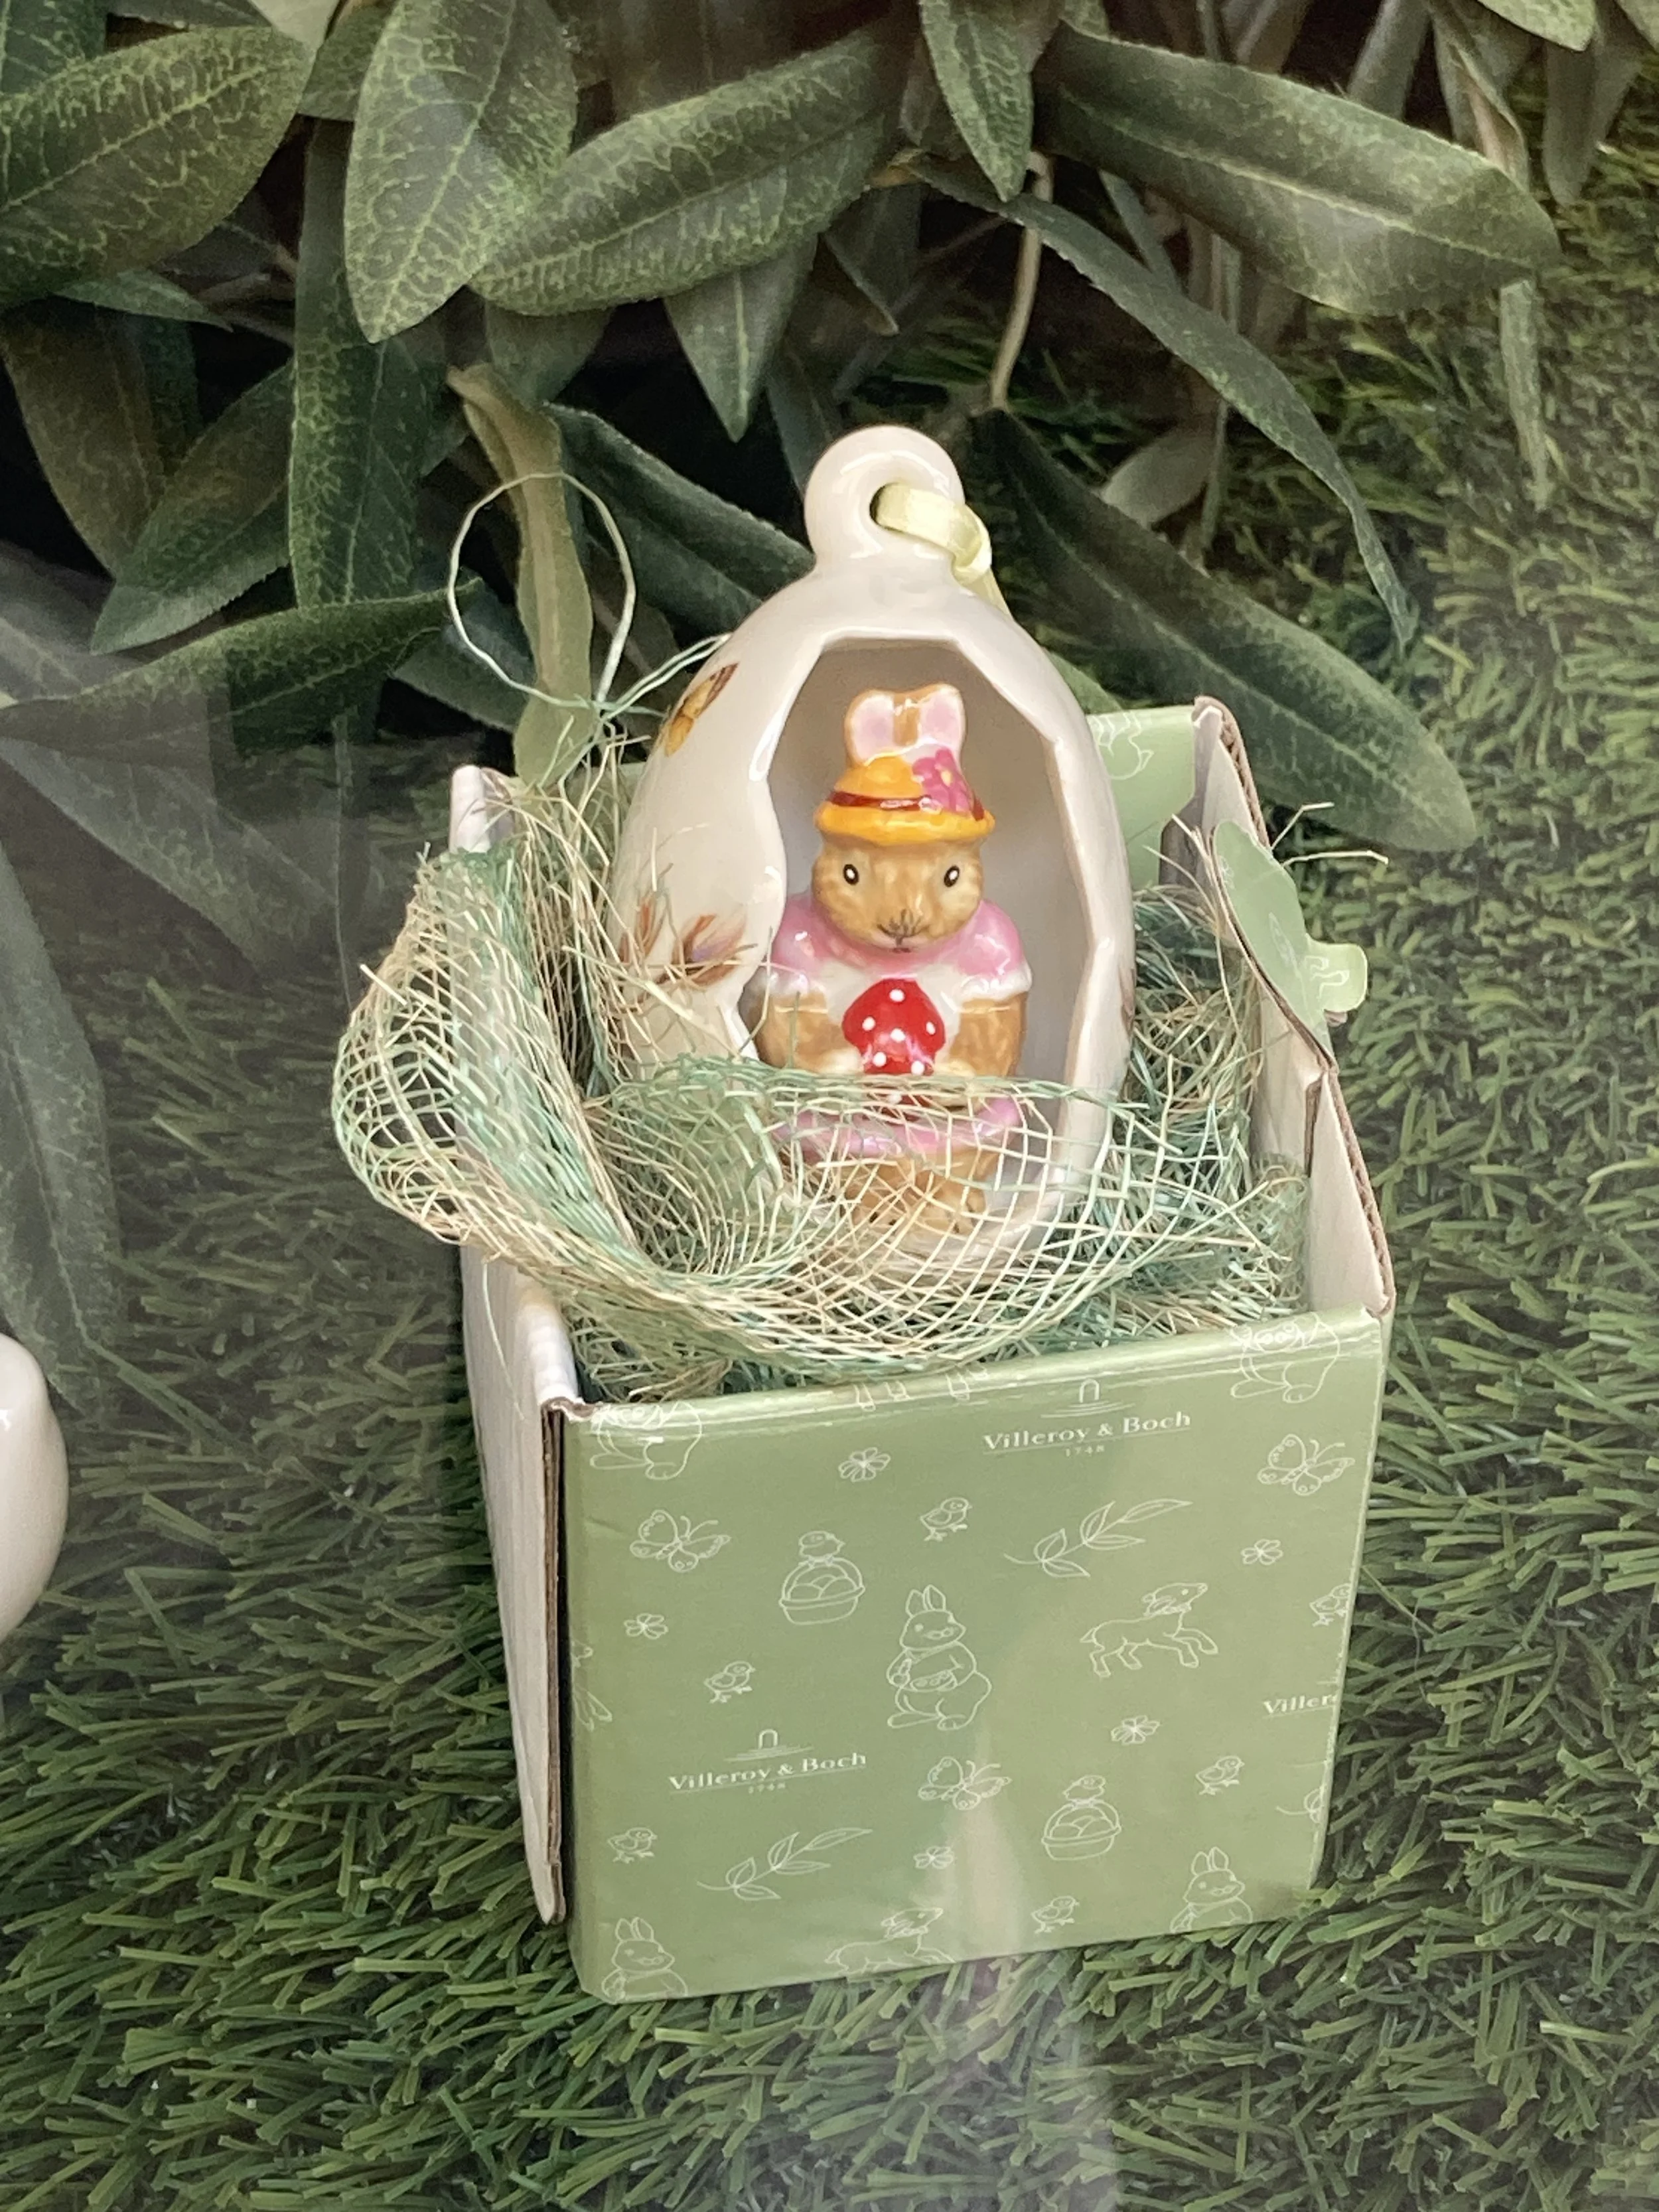
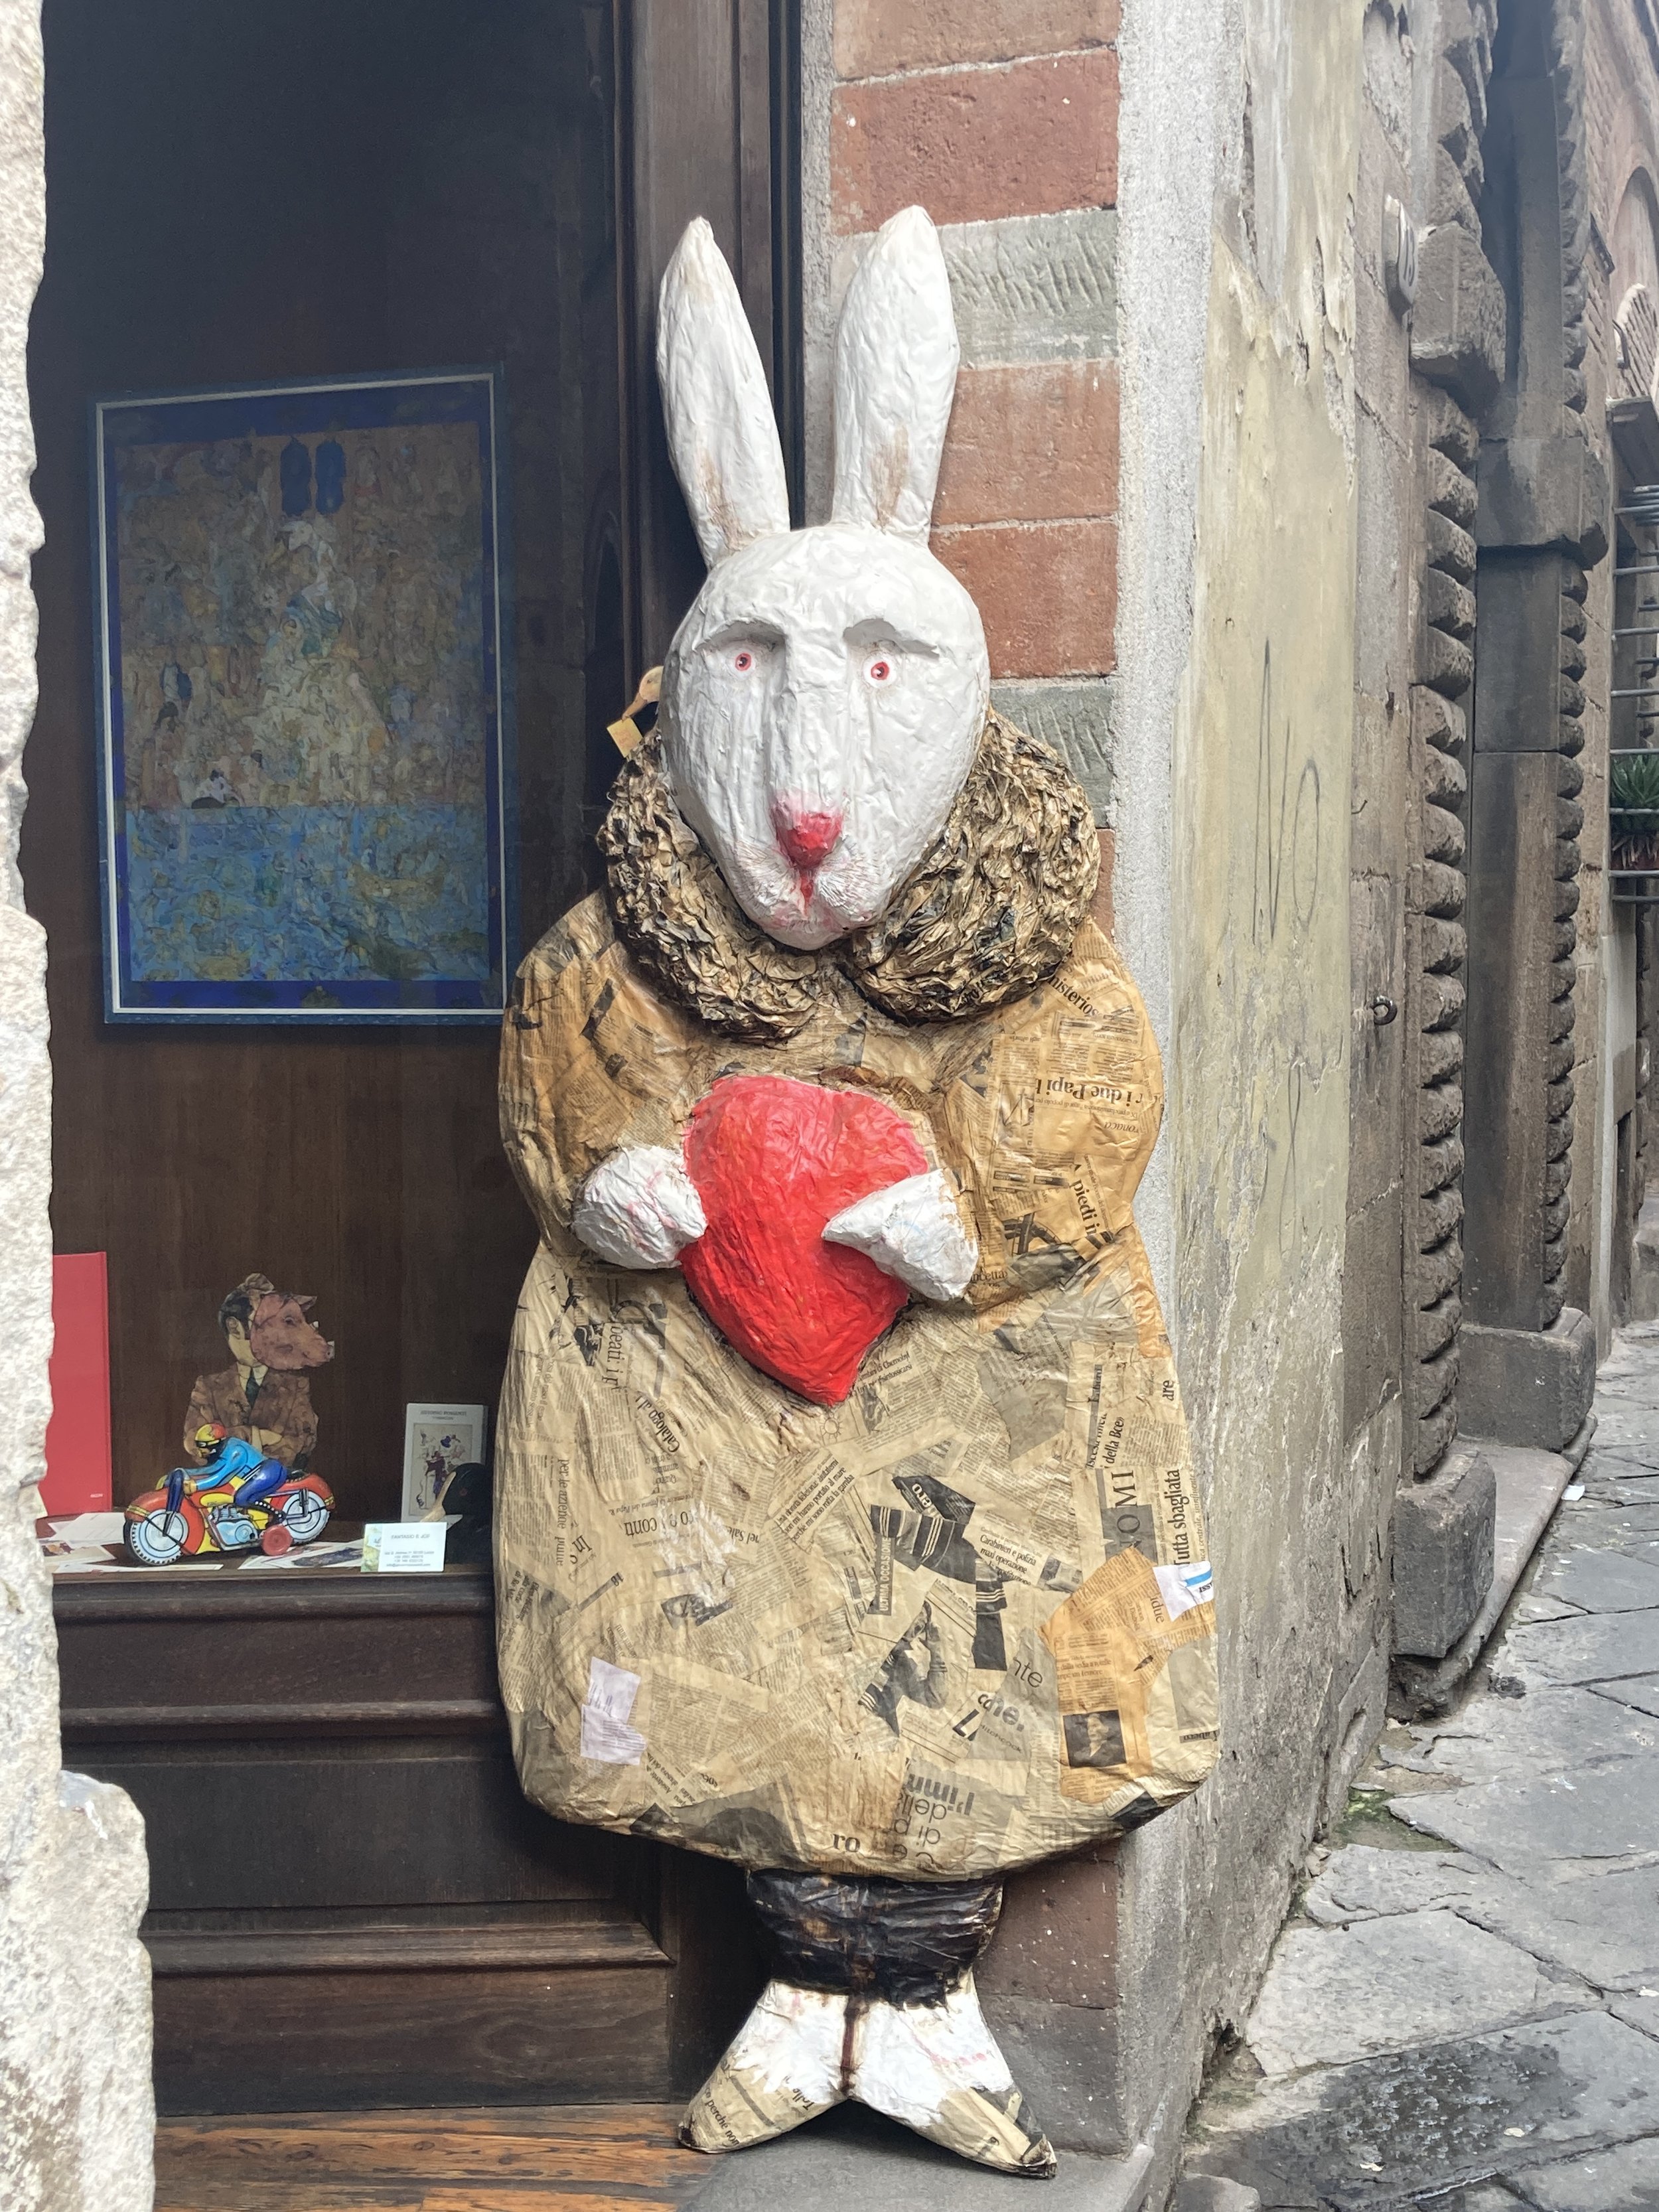
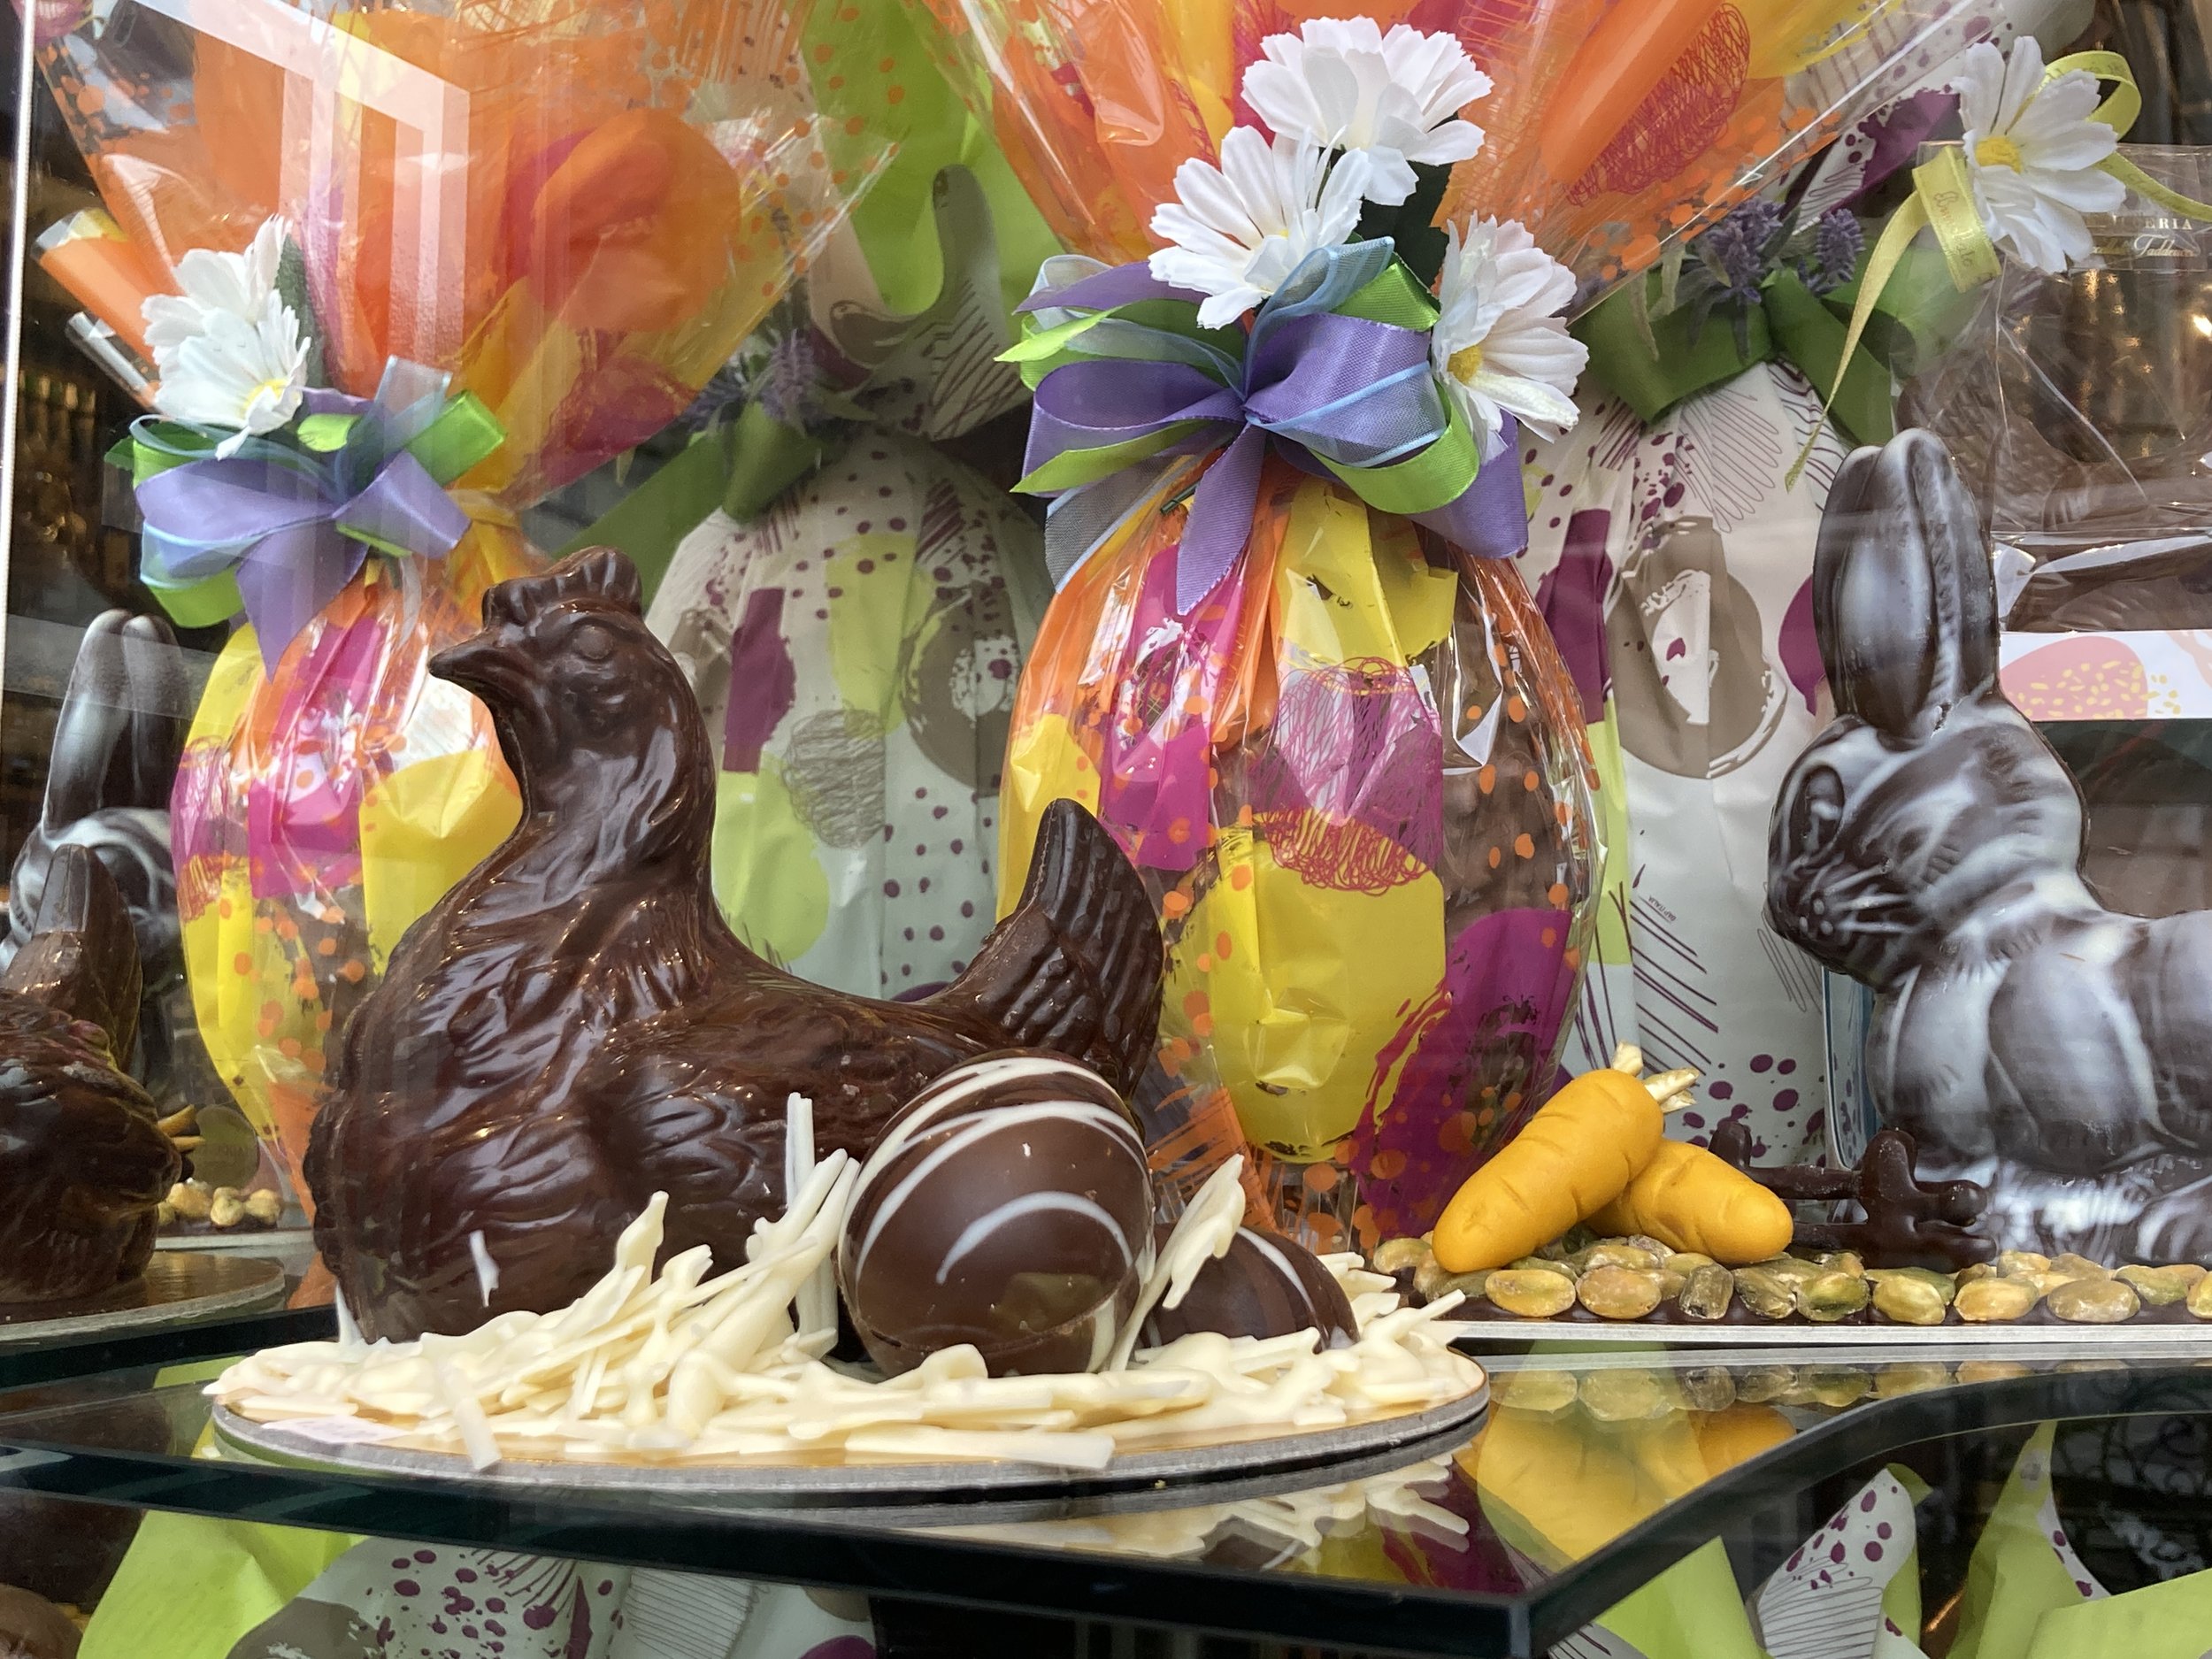
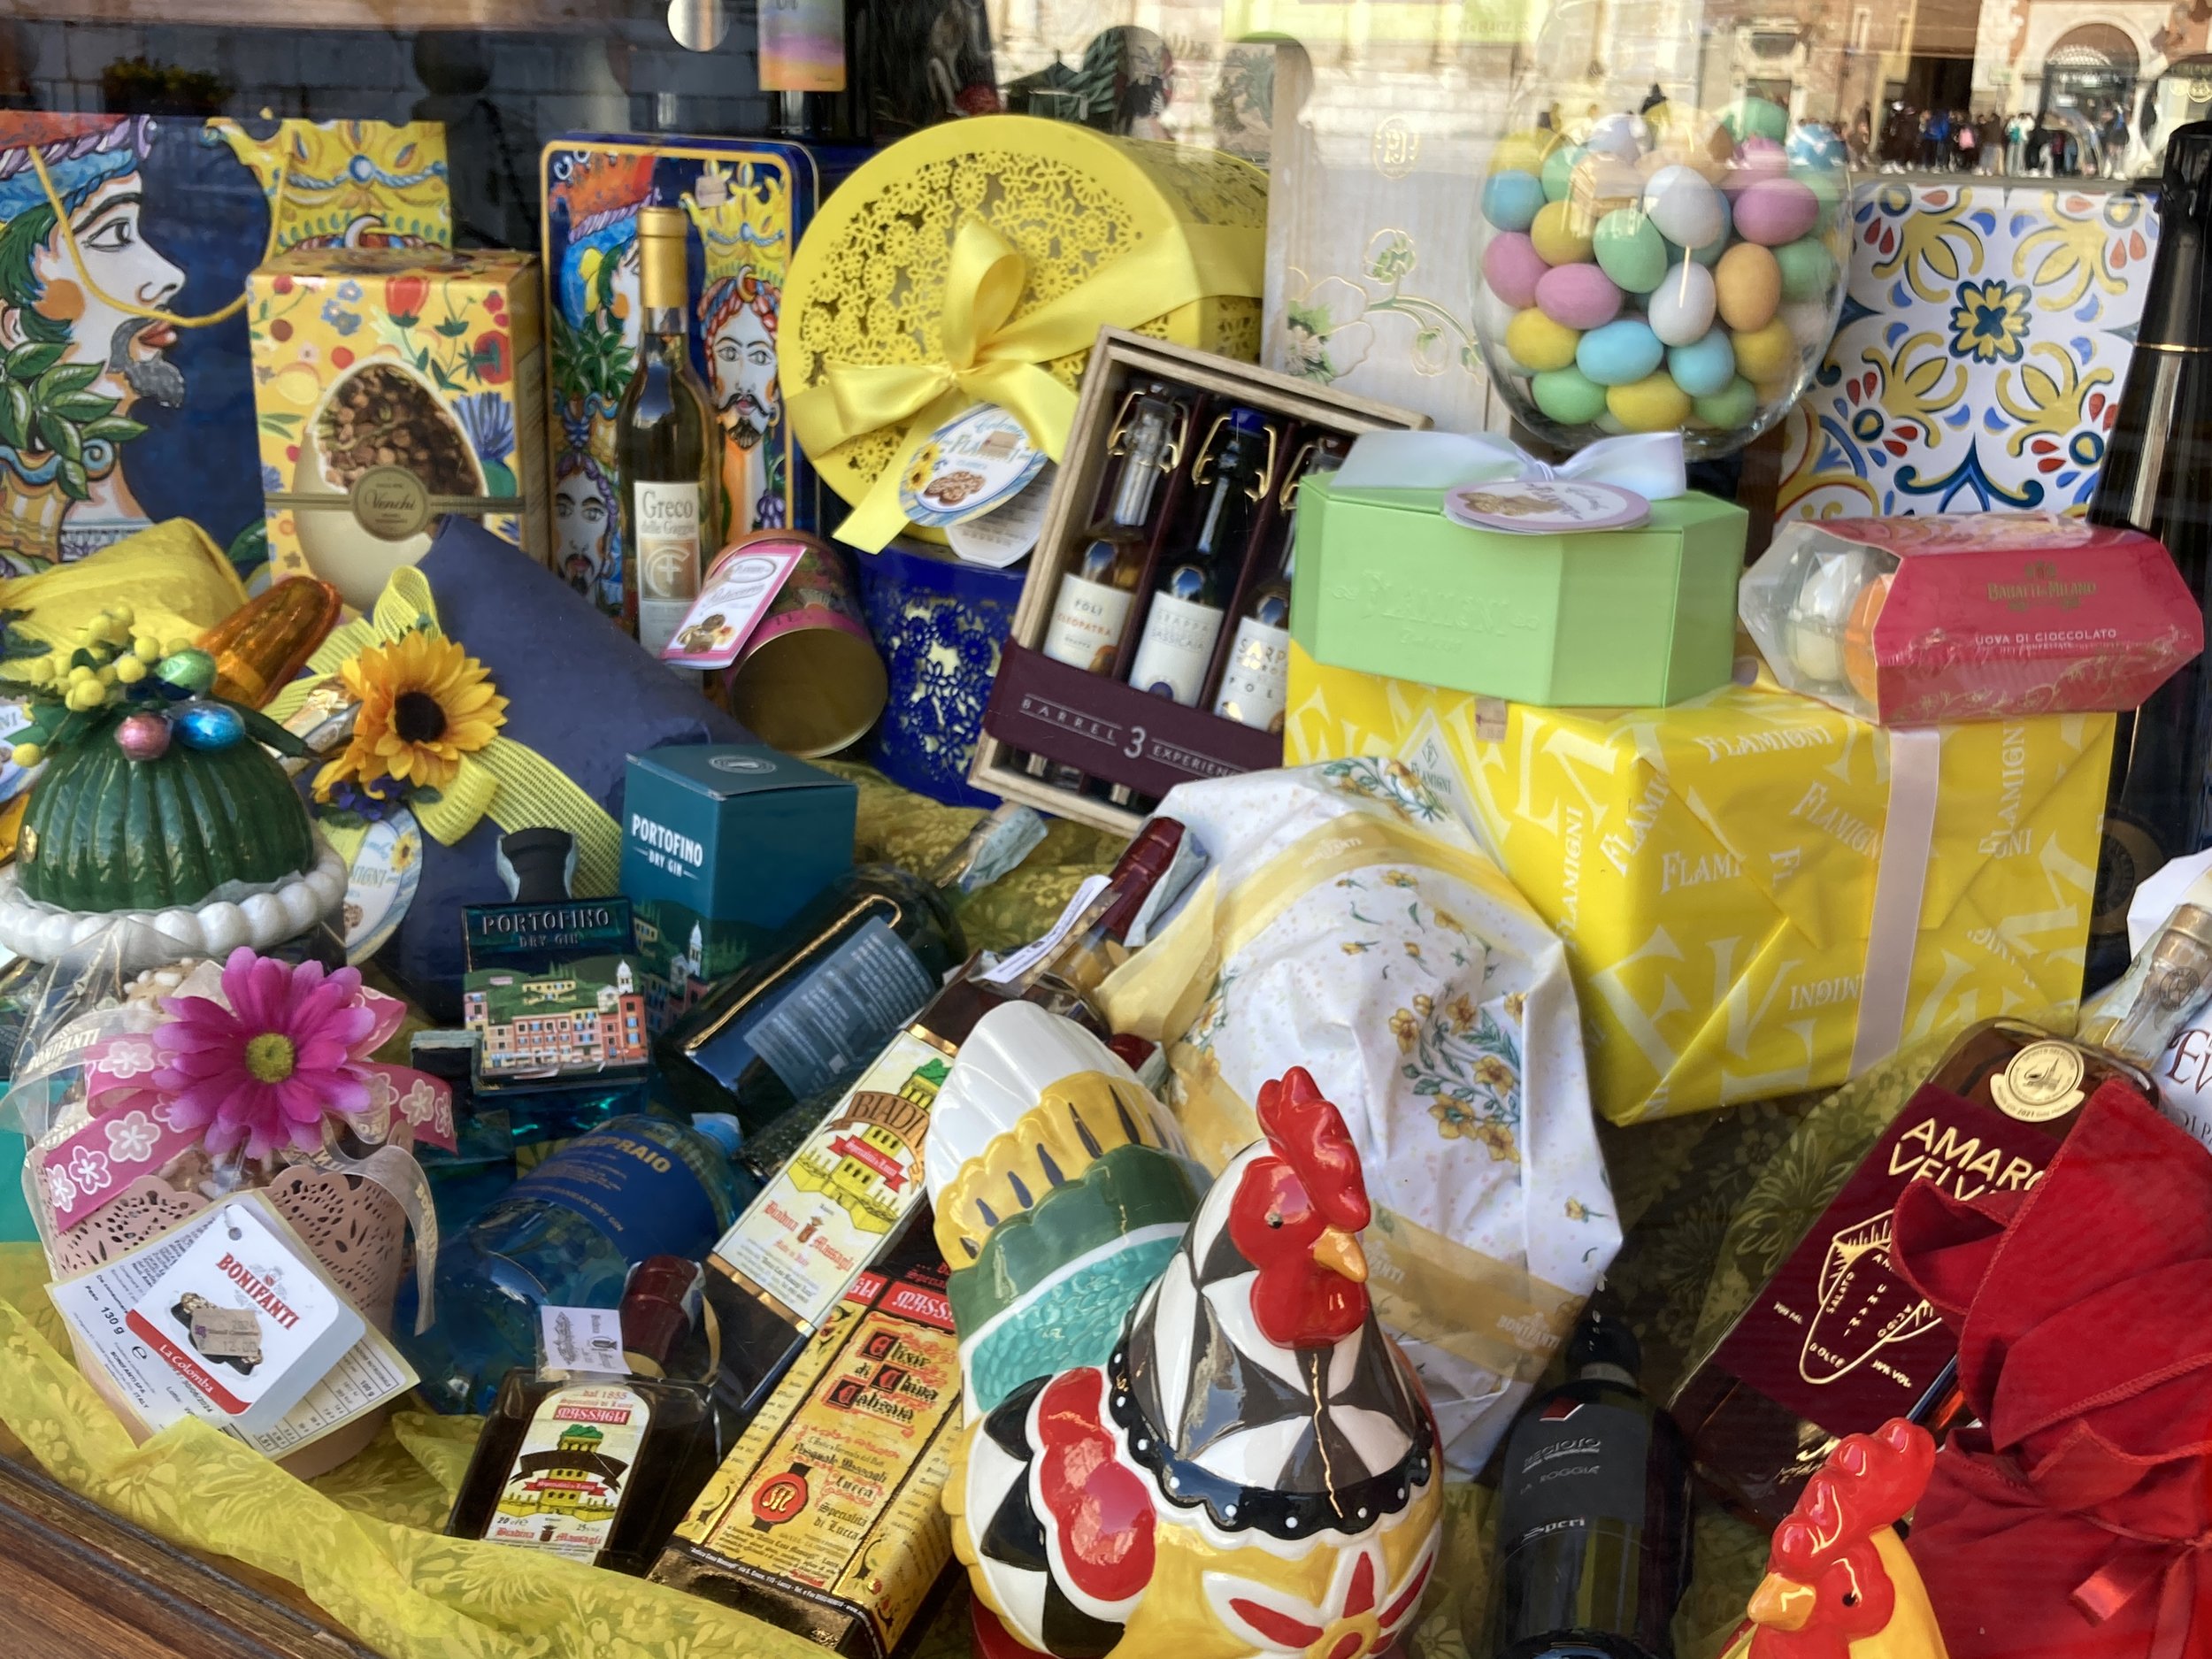
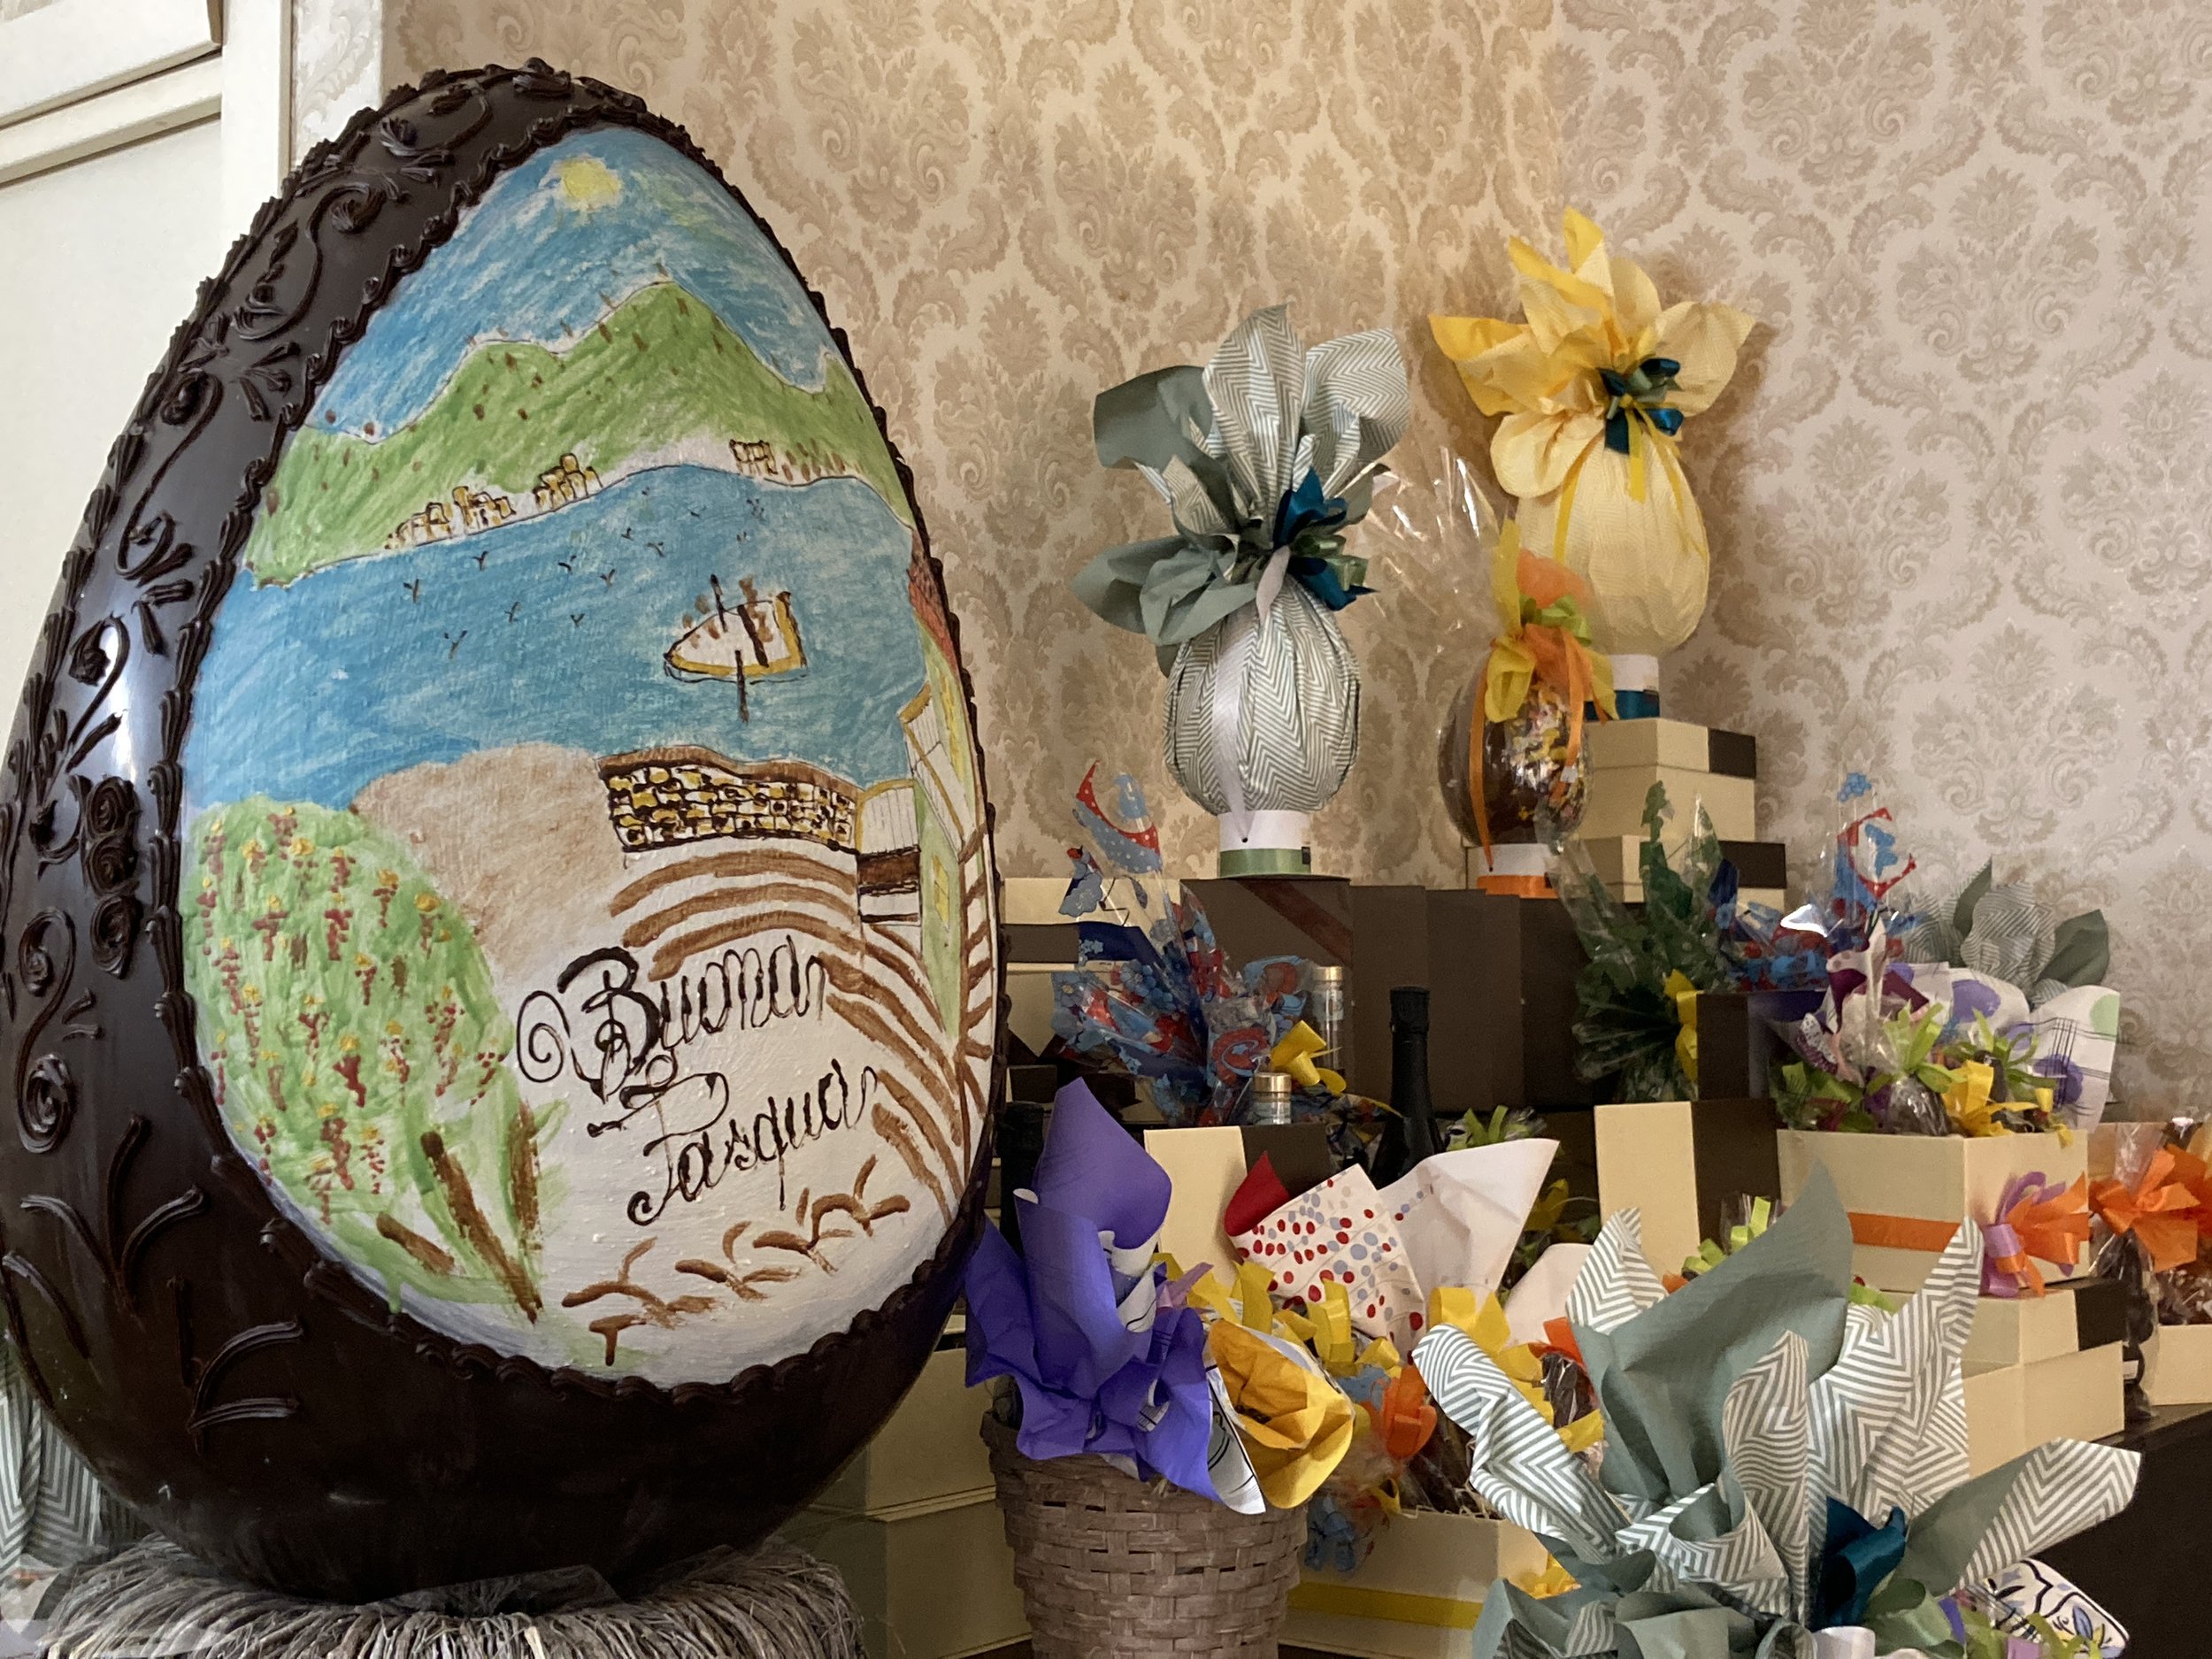
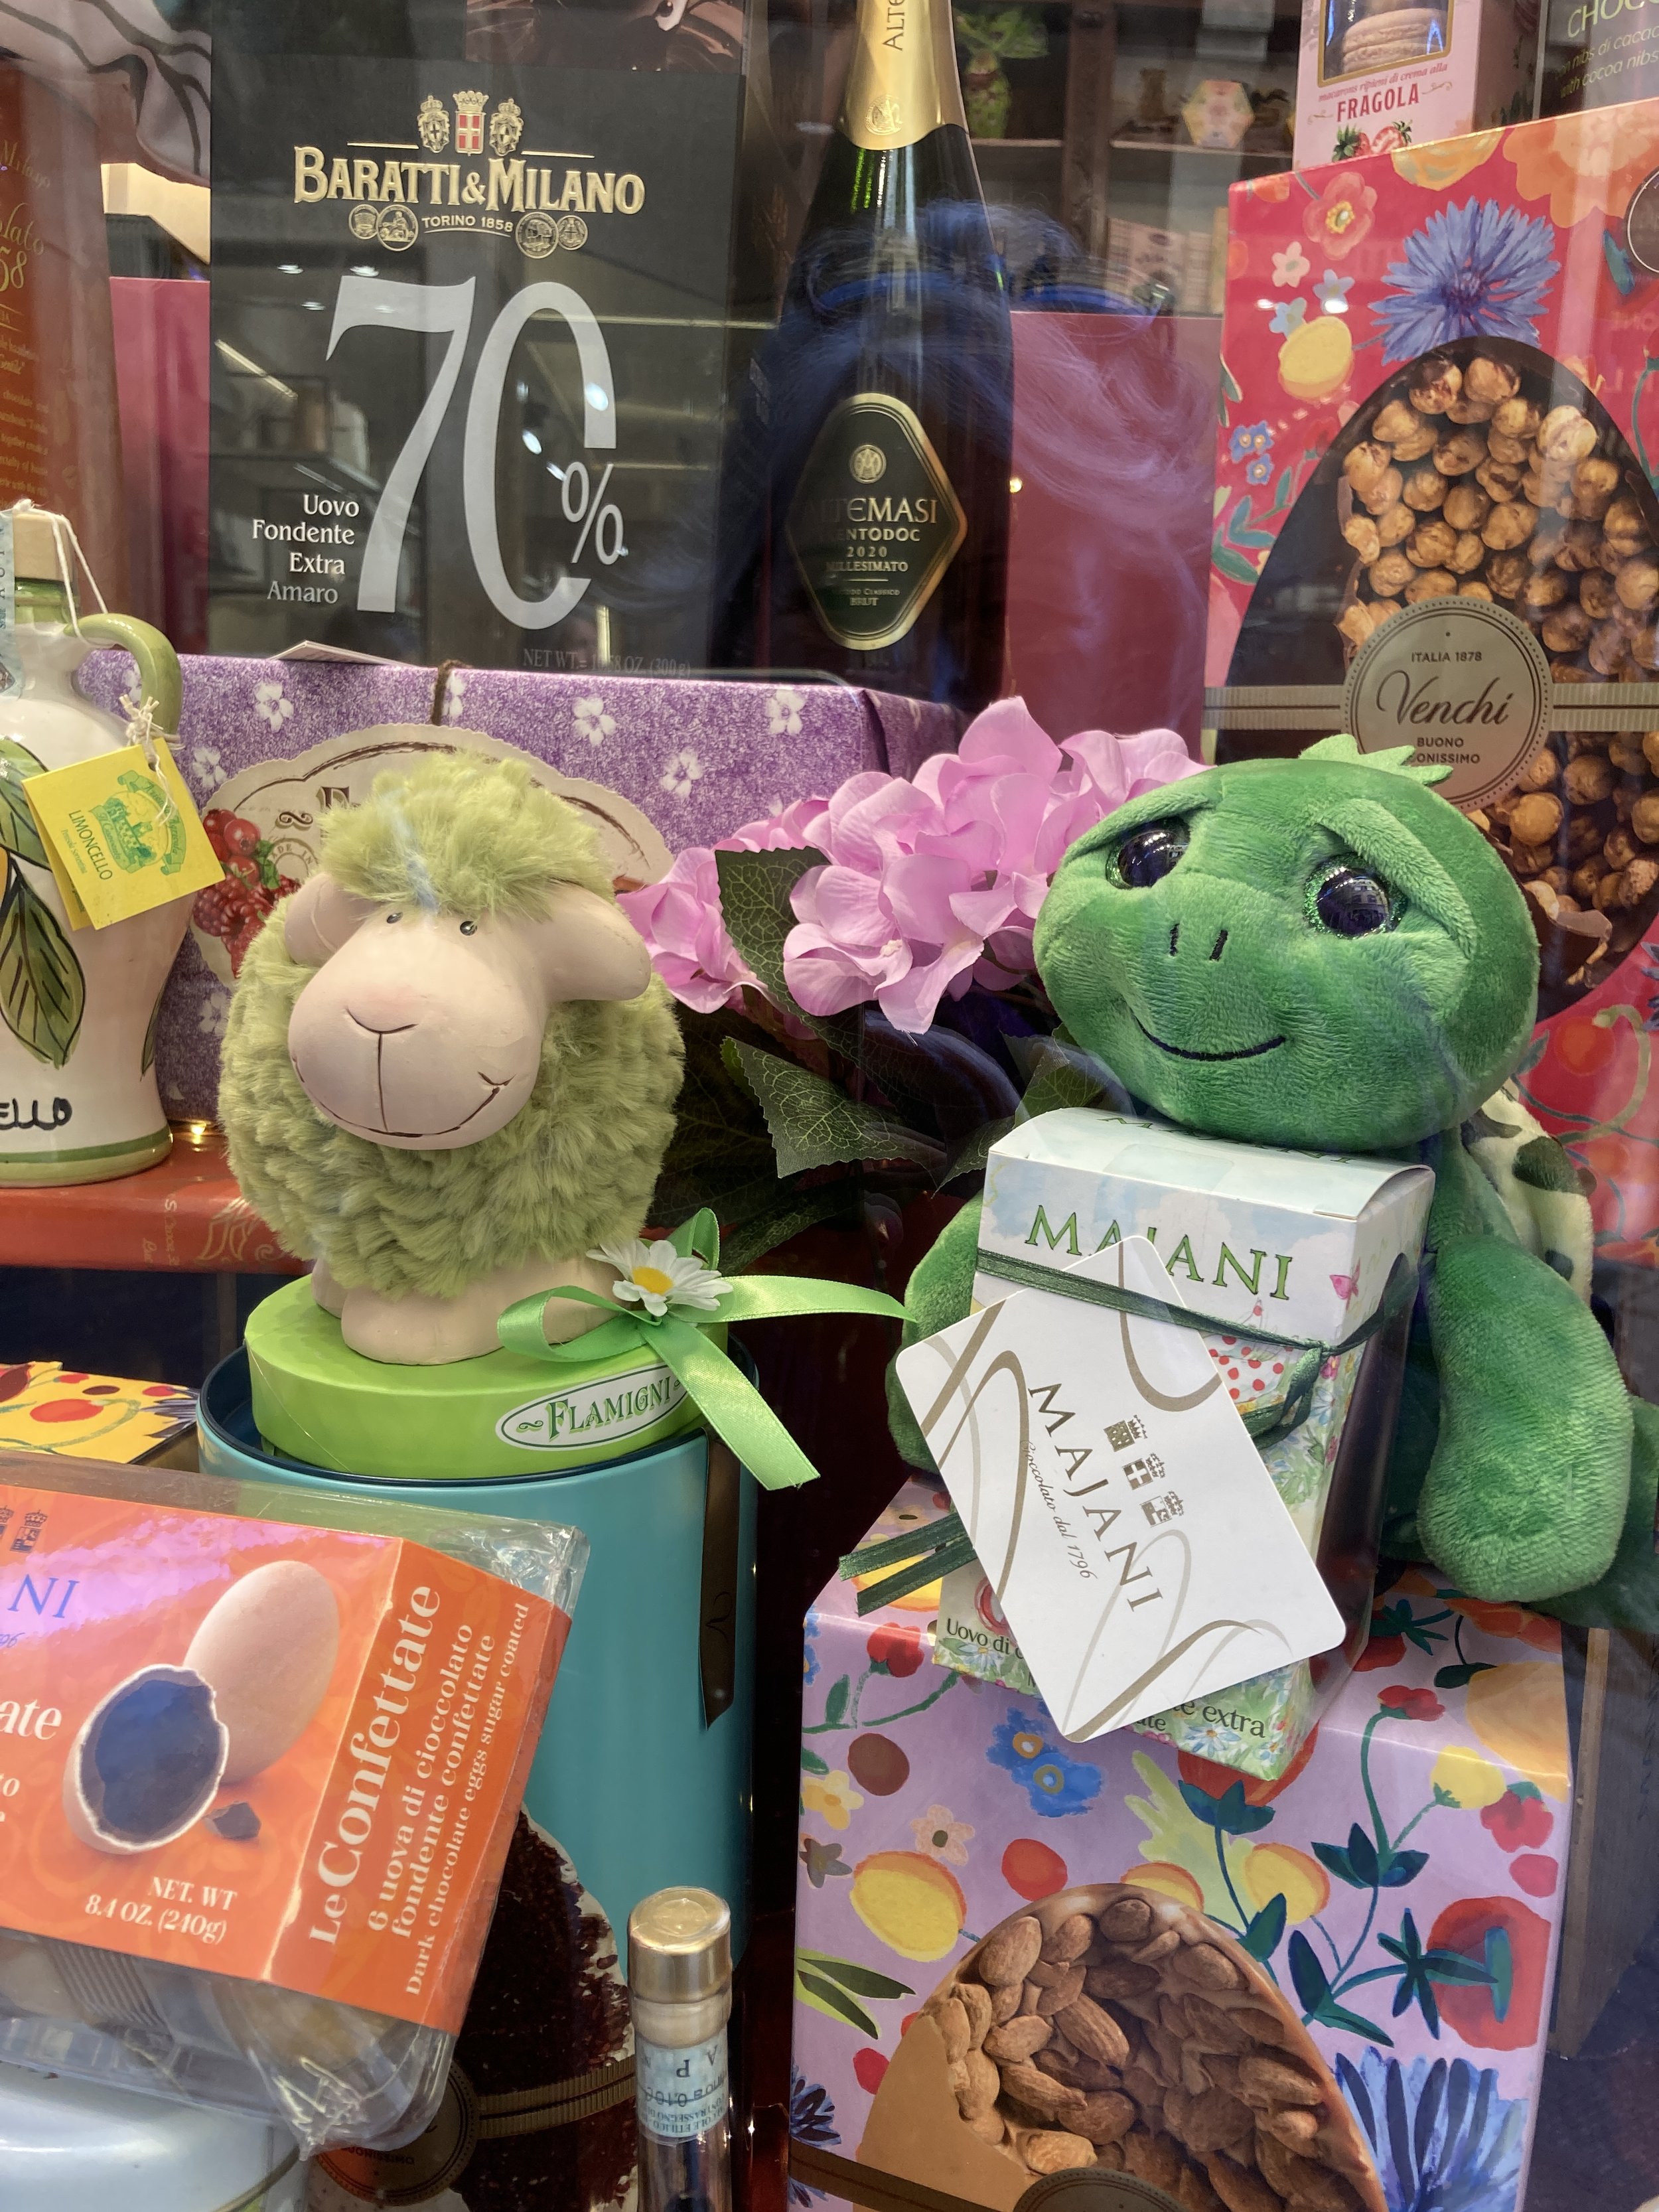
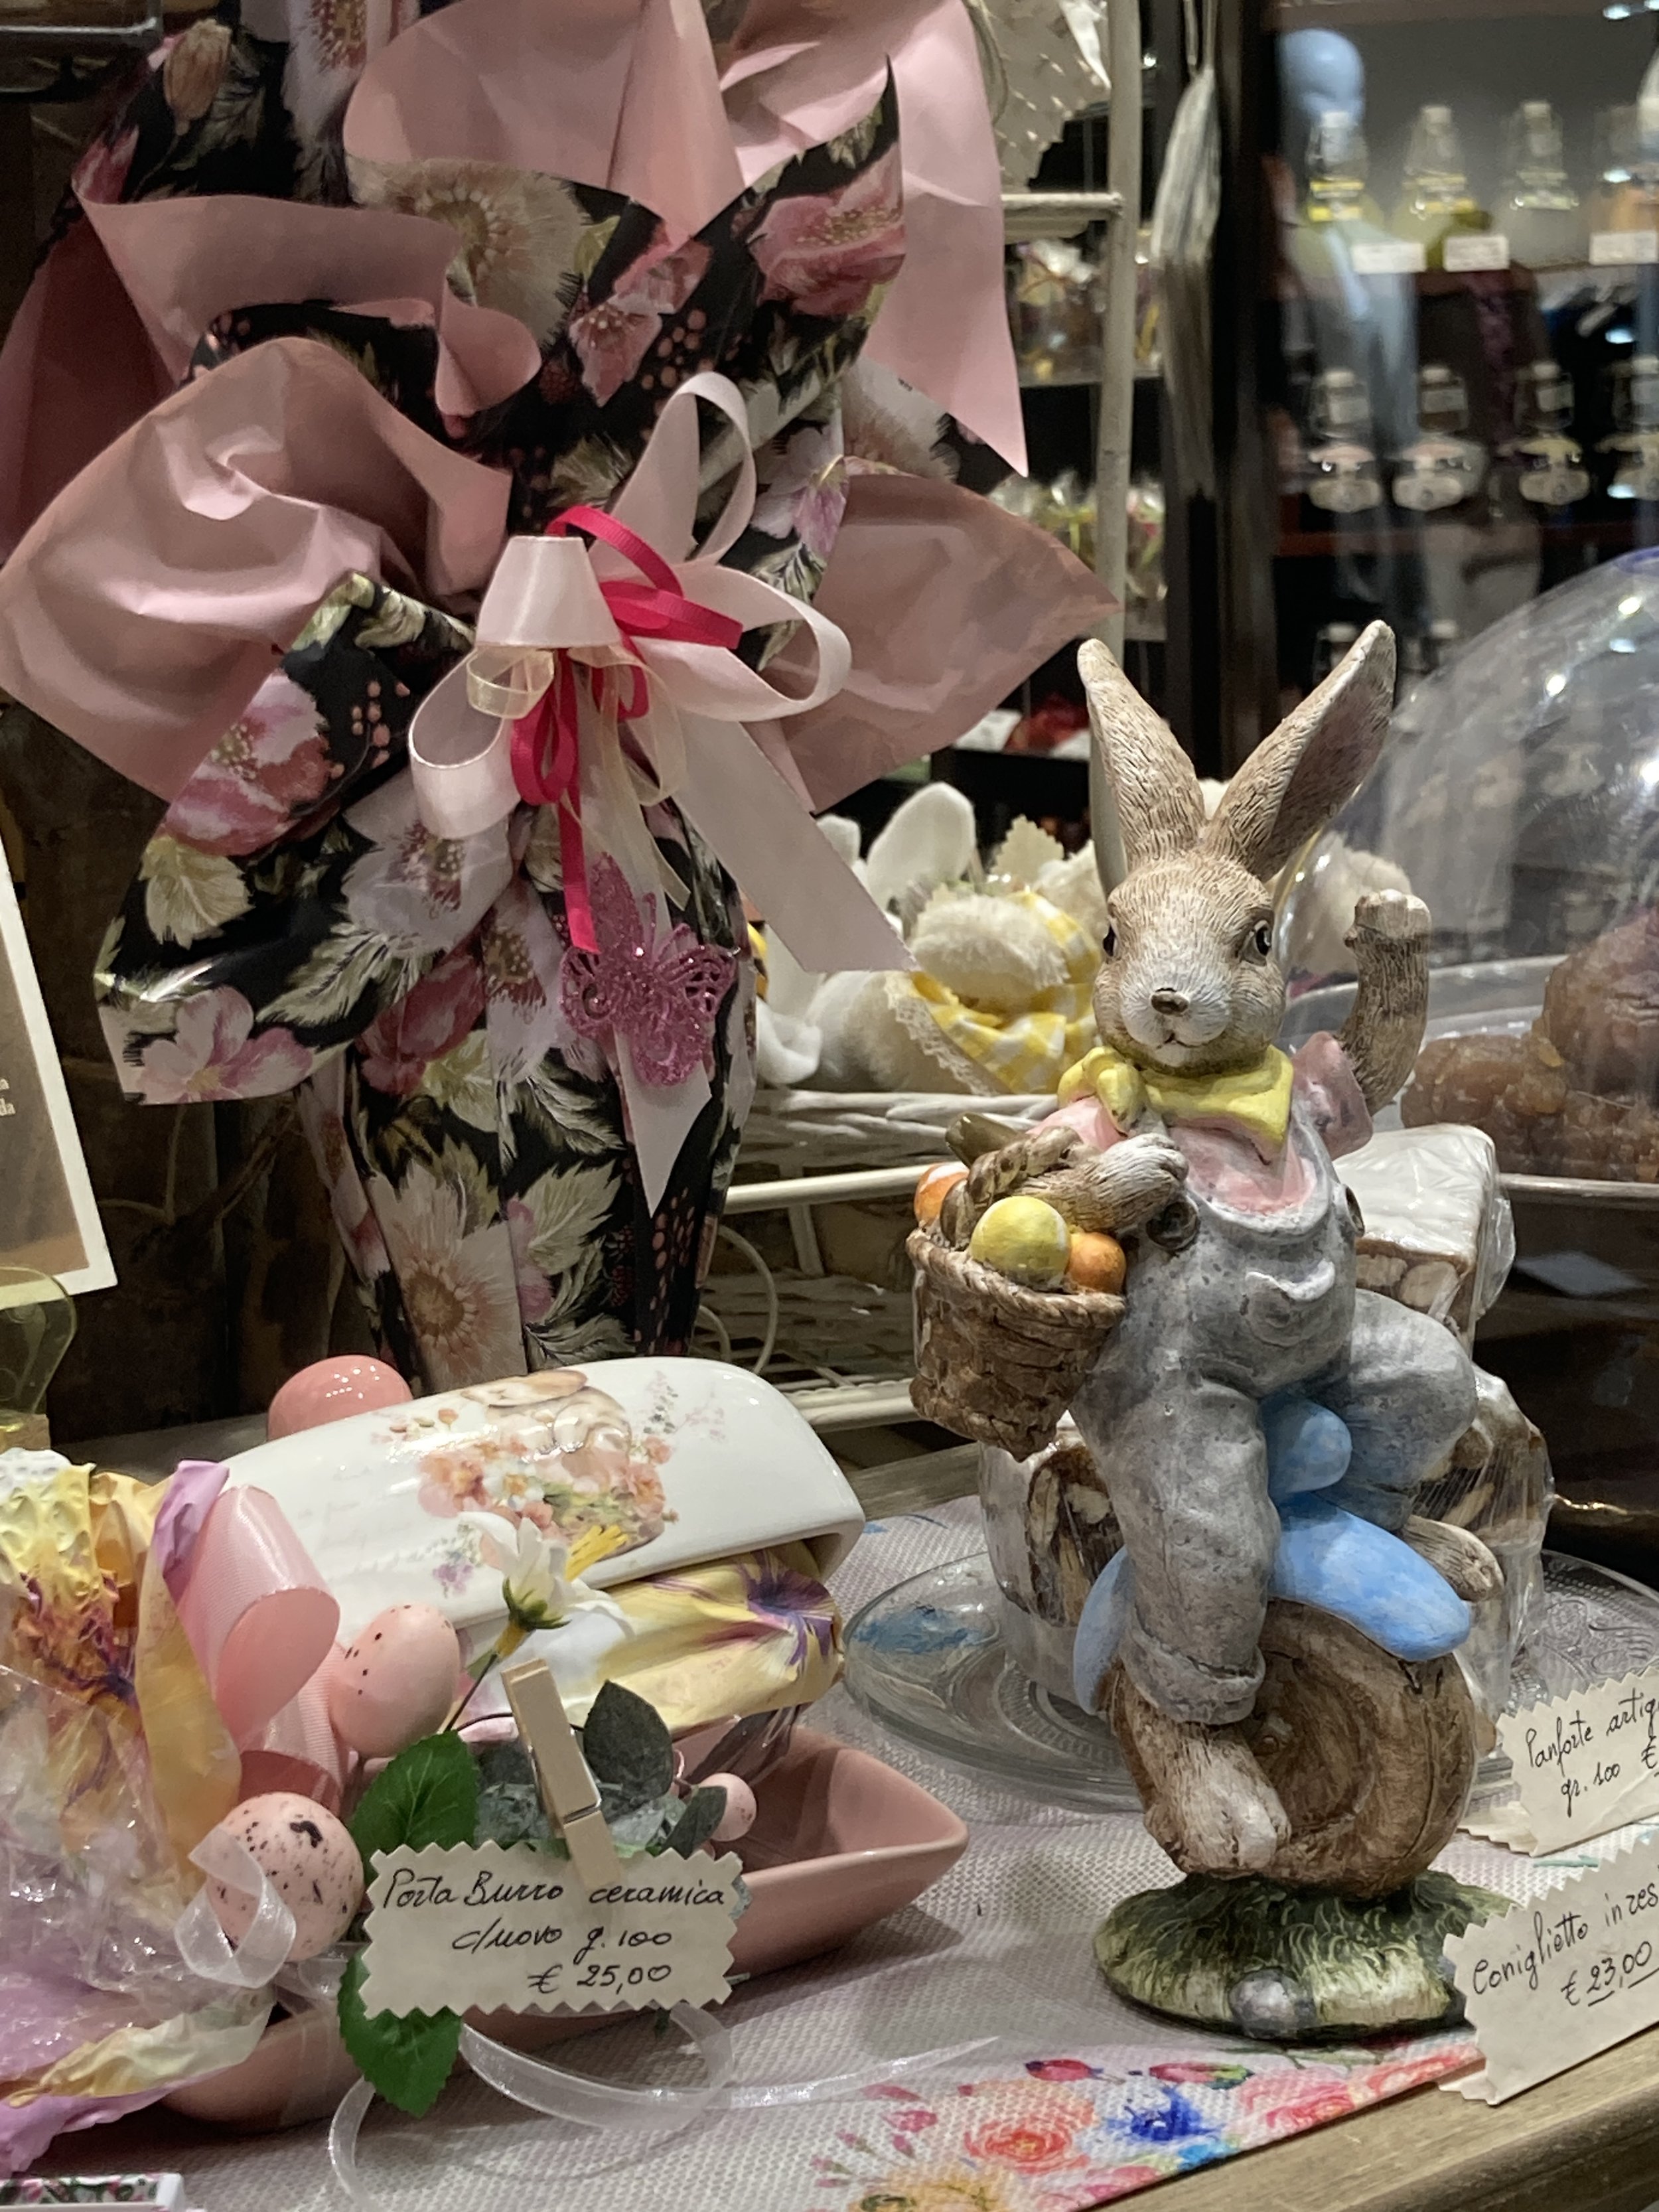
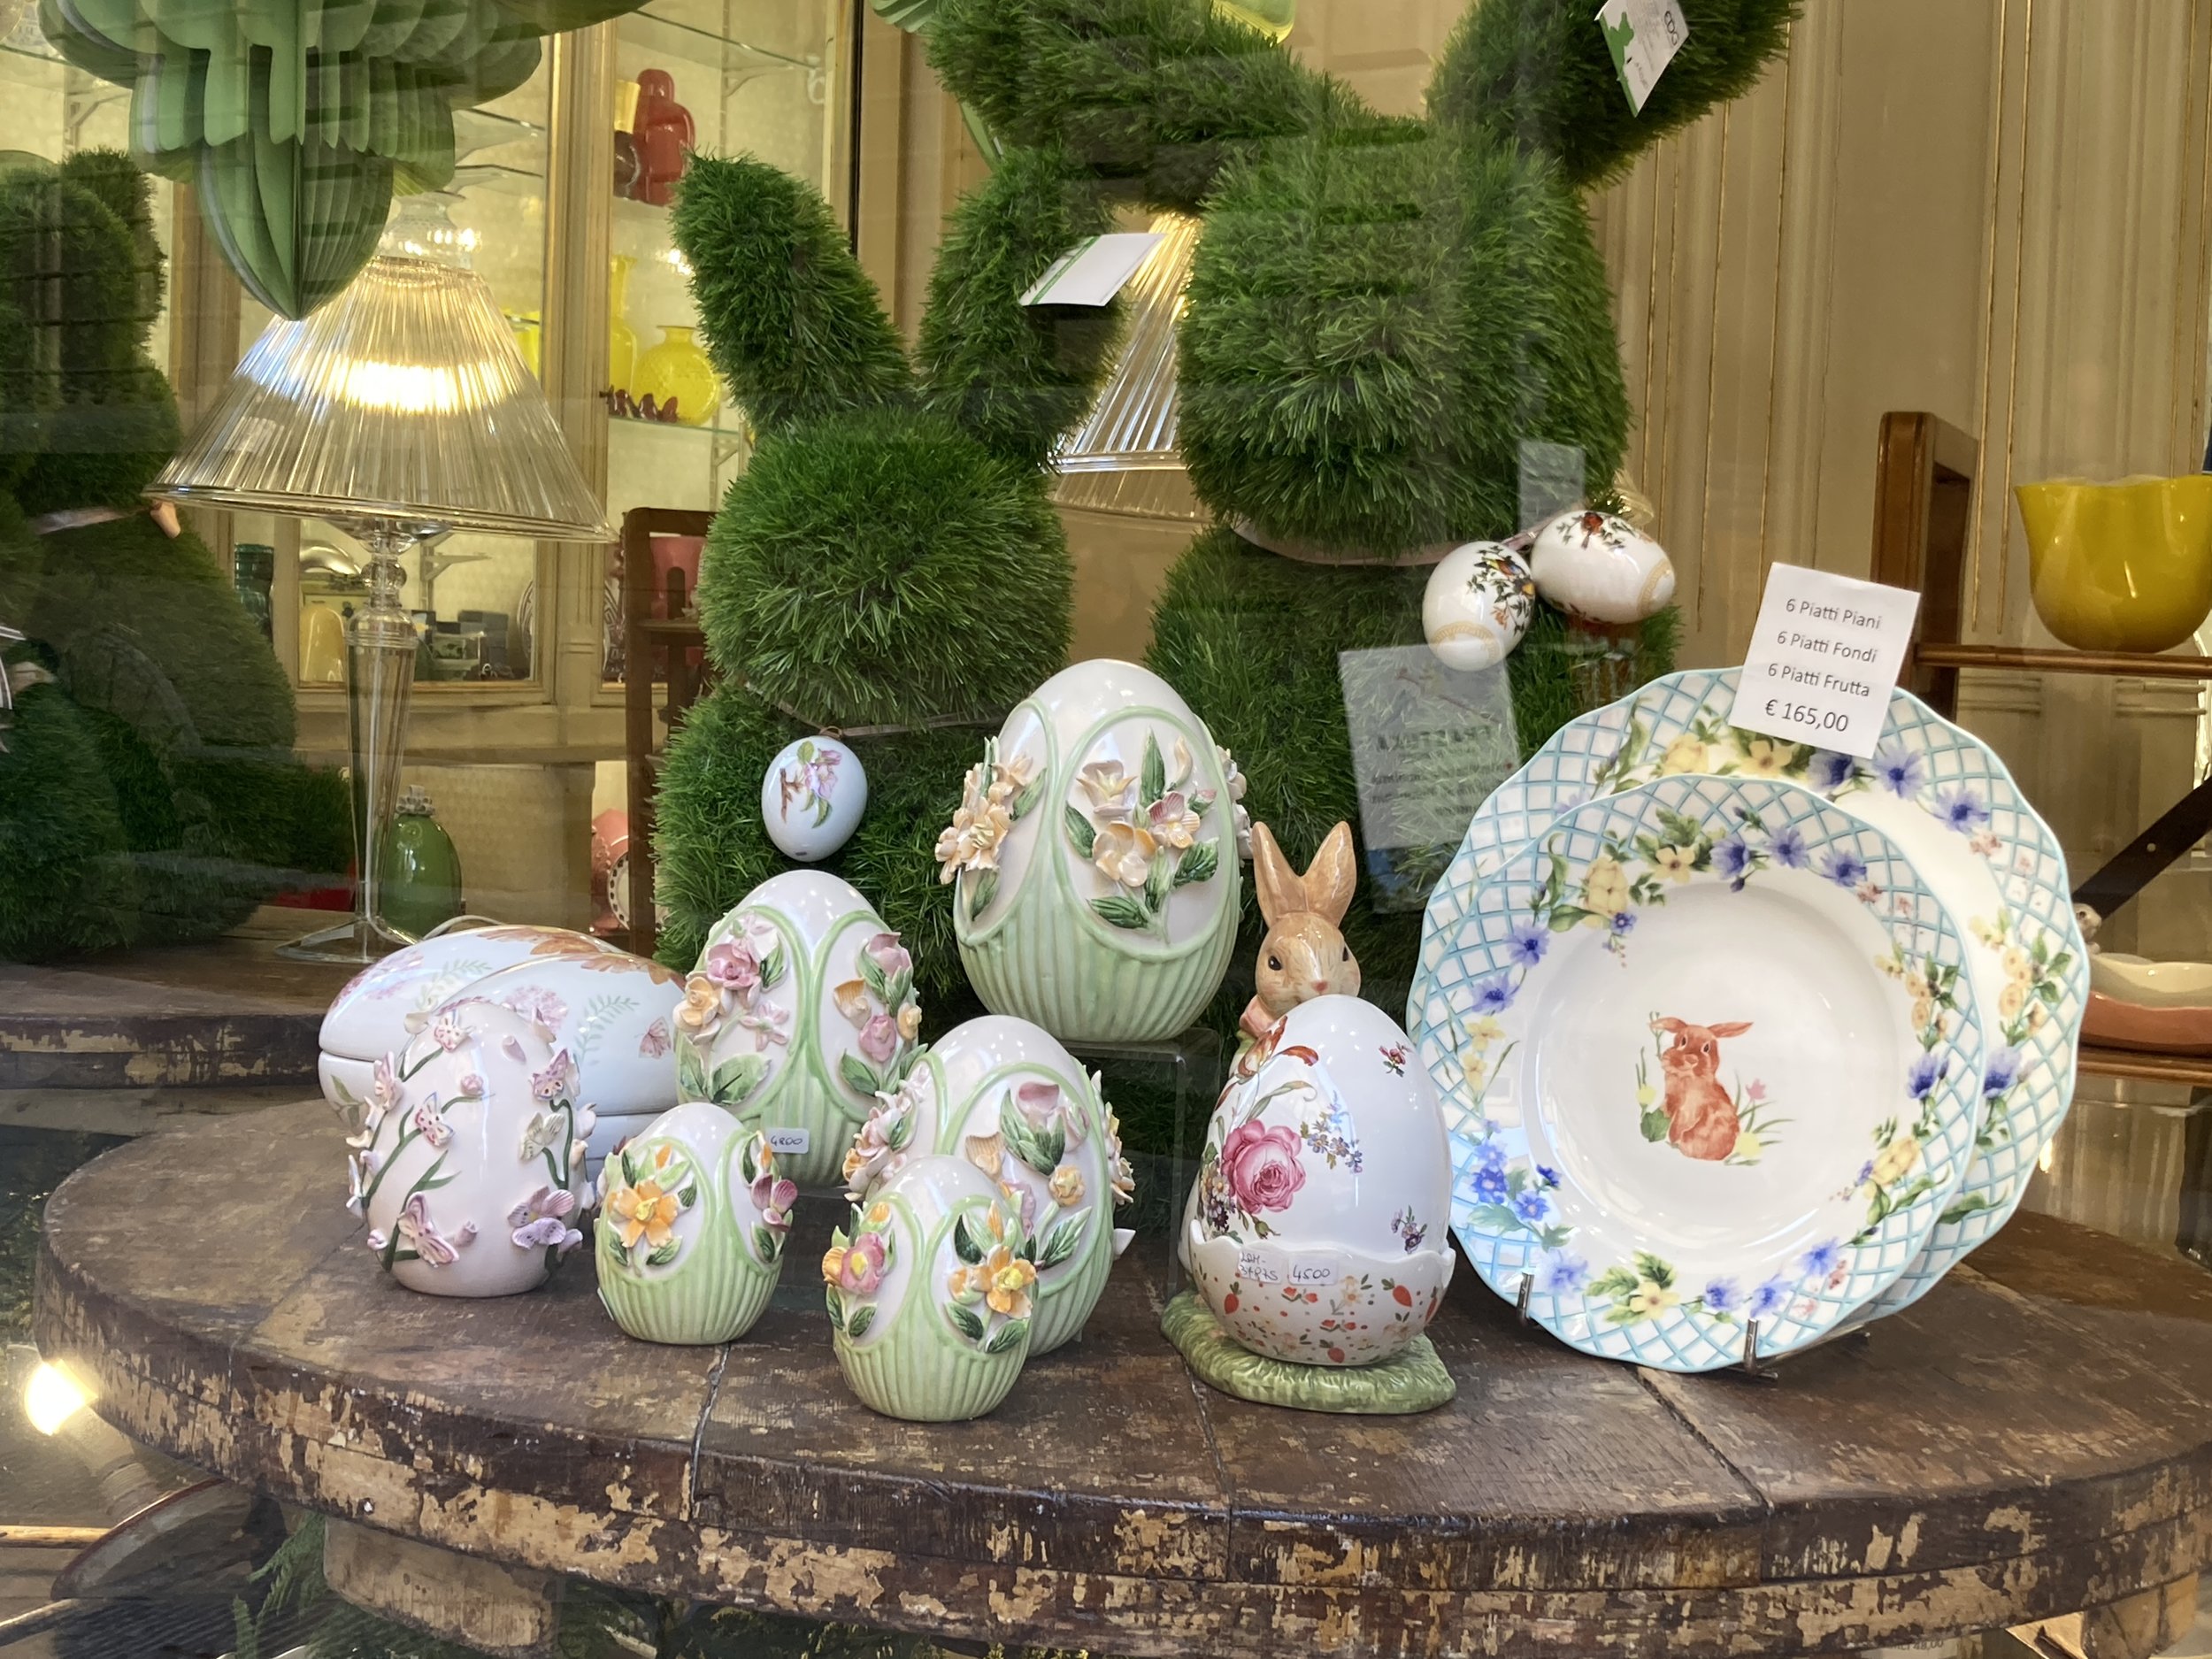
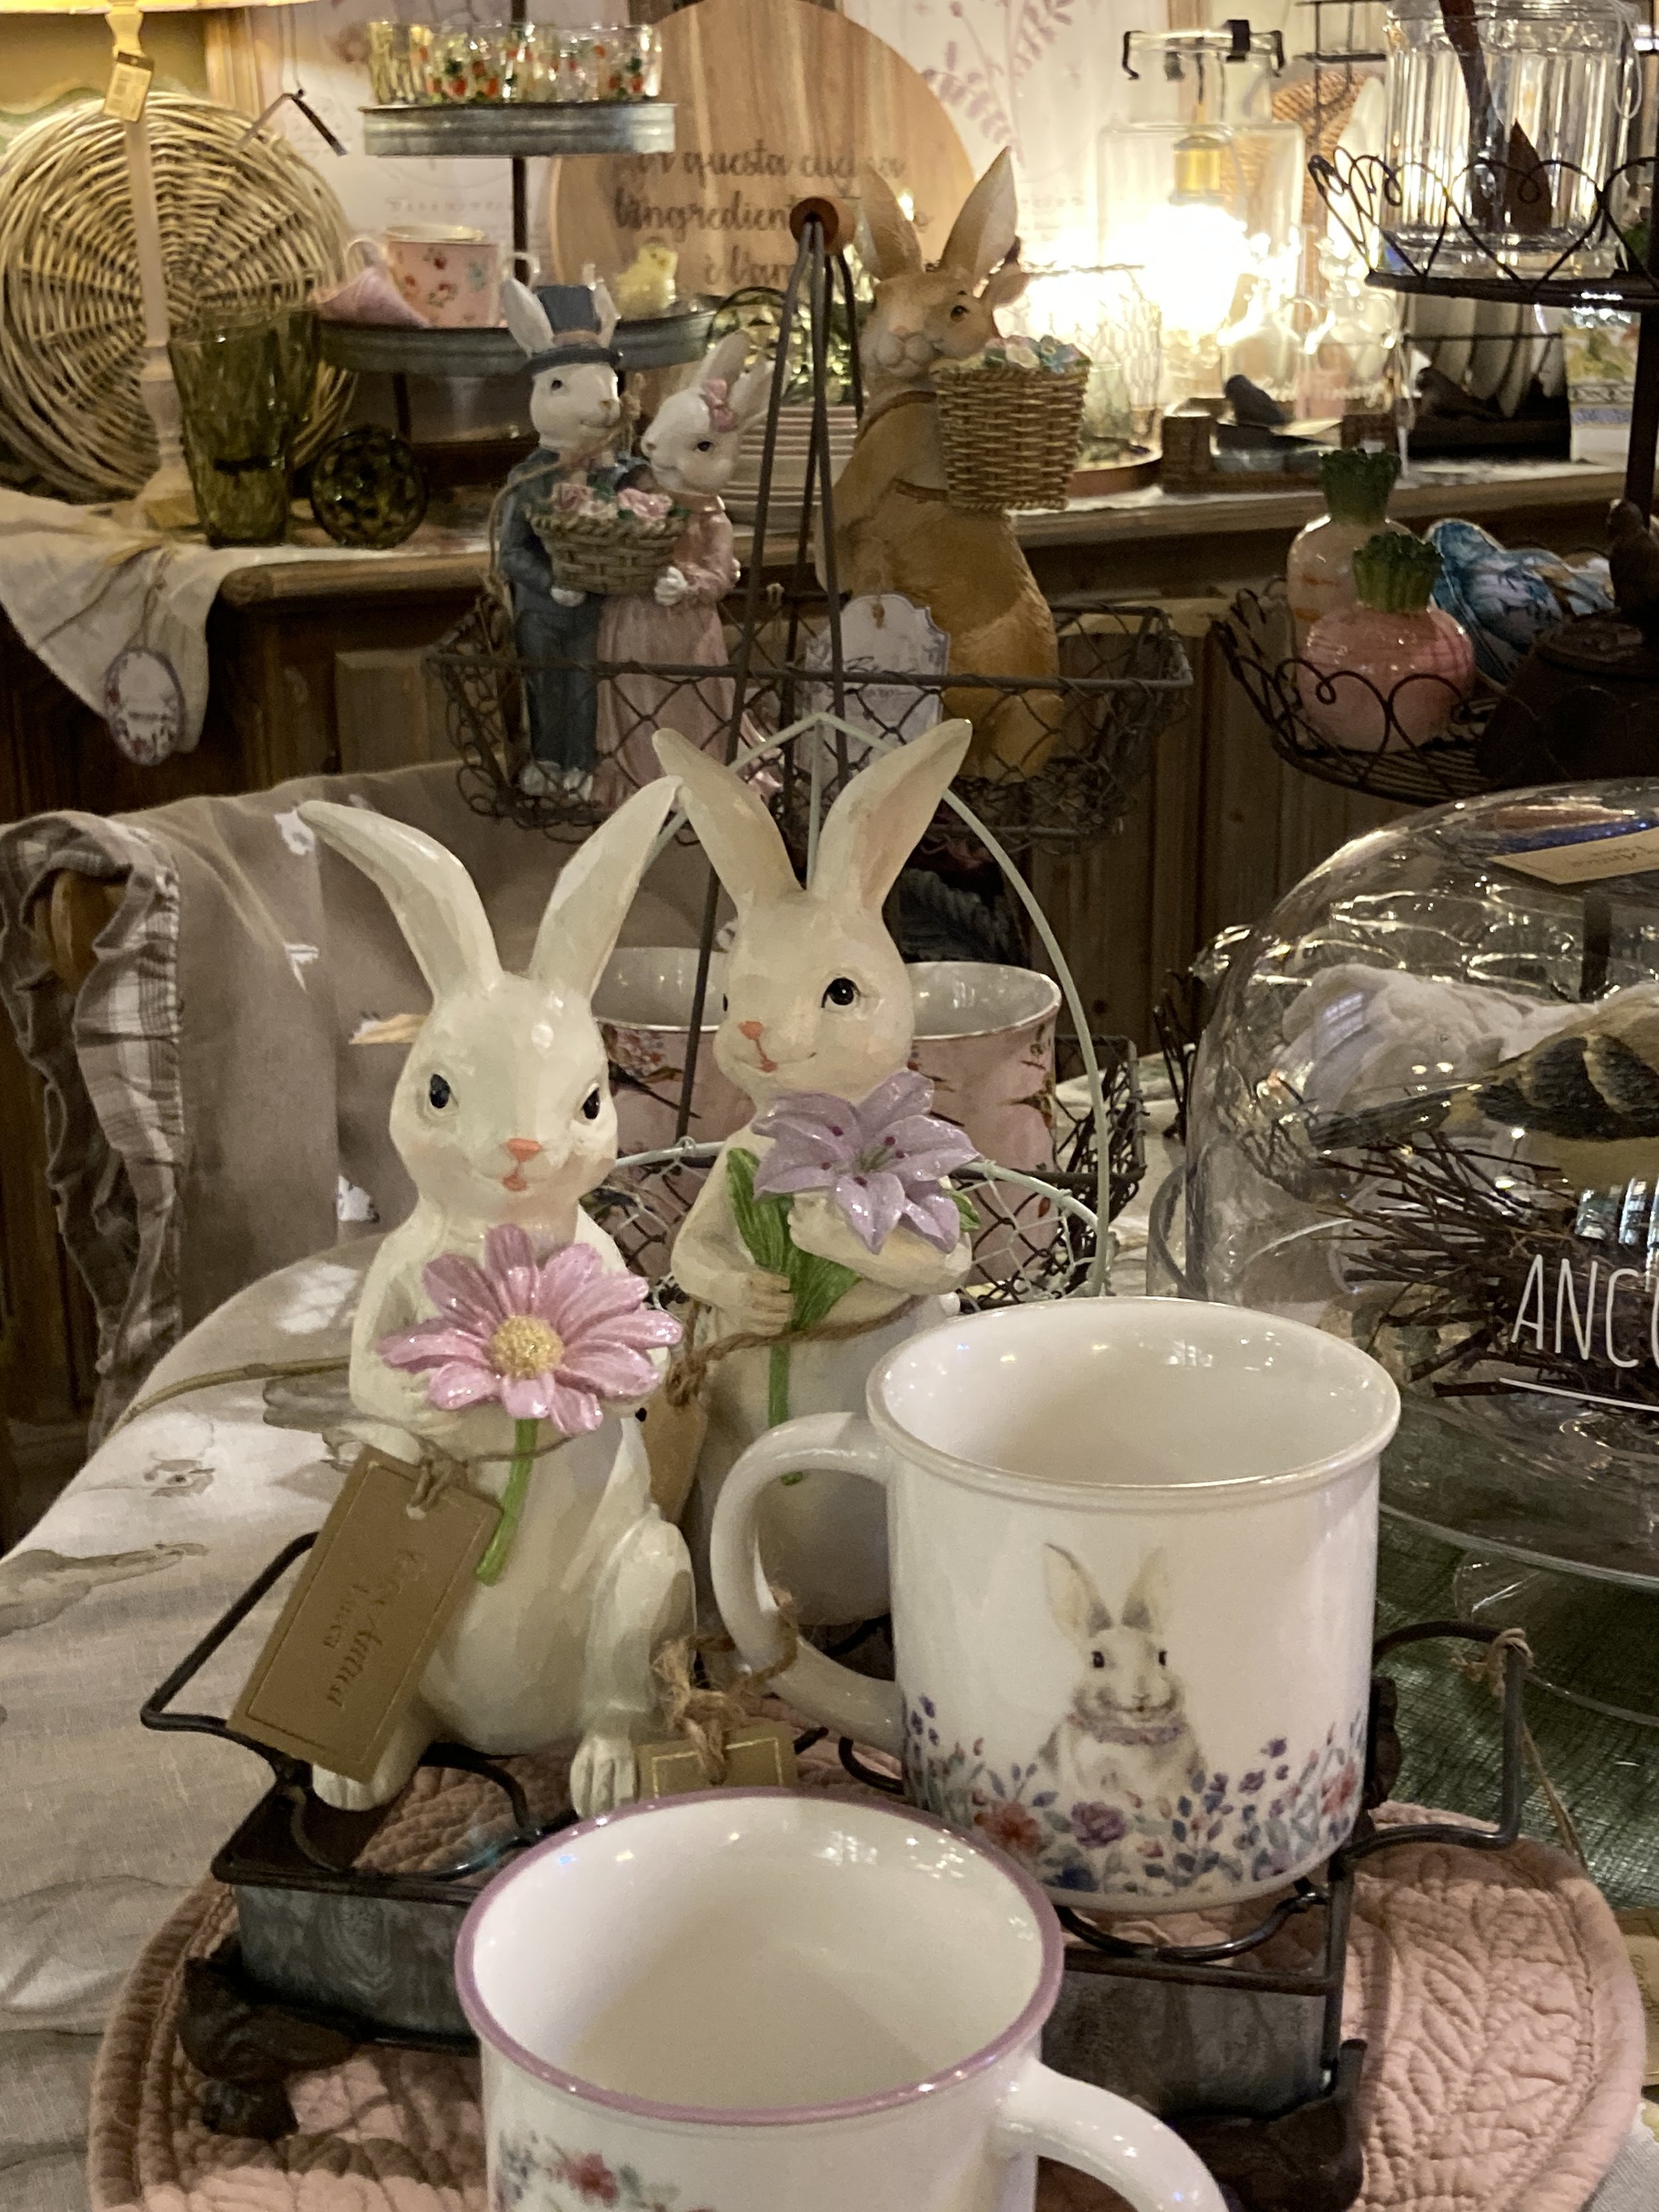
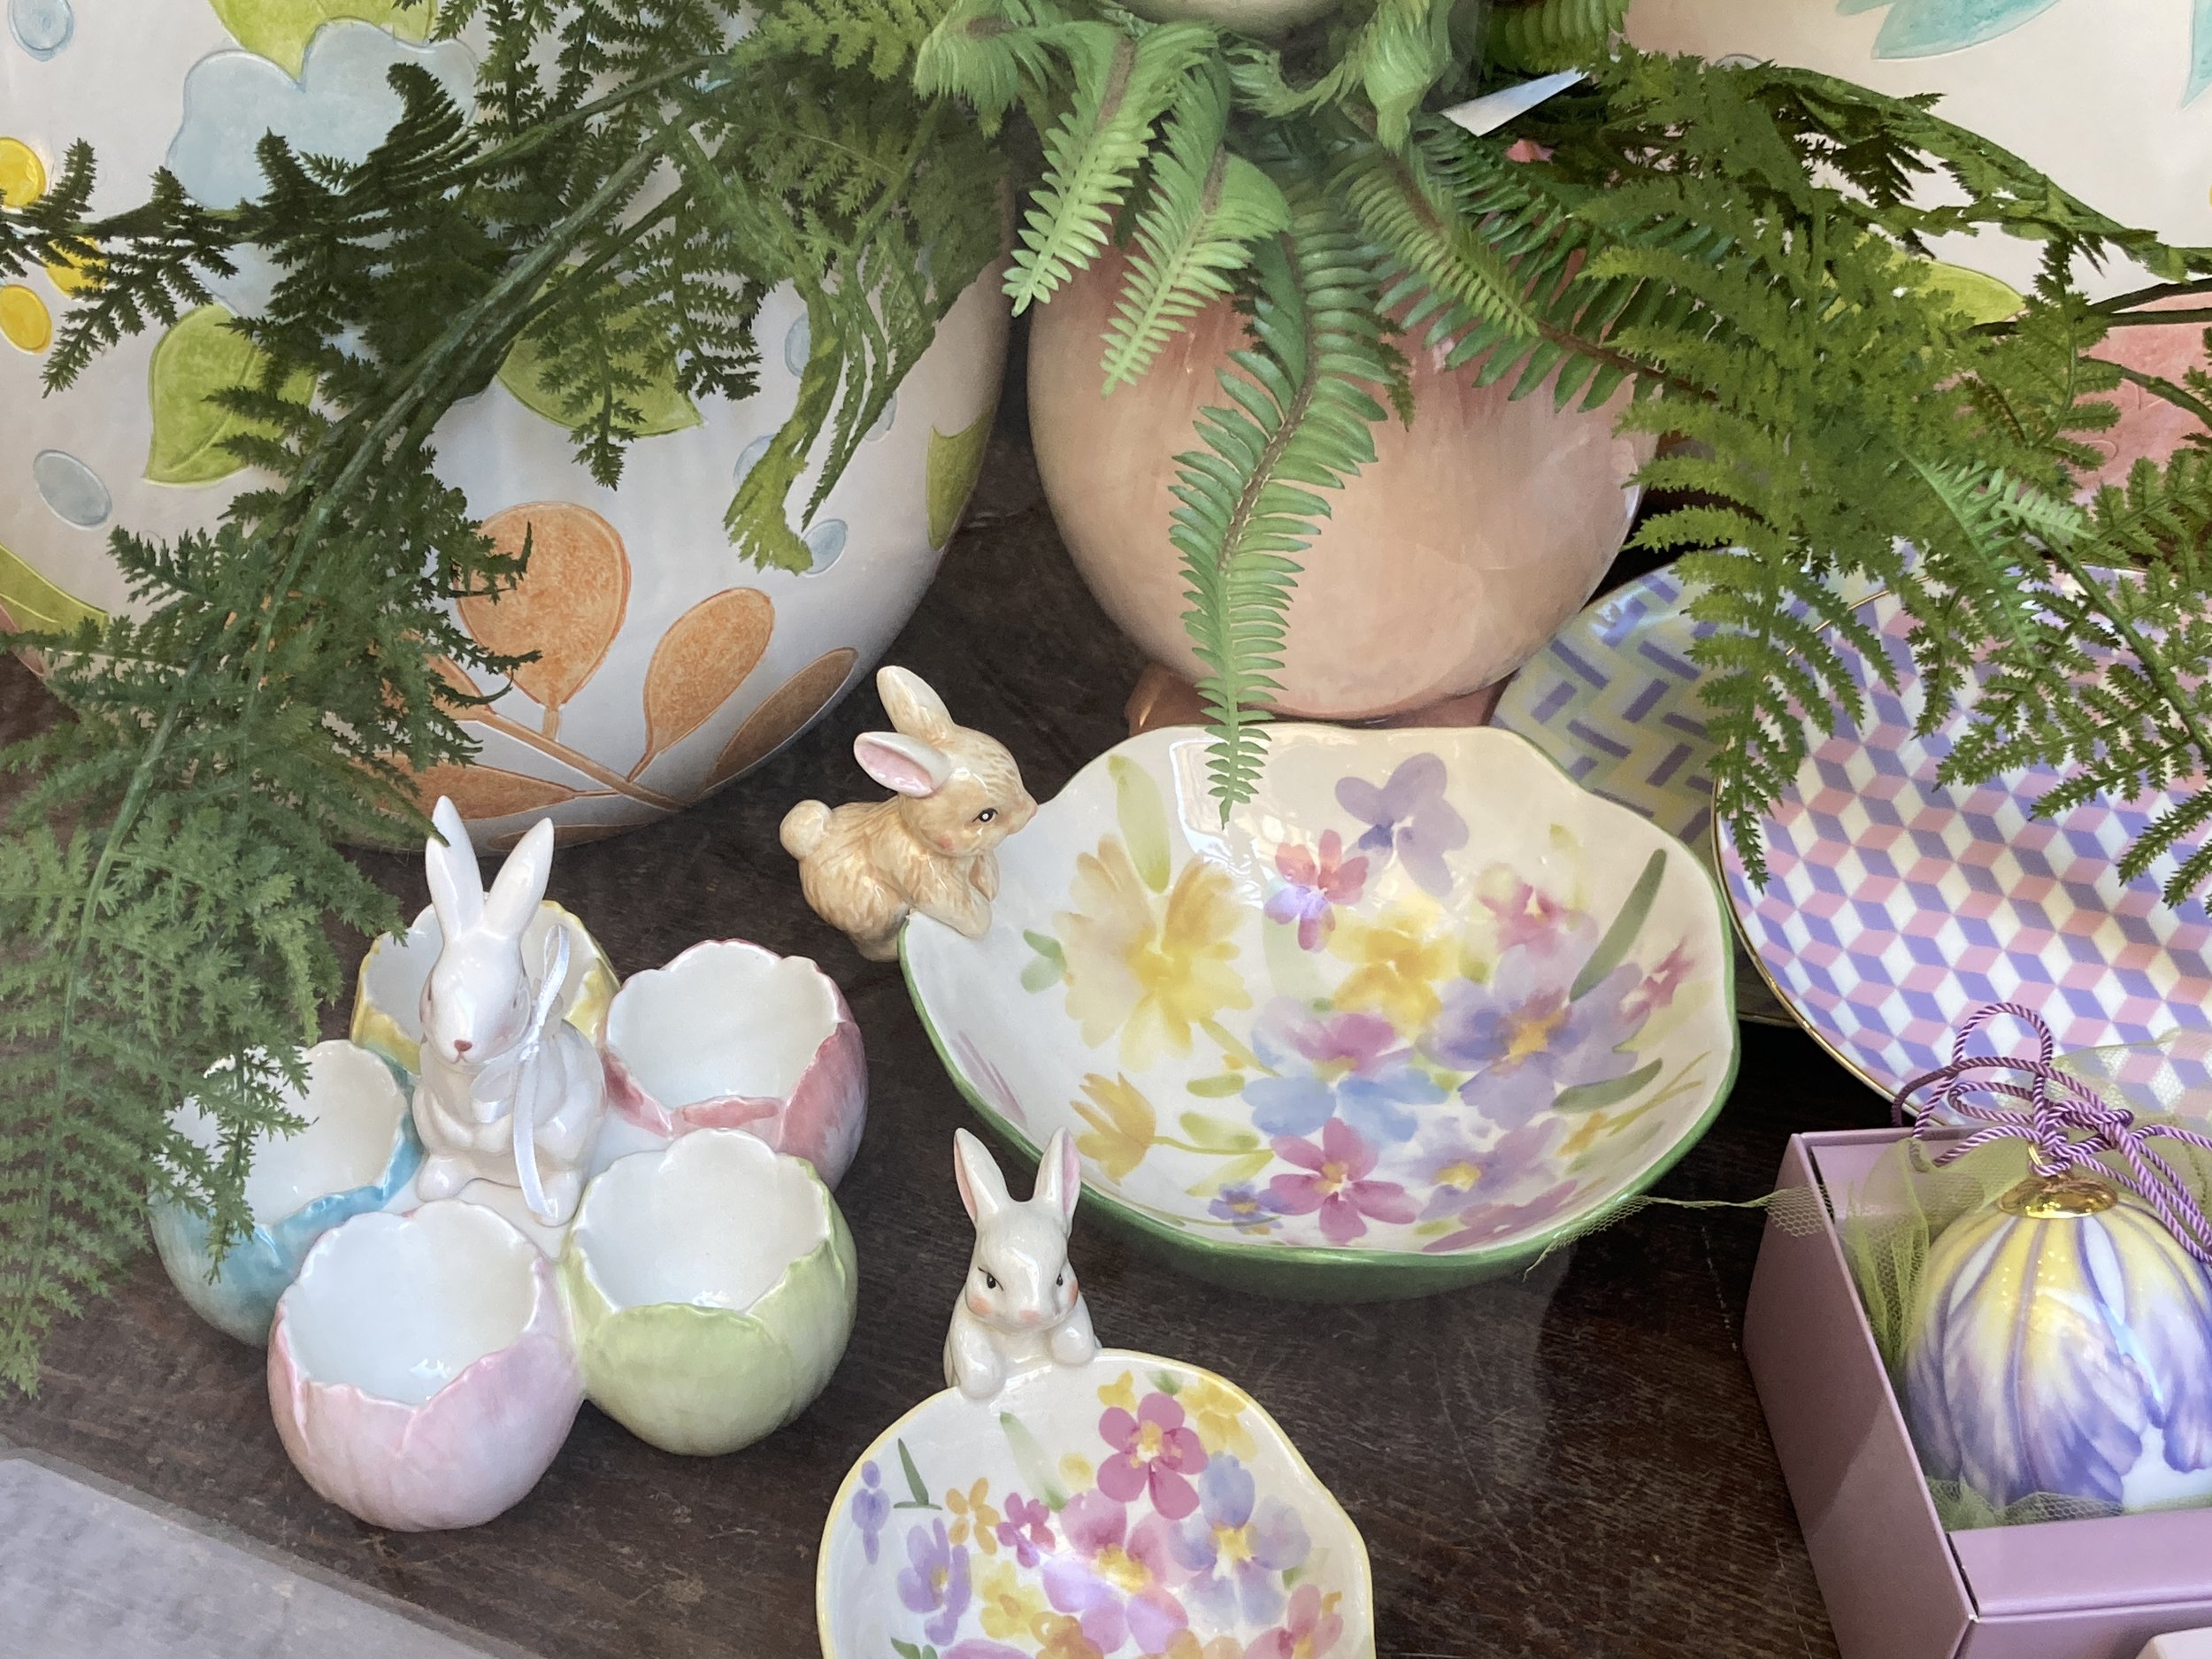
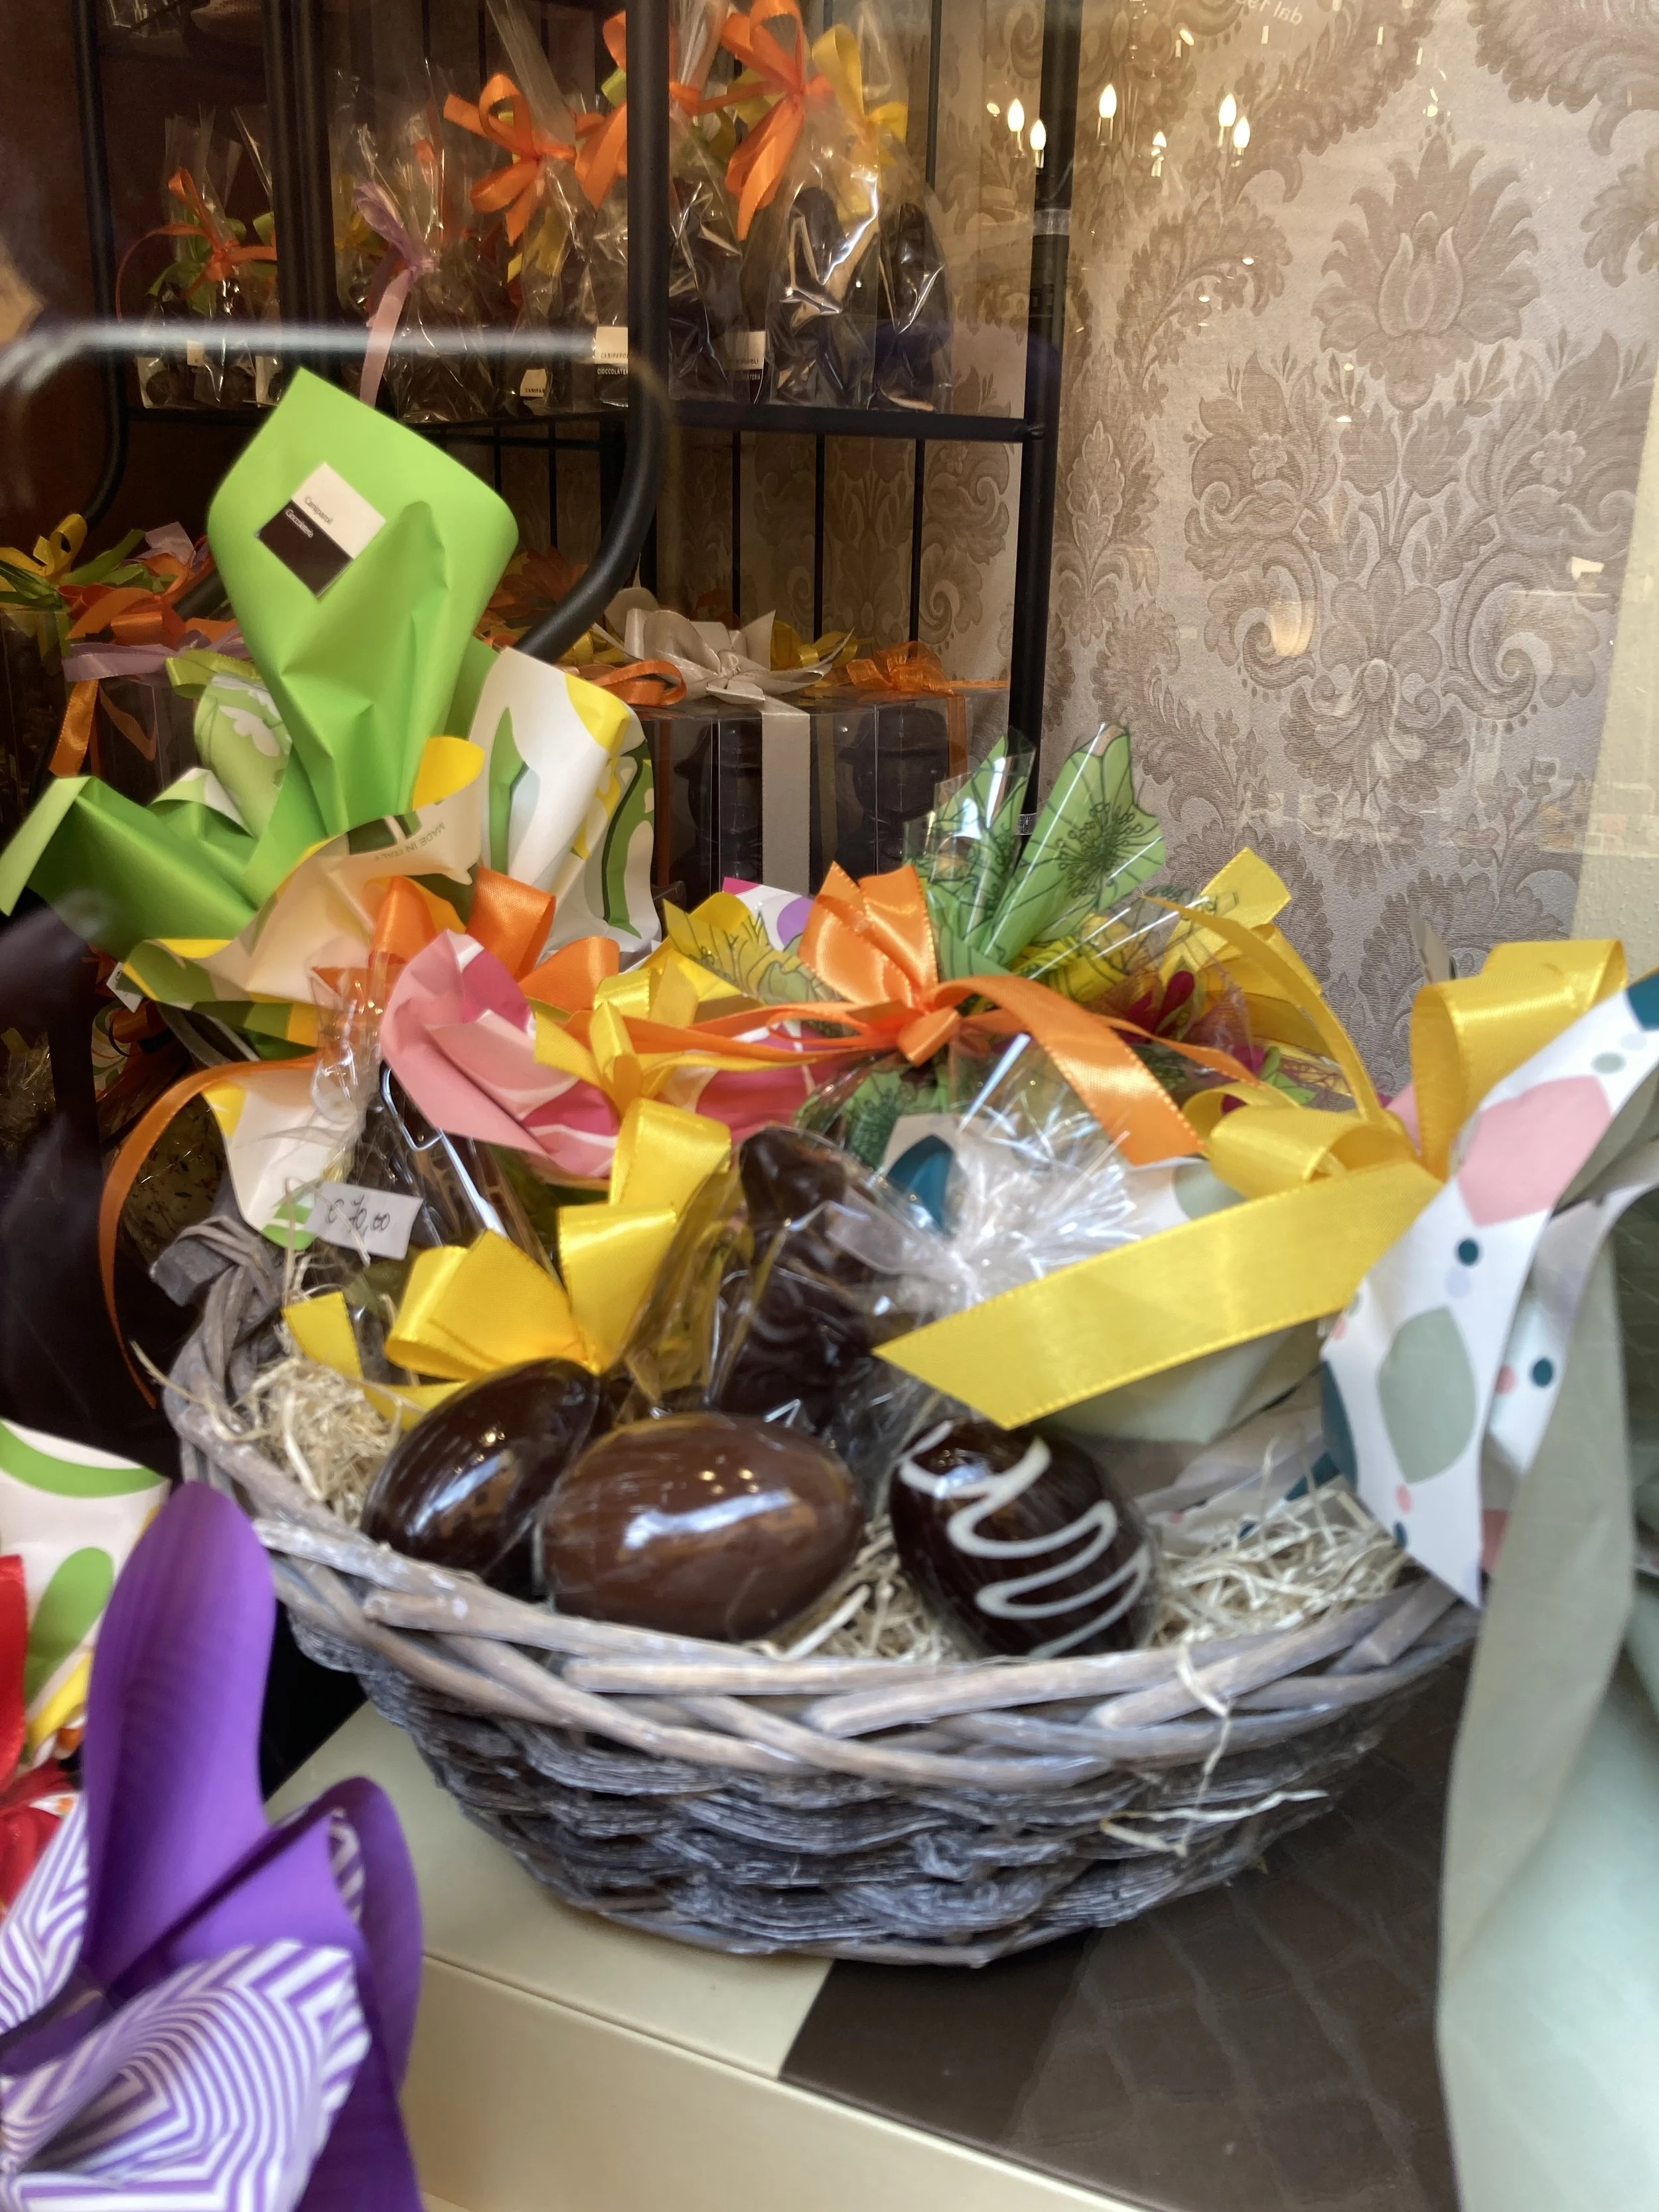
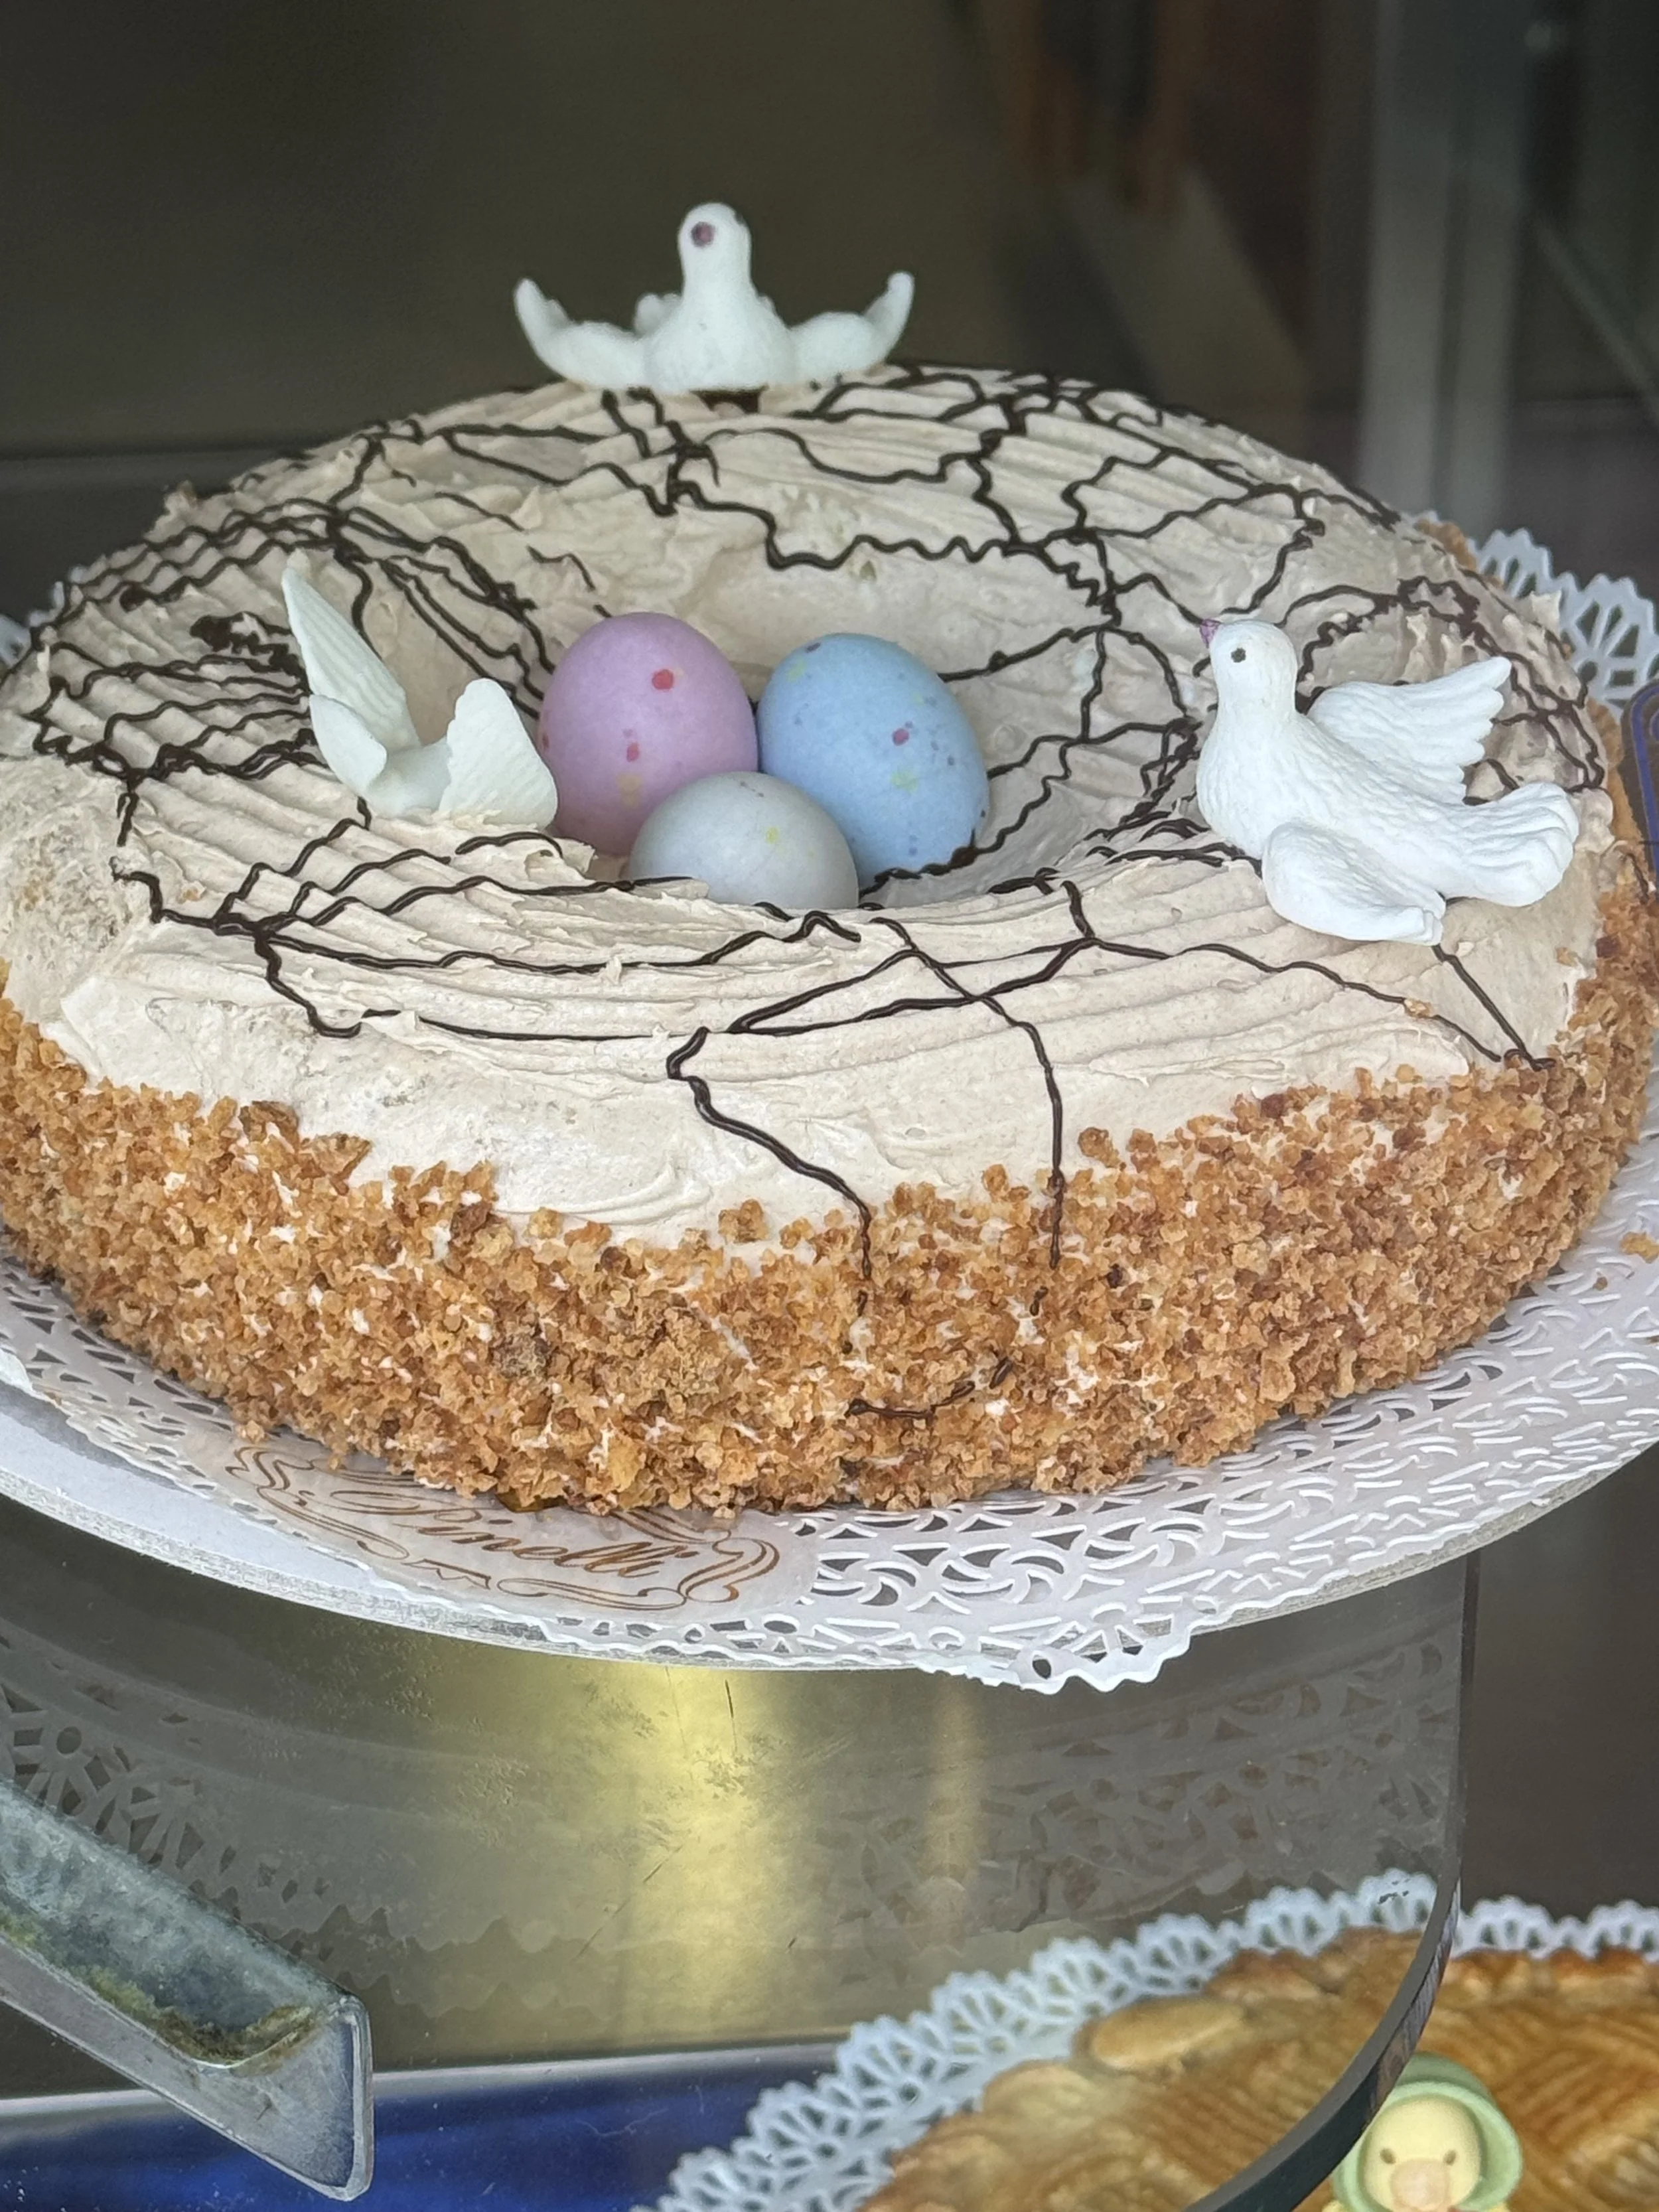
On the lighter side of the holiday, Easter displays decorate shop windows and the pastry shops are full of holiday treats - Colombas, fancy decorated cakes, and sweets. And the chocolate shops have no shortage of Easter hens, bunnies, and giant cellophane wrapped eggs.
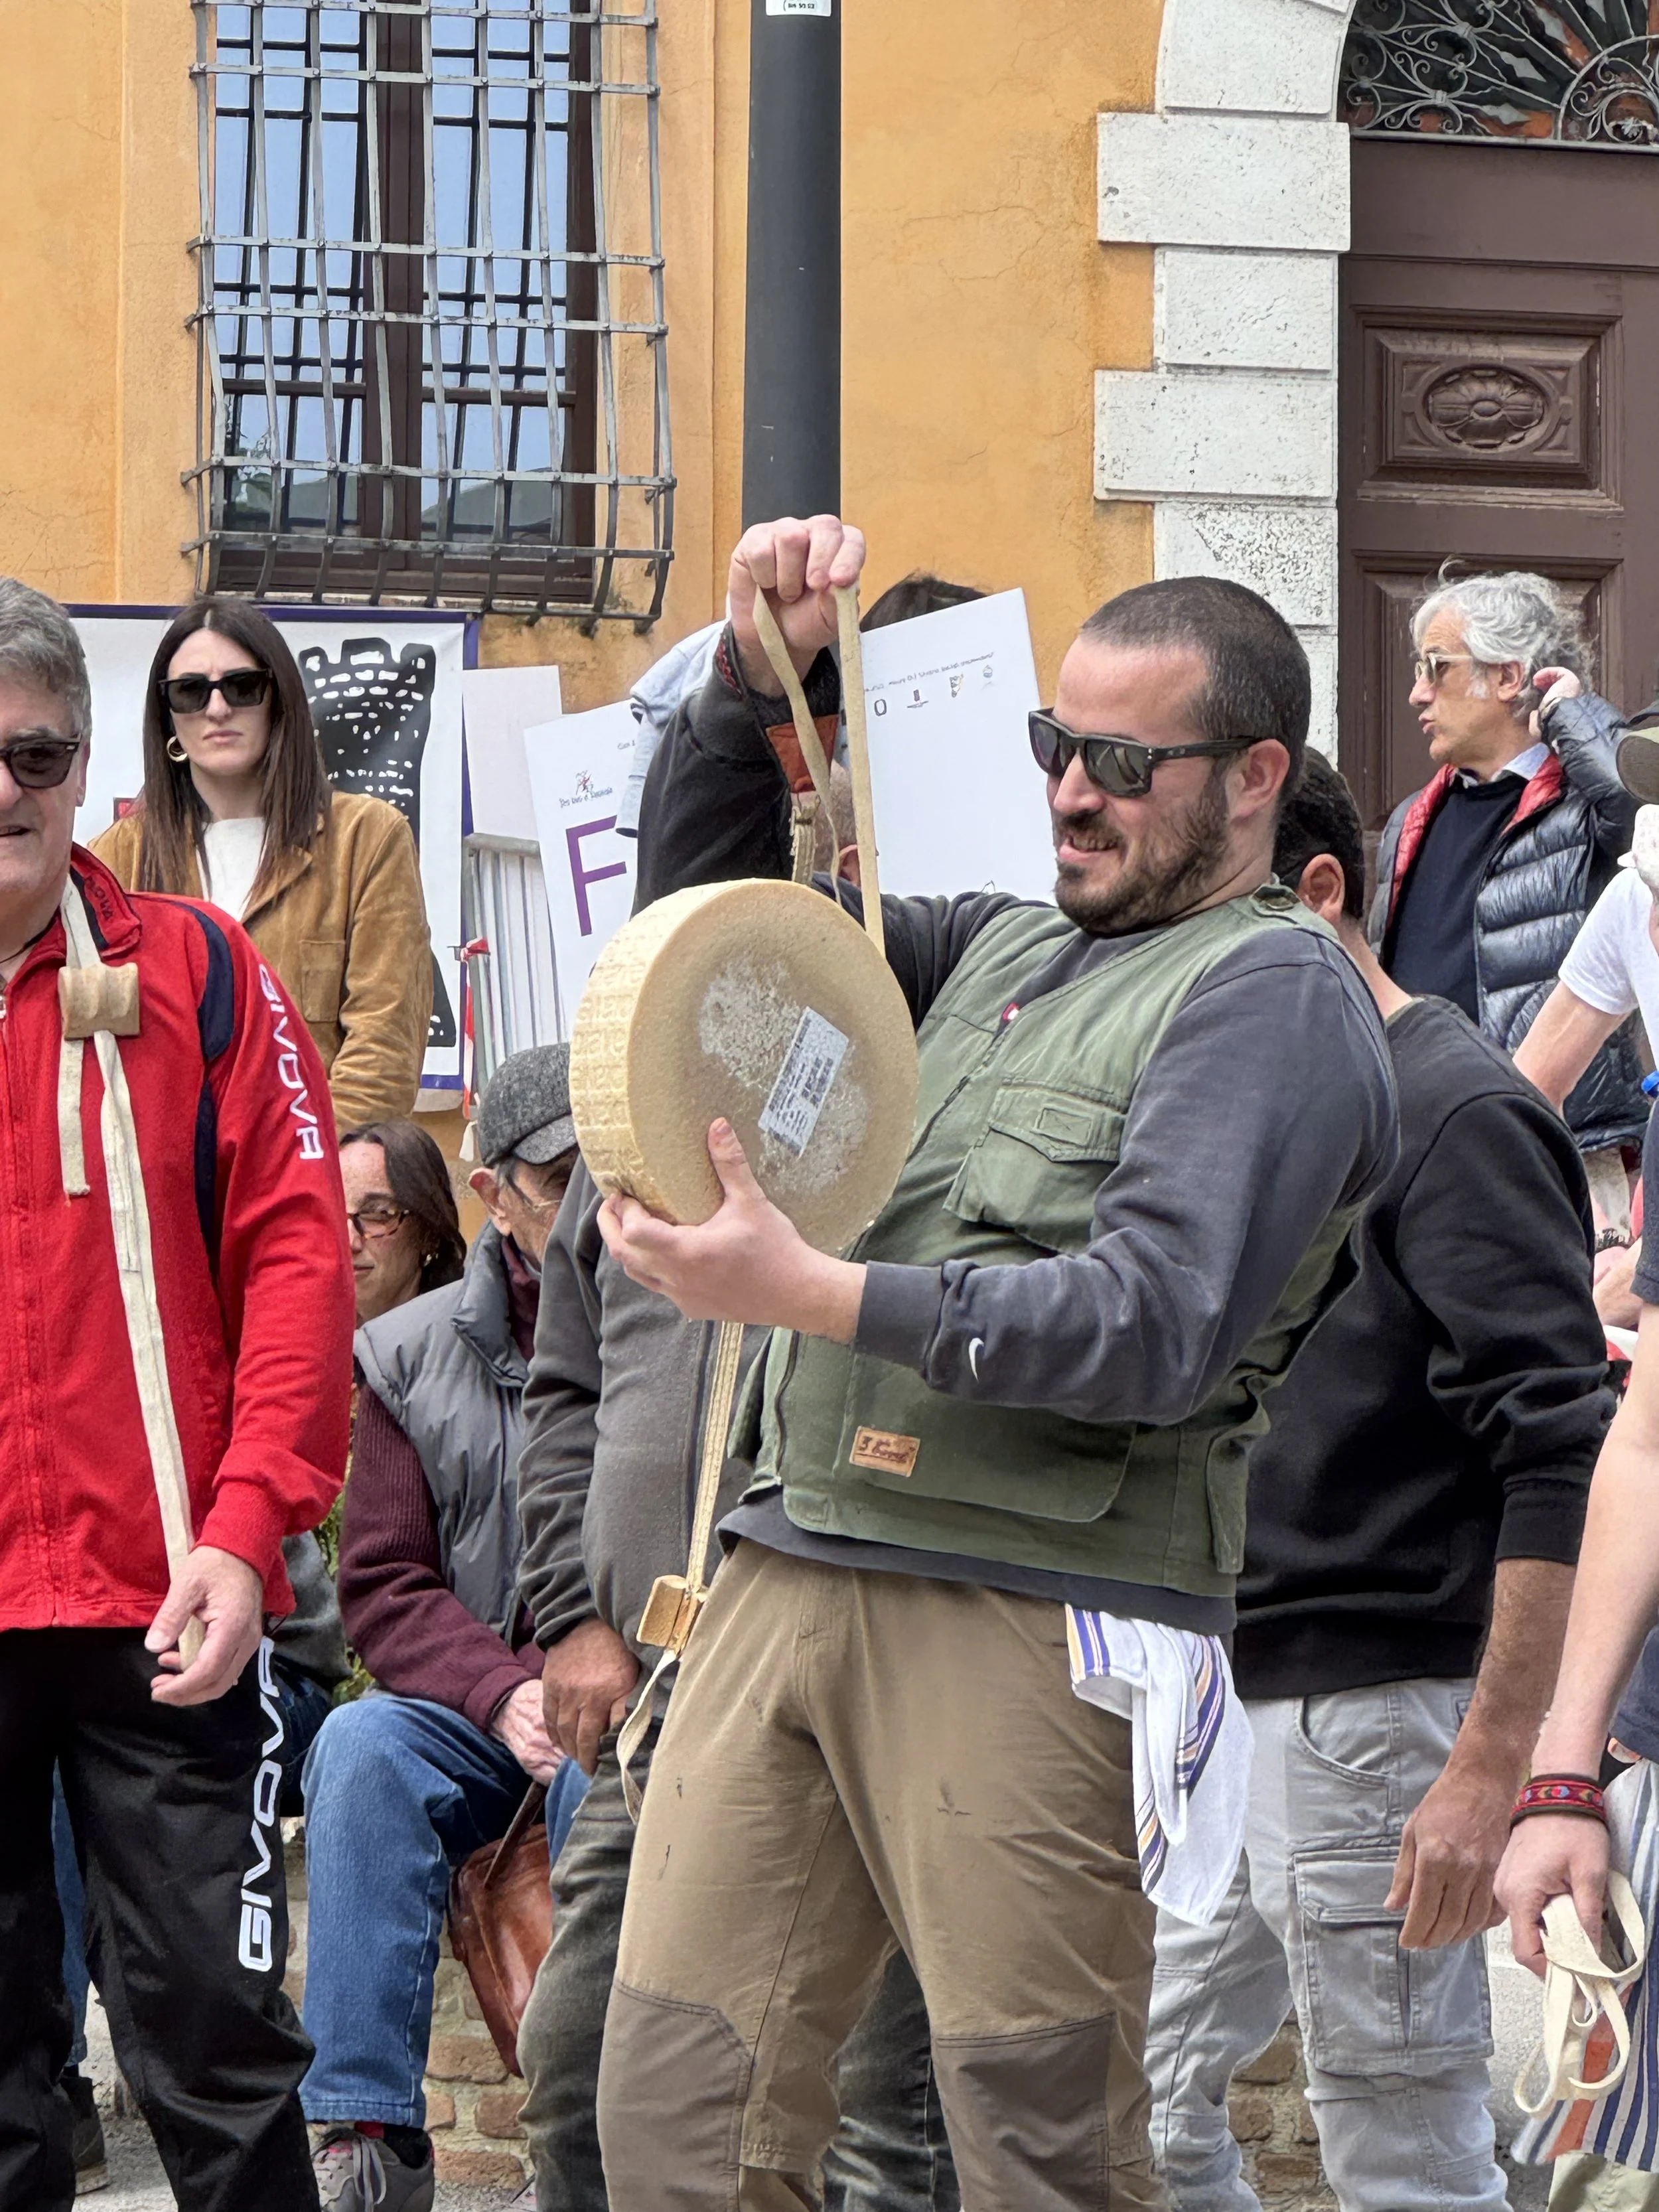
Preparing the wheel of cheese for the Ruzzolone in Panicale, Pasquetta 2025
An Italian Easter is a two-day affair, continuing today as Pasquetta (Easter Monday). Pasquetta is a day for fun, friends, and picnics. Or, as I learned last year when visiting Panicale on that day, a chance to participate in the Ruzzolone, where big wheels of cheese are sent rolling downhill – winner keeps the cheese.
No such event takes place here in Lucca, so I’ll have a quiet Pasquetta that will certainly require a coffee with friends.
I hope you all had a Buona Pasqua. May you sneak in an extra day to celebrate Pasquetta Italian style.